
Shower niches: size, height, tile set-out and waterproofing
If you don’t want bottles balanced on the shower tray or hanging from the valve in a wire caddy, a shower niche is usually the best answer. But it needs to be treated as part of the wall design, not as a recess someone cuts wherever there’s space.
The prefabricated niches compared here include 305mm and 610mm widths from Crosswater, while wedi offers openings of 234 x 434mm and 334 x 634mm. Depending on the maker and model, their depths run from 70mm to 120mm. There is no required height. We decide roughly where the niche needs to be, then use the tile layout to fix its exact position so the edges meet the grout lines.
A shower niche is a recess built into the wall of a shower or above a bath to hold bottles and soap, so they sit inside the wall line rather than on a shelf or the tray edge. It can be built on site from waterproof board and tiled, or bought as a prefabricated tileable shell or finished stainless steel box. Either way, it sits in the wet zone and needs to be waterproofed as part of the wall around it. A bathroom niche is the same type of recessed storage used elsewhere in the room, often above a bath or WC.
Quick Navigation
What size should a shower niche be?
A shower niche should be tall enough for the tallest bottle you use and sized to work with the tiles. Its depth is largely decided by the wall, because the niche can only use the space available behind the tiled surface.
Swipe across to compare all columns.
| Niche | Size | Depth | Material |
|---|---|---|---|
| wedi Sanwell 20/40 | 234 x 434mm inside | 100mm or 70mm inside | wedi building board, tiled |
| wedi Sanwell 30/60 | 334 x 634mm inside | 100mm or 70mm inside | wedi building board, tiled |
| Crosswater Shower Niche 305 | 305 x 305mm | 120mm, or 80mm for stud walls | 304 stainless steel, six finishes |
| Crosswater Shower Niche 610 | 610 x 305mm | 120mm, with 80mm versions also listed | 304 stainless steel |
The sizes are the makers’ own. wedi quotes inside dimensions, while Crosswater quotes the product’s overall size. The wedi Sanwell comes in two depths. Crosswater describes its shallower Shower Niche 305 as “designed to work in stud partition walls”.
Prefabricated niche sizes compared
The four prefabricated niches from the table above, drawn to the same scale so their sizes can be compared directly.
Elevation: four niches at one scale
Porcelanosa says the depth “can be as little as 7 cm” and suggests making a niche at least 34 to 36cm tall. Treat that as the maker’s guidance rather than a universal size. Crosswater’s niches are 305mm tall overall, so check your tallest bottle against that before choosing one. Before settling on the height, check the pump bottles you actually buy. A tall bottle that won’t stand upright in a short niche gets irritating quickly.
For width, a short, wide niche gives everyone space for bottles at the same level. A vertical niche can work better in a narrow shower because it provides height without taking up as much wall width.
Don’t assume a standard wall depth. What is available depends on how the wall is built and what runs through it. Crosswater says its 80mm version is designed for stud partition walls, and wedi’s Sanwell also comes in a 70mm inside depth. A solid or deeper wall, or a wall that can be built forward, may allow a deeper recess.
How high should a shower niche be, and on which wall?
There is no rule for shower niche height. A common design range, and the one our storage design guide uses, puts the sill roughly 1,000mm to 1,200mm above the tray. Porcelanosa suggests a shelf “approximately 120 cm” from the tray, which sits at the top of that range.
That measurement is only the starting point. Once we know roughly where the niche should sit, we’d move it up or down to the nearest suitable tile joint. It is usually better to adjust the height slightly than to force an exact measurement and leave a thin strip of tile above or below it.
Twin niches at different heights can make sense where children and adults will share the shower, or where the users are very different heights.
We’d normally put the niche on a wall you face or can reach comfortably without stepping directly into the spray. Keeping it away from the direct flow of water means the bottles aren’t constantly being soaked and the sill has a better chance to dry.
The valve wall is often convenient because the shower spray points away from it. But the niche cannot occupy the same space as the valve body or pipework. Porcelanosa advises checking that there are “no electrical cables or pipes” in the chosen position.
This is why the niche, valve and shower head should be planned together. One Bowmans project page describes having the “niche positions, valve heights, and tray size locked in before first fix”. In a walk-in shower or wet room, remember that the niche will also be visible from outside the glass, so its position affects the wider view of the room.
A niche above a bath works in the same way. Where there is a shower over the bath, it is a shower niche in all but name. Where the bath has no shower, a bathroom niche can still provide useful storage or hold decorative items. A Bowmans project in Billericay uses a lit niche above a freestanding bath.
Awkward changes in wall depth can sometimes provide a useful location. In the Bradwell family bathroom, three LED niches were “built into the chimney breast wall”. The Kelvedon shower room has a partition built out “roughly 380mm deep”, with room for two niches and a bench. At Coggeshall, corner niches were “carved from an awkward space that had no use before”.
Lining the niche up with the tiles
Choose the tile and its layout before the niche is framed. The opening can then be sized and positioned so that every edge lands on a grout line.
This is the part that makes a niche look as though it belongs in the wall. A well-waterproofed recess can still look wrong if it leaves narrow tile cuts around the opening.
Fix the tile and layout first
Decide the tile size, orientation and starting point for the courses before anyone builds the recess. The niche is then drawn on that tile grid. A Bowmans project in Bures describes niches “planned in the 3D design so the tile pattern flows around them”.
Size the opening to whole tiles
Make the opening a whole number of tiles, or tiles plus grout joints, wide and high. The surrounding tiles should finish as full tiles or deliberate cuts, never thin slivers.
A prefabricated niche has a fixed size, so the tile choice and set-out have to work around it. This is worth checking before ordering either product.
Put the top and bottom on joint lines
Line the sill and head up with horizontal grout joints, and the sides with vertical joints. With large-format porcelain, a niche will often look better centred within a tile or placed against one joint than floating across two.
The same principle applies at mirrors and other interruptions in a tiled wall. Our tile layout guide explains how to line grout joints up with niches and mirror edges.
Decide the edge and the back
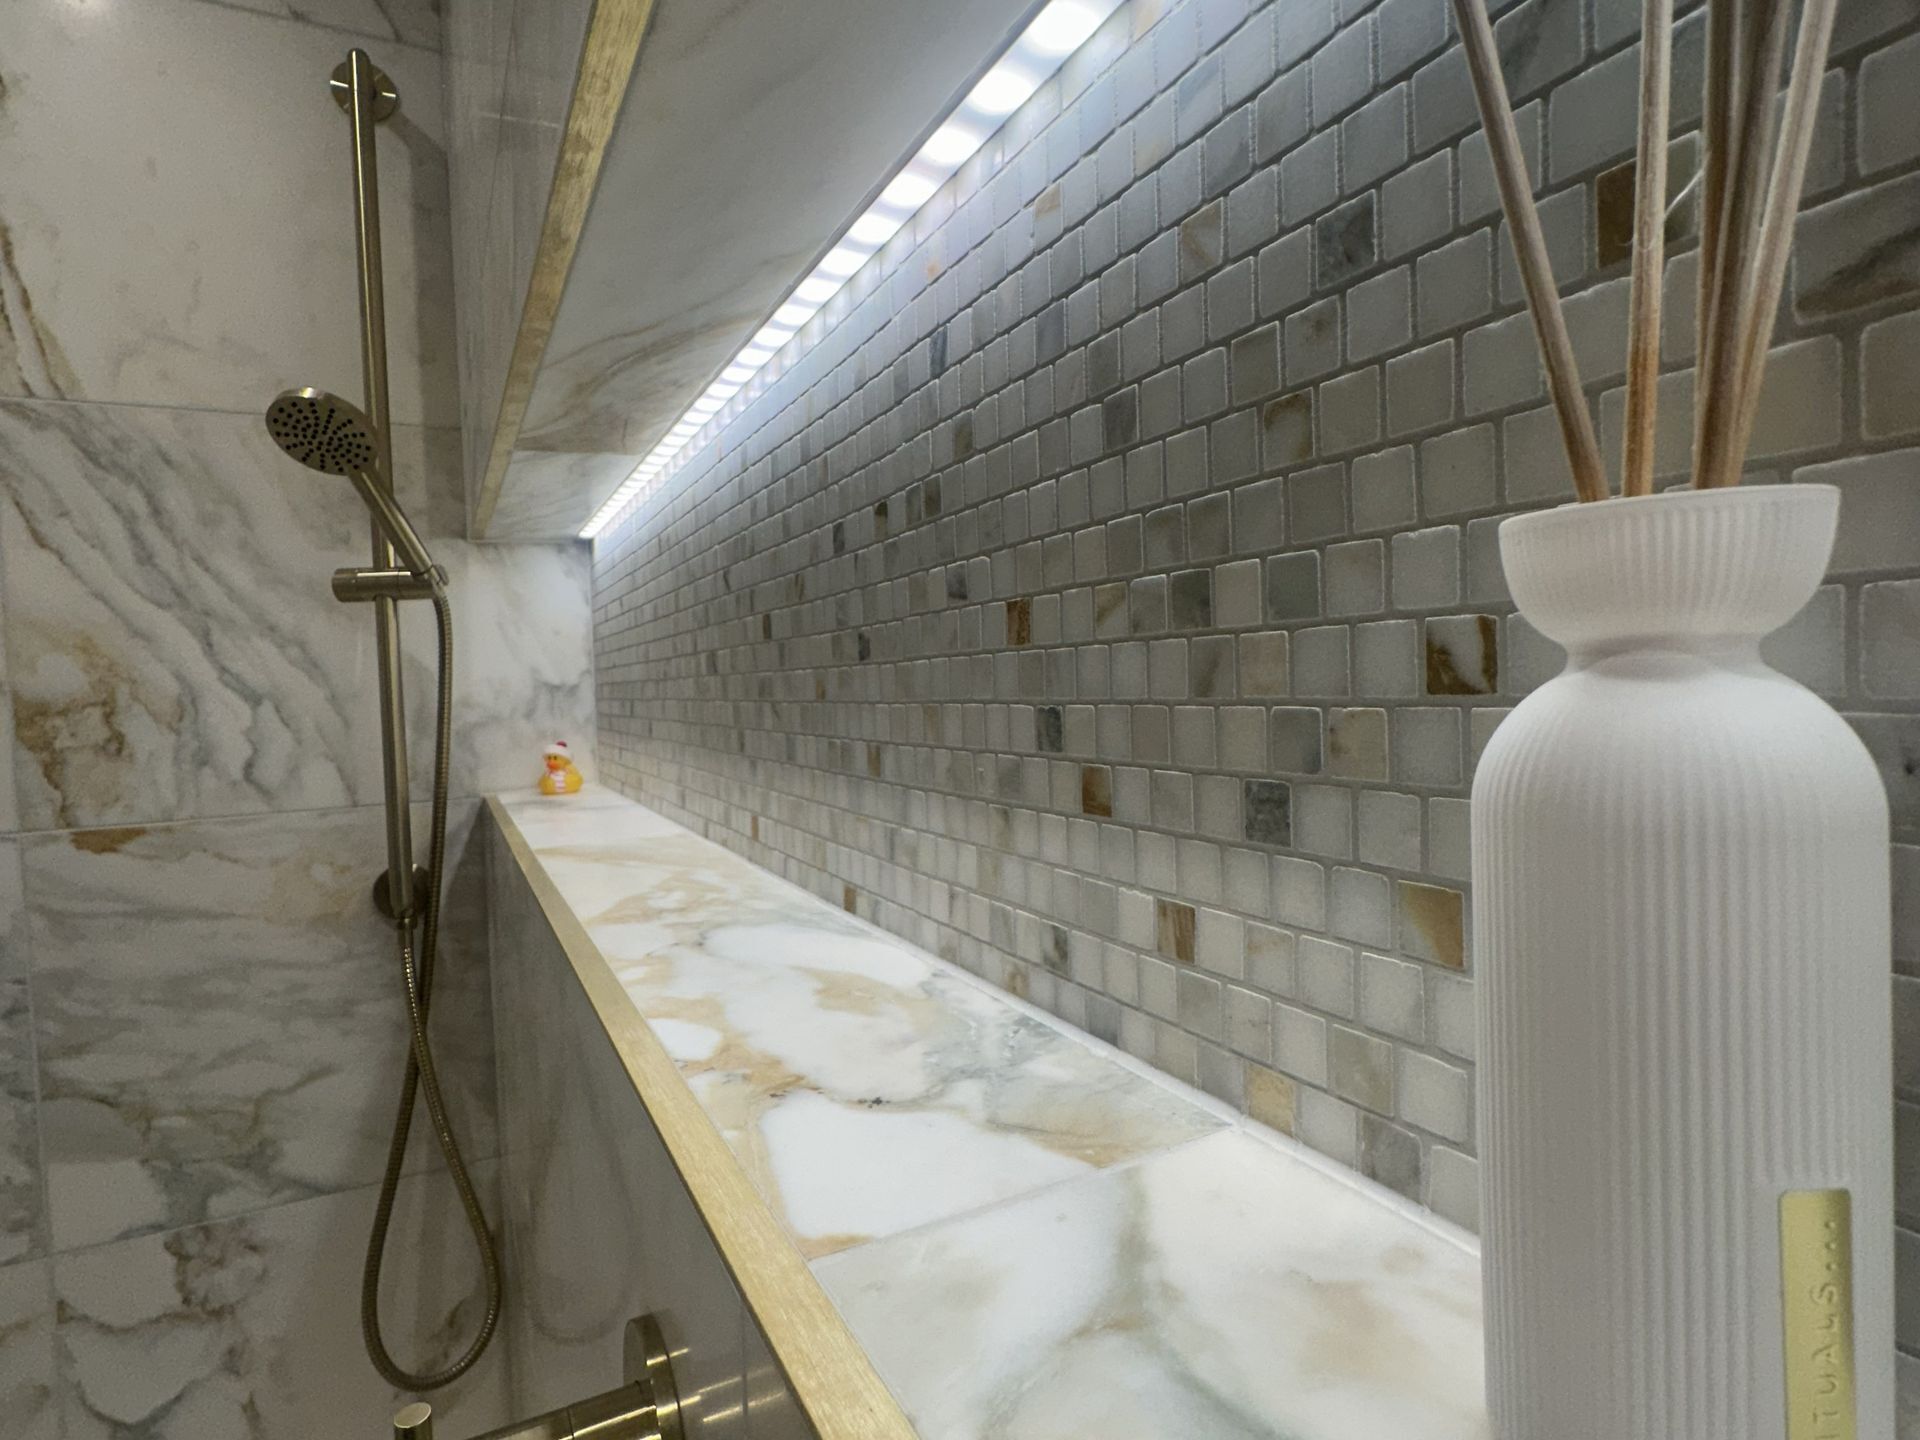
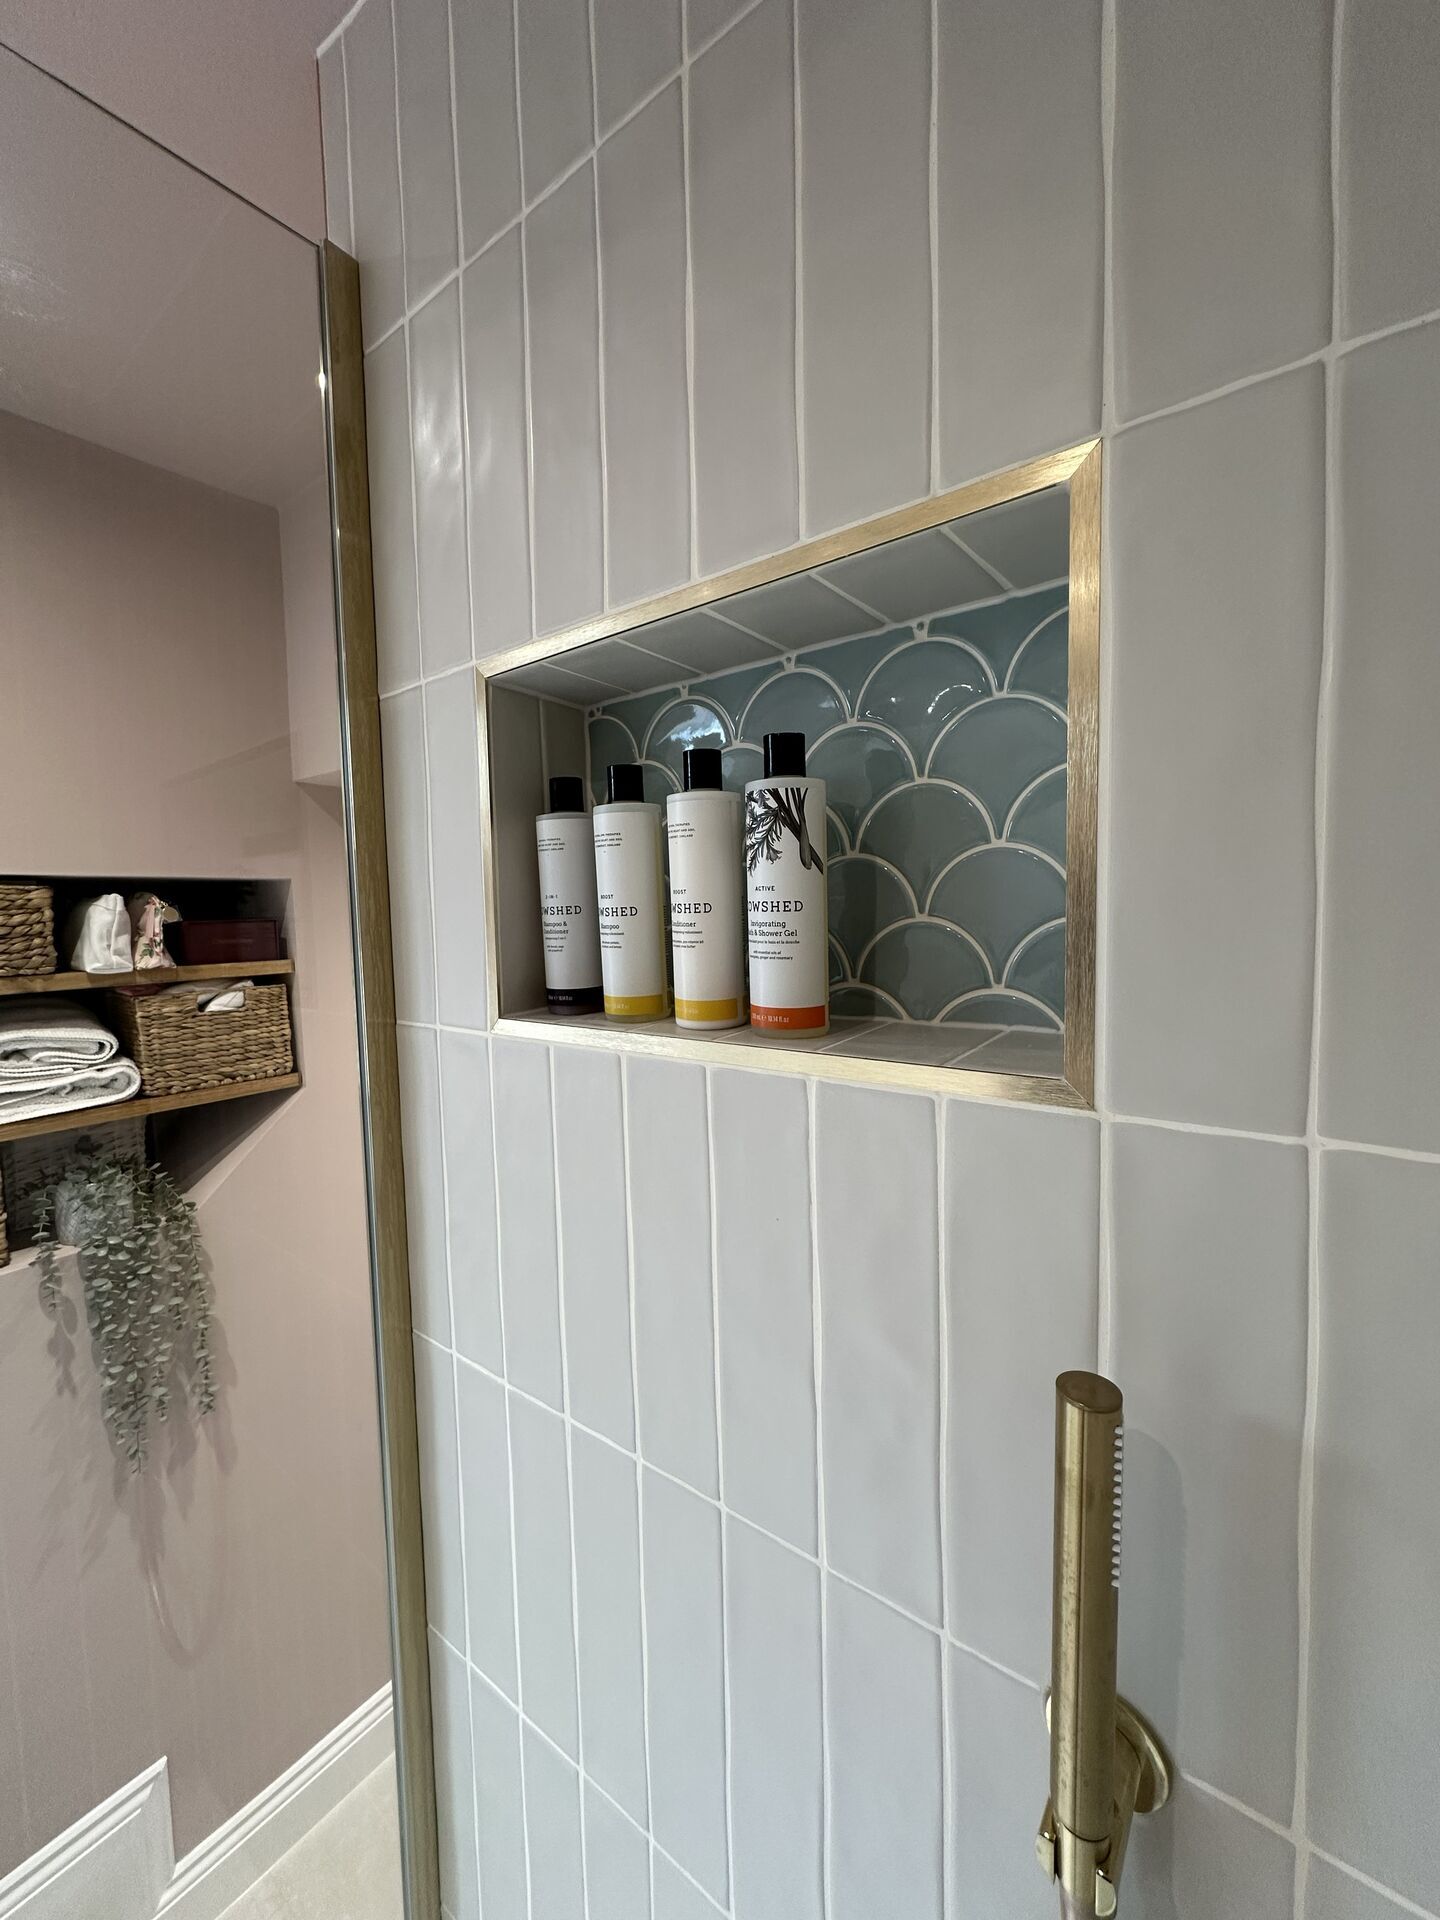
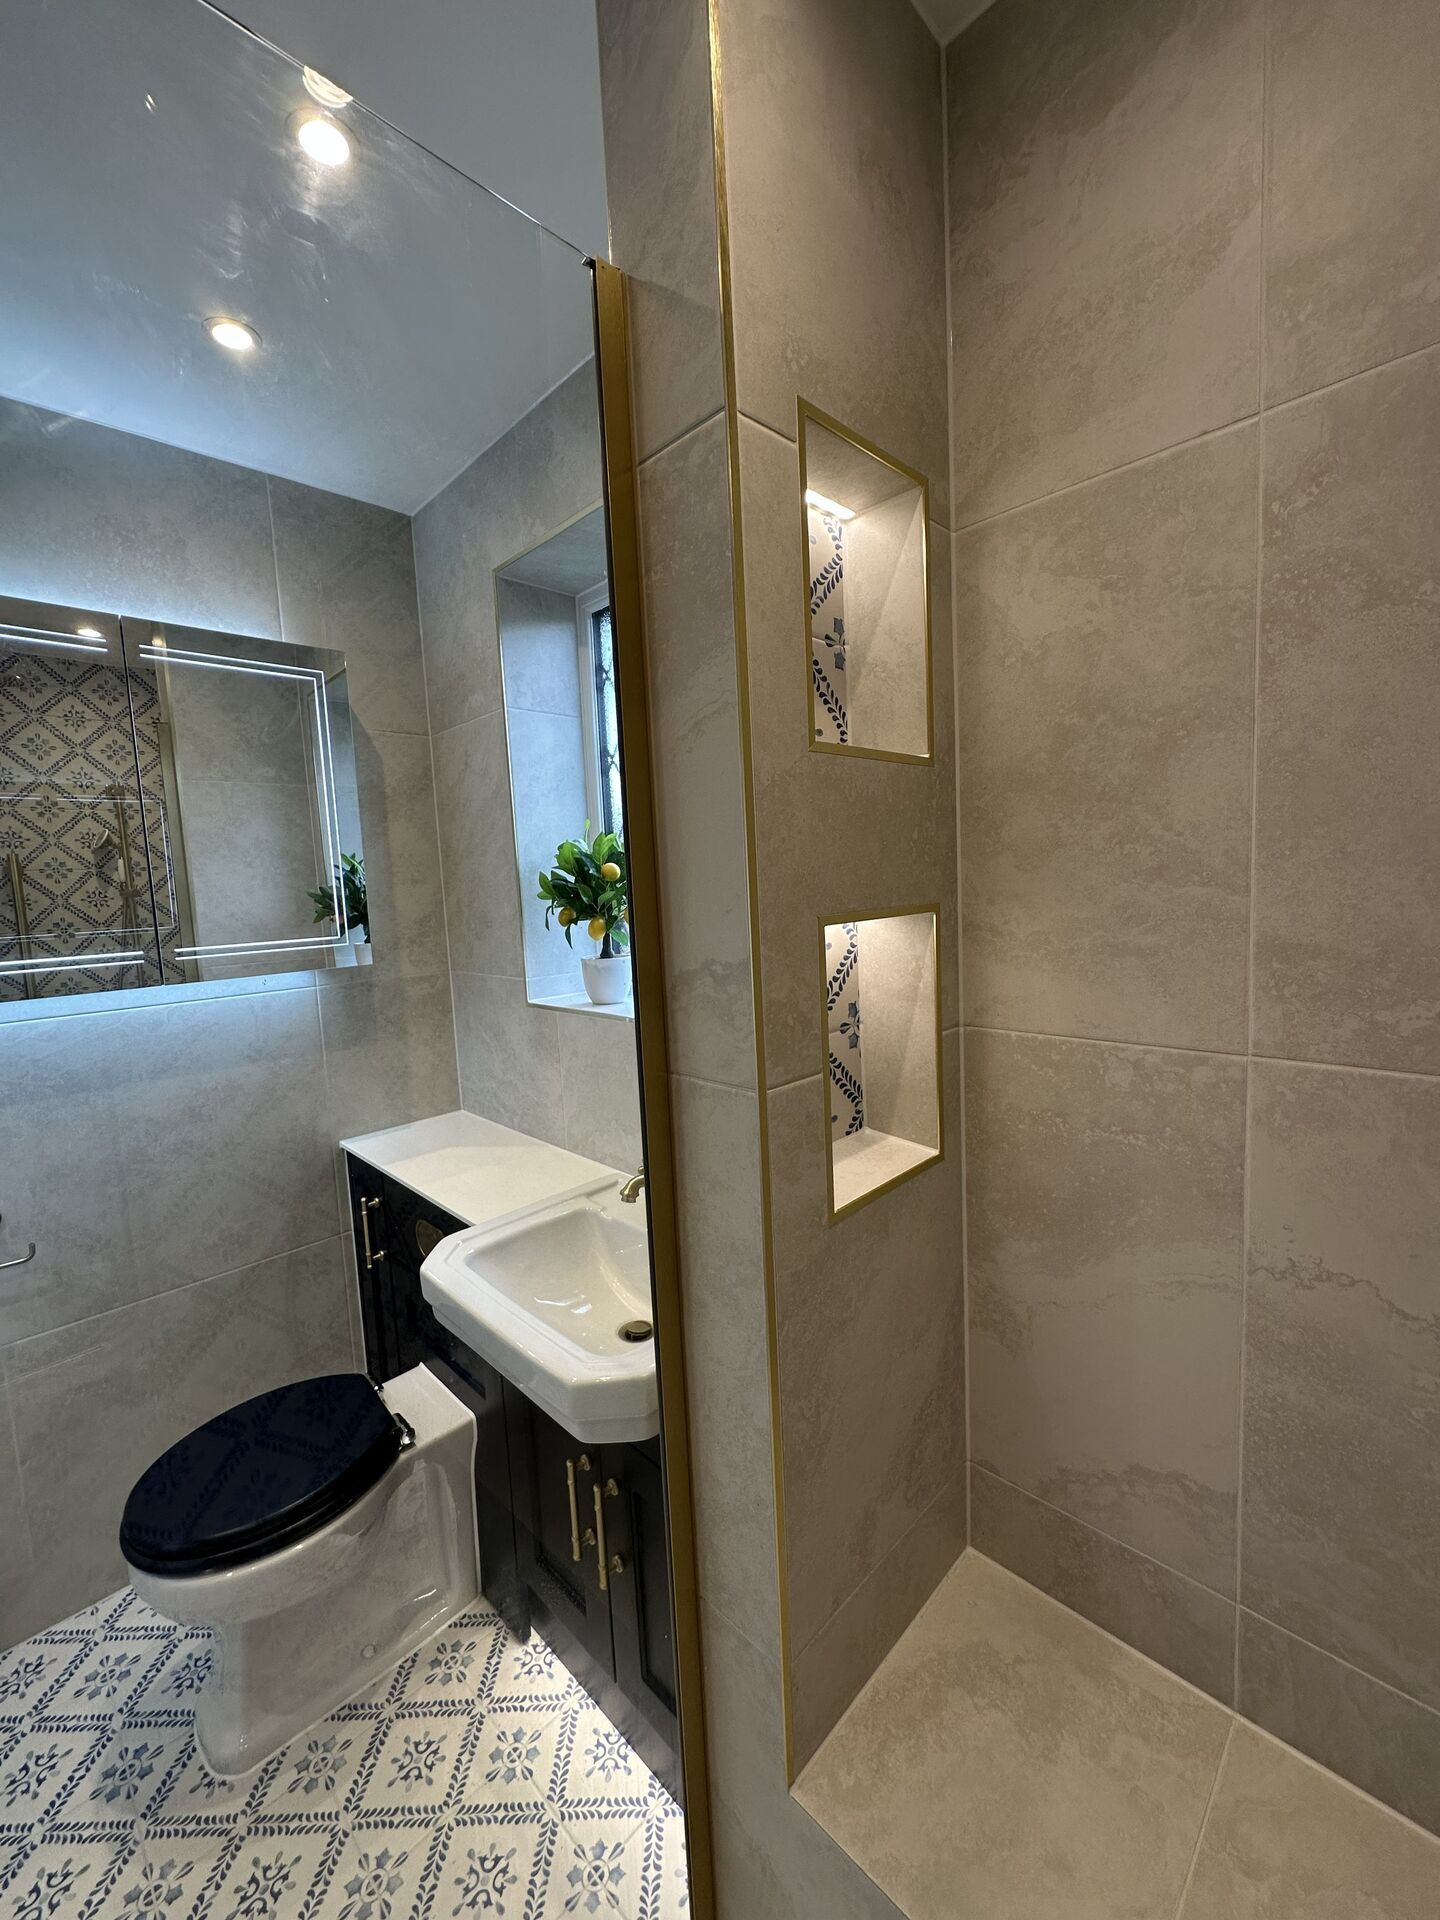
The edge can be finished with a mitred tile, a tiled return or metal trim. Coggeshall’s stacked niches have tiled edges. Kelvedon’s have brushed brass edging, while the long Chelmsford niche has brushed brass trim along the shelf. Porcelanosa, in a 2019 article, also recommends a decorative metal profile as a way to frame a niche.
For the back, use the same tile as the wall if you want the recess to sit quietly within the scheme. A feature tile draws more attention to it. Kelvedon uses patterned tile inside its niches, Chelmsford uses marble mosaic, and the Halstead niche is lined in the same bookmatched Nero Magnifique tiles as the walls.
Niche backs, sides and sills create extra surfaces and extra cuts, so they need to be measured separately when quantities are calculated. See our tile quantities and waste guide.
A niche cut in after the tiles are chosen but before the set-out is drawn is how you end up with slivers. If the fitter is setting out on site, give them the niche position and size as part of the tile layout, not as a separate job.
Shower niche set-out: elevation
The wall face of a recessed niche, with the opening sized and placed to land on the tile grout lines. No tile size is stated; the depths given below are two makers’ own prefabricated products.
Elevation: wall face
How do you waterproof a shower niche?
A shower niche sits inside the wet zone, so the waterproof layer needs to continue across its back, sides, head and sill without gaps, then connect properly to the waterproofing on the wall.
Shower niche waterproofing: a continuous layer into the recess
A vertical cutaway through a shower wall and niche, with the room on the right. The waterproof layer runs unbroken down the wall face, into the head, down the back and along the sill, then back out to the wall face. No wall depth, niche depth or fall angle is stated.
Section: wall and niche, room on the right
No Building Regulation in England specifically requires bathroom tanking. It is best practice, while codes of practice including BS 5385 provide guidance rather than law. Our guide to what bathroom tanking is and where it goes explains the wider system.
A site-built niche is usually formed from waterproof tanking board. Every joint and internal corner must then be sealed with the tape and sealant intended for that system. wedi, for example, says its board core is waterproof and specifies wedi 610 for sealing butt joints. A niche puts several joints into a small area, so missing one undermines the waterproof layer even if the boards themselves are waterproof.
A prefabricated tileable niche reduces the number of joints that have to be formed on site. wedi describes Sanwell as “a prefabricated, waterproof wall element for individual tiling”, with joints “sealed in the factory”. It still needs a sound, even base, and wedi lists its own adhesive, wedi 610 sealant and joint reinforcement tape as the installation materials.
Crosswater’s stainless steel niche is a finished unit. Its product page and data sheets do not explain how it connects to the wall’s tanking, so the fitter should follow the installation guide for the chosen model.
The sill needs a slight fall towards the room so water runs out rather than collecting in the recess. Porcelanosa advises: “Always make sure that the shelves of your niche are placed on a slope to prevent water from collecting in the recess.” It suggests creating that fall with an angled tile.
A flat sill
Water sits on it, soap residue builds up, and the grout line at the back of the sill stays wet. Build the fall in with the tile or the substrate before tiling.
Mixing systems at the niche
The niche is where several products can meet, including board, wall membrane, a prefabricated box and trim. Keep the tapes, corners and sealant within one waterproofing system, as our tanking guide explains.
Prefabricated niche or built on site?
A prefabricated niche gives you a known size and, with a board niche, factory-sealed joints. Building one on site allows an exact size, including a full-width recess or an opening designed around the tile layout, but every joint then depends on careful sealing by the fitter.
Built on site in tanking board
The opening can be made to almost any width or height, so it can be sized precisely to the tiles. Every joint and corner has to be sealed by the fitter, and the available depth is still set by the wall.
wedi Sanwell: a board niche you tile
The wedi Sanwell comes with an inside opening of 234 x 434mm or 334 x 634mm, in 100mm or 70mm inside depths. It is made from wedi building board, has factory-sealed joints and requires a sound, even base.
For the larger 30/60 niche, wedi also makes Sanwell Top, a 6mm one-piece surface bonded in with wedi 610. The maker calls it “a high-quality alternative to conventional tiling”, and because it is a single seamless piece, there are no grout joints where it is fitted.
Crosswater Shower Niche: finished stainless steel
The Crosswater Shower Niche comes in 305 x 305mm or 610 x 305mm sizes. The listed depths are 120mm, with an 80mm version for stud partition walls. It is made from 304 stainless steel and comes in Brushed Brass, Brushed Bronze, Brushed Nickel, Chrome, Matt Black or Slate. Crosswater says the niche sits “flush with the wall” and includes “sound deadening material”. An optional LED strip fits at the back. The data sheets list a 15-year warranty, but Crosswater’s guarantee terms give accessories two years as standard and 15 years only once the product is registered, so check the terms, including for the LED parts. Because the metal box is the finished surface, the tiles stop at its edge and the set-out has to accommodate the fixed product size.
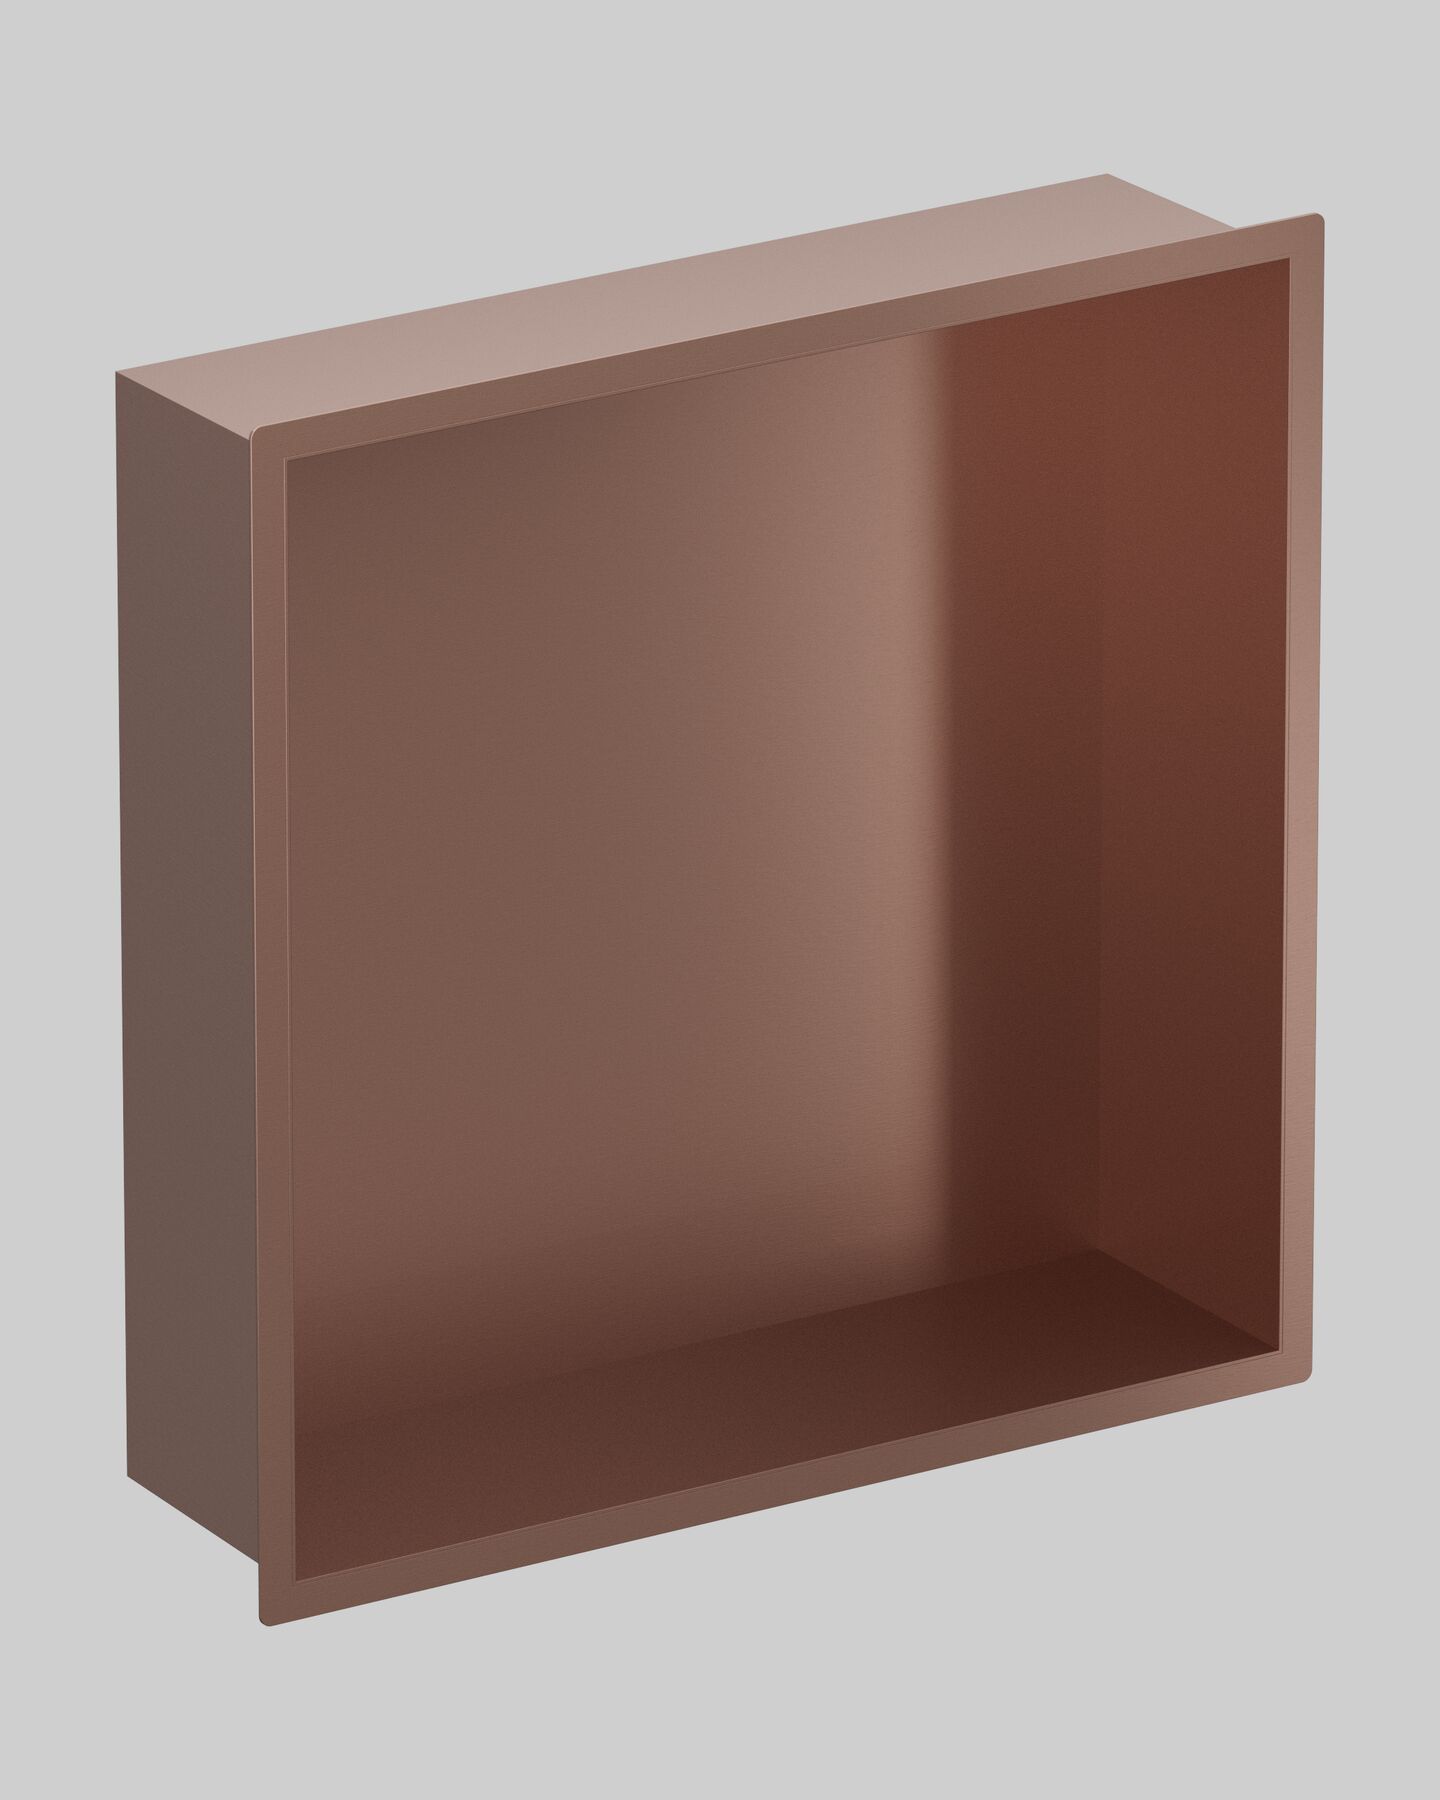
If you want the wall tile to carry on inside the recess, or a size the prefabricated niches don’t come in, we’d go for a site-built niche. If you like the look of a metal frame and one of its sizes suits your tile layout, the stainless steel niche is the simpler choice.
Sills, linings and edges
The sill is the surface you touch and the part of the niche that gets wet, so it’s the surface to spend on.
The Ca’ Pietra workshop in Wiltshire produces “bespoke sills, shelves and niches to co-ordinate with the other stone in the bathroom”. Available edge treatments include pencil, bullnose, ogee and flat-polished finishes. Its Statuario marble slab, for example, is listed for showers and wet rooms with “Sealing Required: Yes”, and Ca’ Pietra recommends pH-neutral cleaners for natural stone.
A tiled sill can use the same material as the wall, which keeps the niche visually quiet. Where the tile format allows it, a large piece on the sill reduces the number of joints in the surface where water lands. Chelmsford’s long niche has large pieces on the shelf with marble mosaic behind.
The edge and the back of the niche follow the choices in the set-out steps above: a mitred edge, a tiled return or a metal trim, and either the wall tile carried through or a feature tile inside.
If you want a niche surface without grout joints, wedi Sanwell Top, made for the 30/60 Sanwell niche, is the one-piece option described in the previous section.
In our view, a trim is the more protective finish because it covers the tile edge. A mitre can look cleaner, but the quality depends heavily on the tile and the tiler’s work.
Can you light a shower niche?
Yes. Lighting is one of the most effective small details you can add to a niche, but it also turns the recess into electrical work in the wettest part of the room.
Bowmans projects use several approaches. Halstead’s niche has “warm IP67 recessed LEDs”, the Braintree CM7 wet room lists IP67 LED niche lighting, and three niches in Gosfield are lit “with a warm-white strip”. IP67 describes the fittings used in those projects. It isn’t a general requirement for every niche.
Crosswater offers an optional LED strip at the back of its stainless steel niche. Its data sheet also lists a separate LED driver among the spare parts, so ask where that driver will be positioned and how it can be reached if it fails.
BS 7671, the IET Wiring Regulations, splits the room into zones. Zone 1 is the space above the bath or shower tray, up to 2.25m above the finished floor, or up to the highest fixed shower head or outlet if that is higher. Where a shower has no tray, zone 1 reaches 1.2m horizontally from the centre of the fixed water outlet. Around a bath or shower tray, zone 2 runs a further 0.6m beyond zone 1. A shower without a tray has no zone 2, because the wider zone 1 takes its place. The current edition is BS 7671:2018+A4:2026, and your electrician will confirm the zones in your room.
Electrical equipment in zones 1 and 2 needs at least IPX4 protection, or IPX5 where water jets are present. Every bathroom circuit also requires 30mA RCD protection. Your electrician should confirm which zone the niche occupies and whether the fitting’s manufacturer approves it for that position. The IET’s BS 7671 FAQs set out the IP rating rule for zones 1 and 2.
In England, adding or altering a circuit within 0.6m of the edge of a bath or shower tray and up to 2.25m high, or up to the shower head if it is fixed higher, is notifiable under Part P. For a shower without a tray, the relevant horizontal distance is 1.2m from the shower head. Adding a new circuit is also notifiable. The work therefore needs to be certified by a registered competent person, a registered third-party certifier or building control. Wales, Scotland and Northern Ireland have their own rules. See Approved Document P for the rules in England.
Our guides to luxury bathroom lighting design and UK bathroom regulations cover the wider lighting plan and approval process.
Plan the cable and the driver before the board goes up. A lit niche needs its cable route, switching and driver position drawn with the niche, because afterwards the only way in is through the tiles.
One long niche or two? Niche, shelf or caddy?
In a wet room or wide shower, one long niche, sometimes extending across the wall, usually looks calmer than two small boxes. In a narrow shower or a wall with limited usable space, two smaller niches can be easier to place. They can also be stacked at different heights.
The Chelmsford master ensuite combines an infinity niche “running the length of the wall” with twin niches elsewhere. Great Notley has a “full-width LED-lit niche”, and Halstead uses another long infinity niche. Bures and Kelvedon use stacked pairs, Gosfield has three stacked niches, and Coggeshall has stacked niches tucked into a corner.
A niche suits you if
- you are tiling the shower anyway
- the wall has enough depth or can be built out
- you want nothing projecting into the shower
- you are prepared to plan it with the tiles
A shelf or ledge suits you if
- the wall cannot be cut because of pipes, cables or its construction
- you would rather box in pipework and use the top as a ledge
- it is a rented or short-term room
wedi Mensolo L and U elements are prefabricated 20mm board sections “often used for shelving solutions or pipe cladding”. A wire caddy is the fallback, not a design choice.
Verdict: plan it with the tiles or don't have one
In a new tiled shower, our view is that a niche is nearly always worth including. Size it to the tiles, put it on a wall out of the direct spray, waterproof it as part of the wall and give the sill a slight outward fall. If the wall has no depth and cannot be built out, choose a ledge rather than a shallow niche that won’t hold a bottle.
Shower niches in Bowmans projects
The country cottage bathroom in Coggeshall has a shower over the bath with stacked corner niches at the bath end. They were “carved from an awkward space that had no use before” and tiled as part of the surrounding scheme. Ca’ Pietra Wiltshire Hares tiles by Joanna May are “scattered across the walls” among soft-toned Nuance ceramics. The 3D storage render shows how the niches were planned around the existing space.
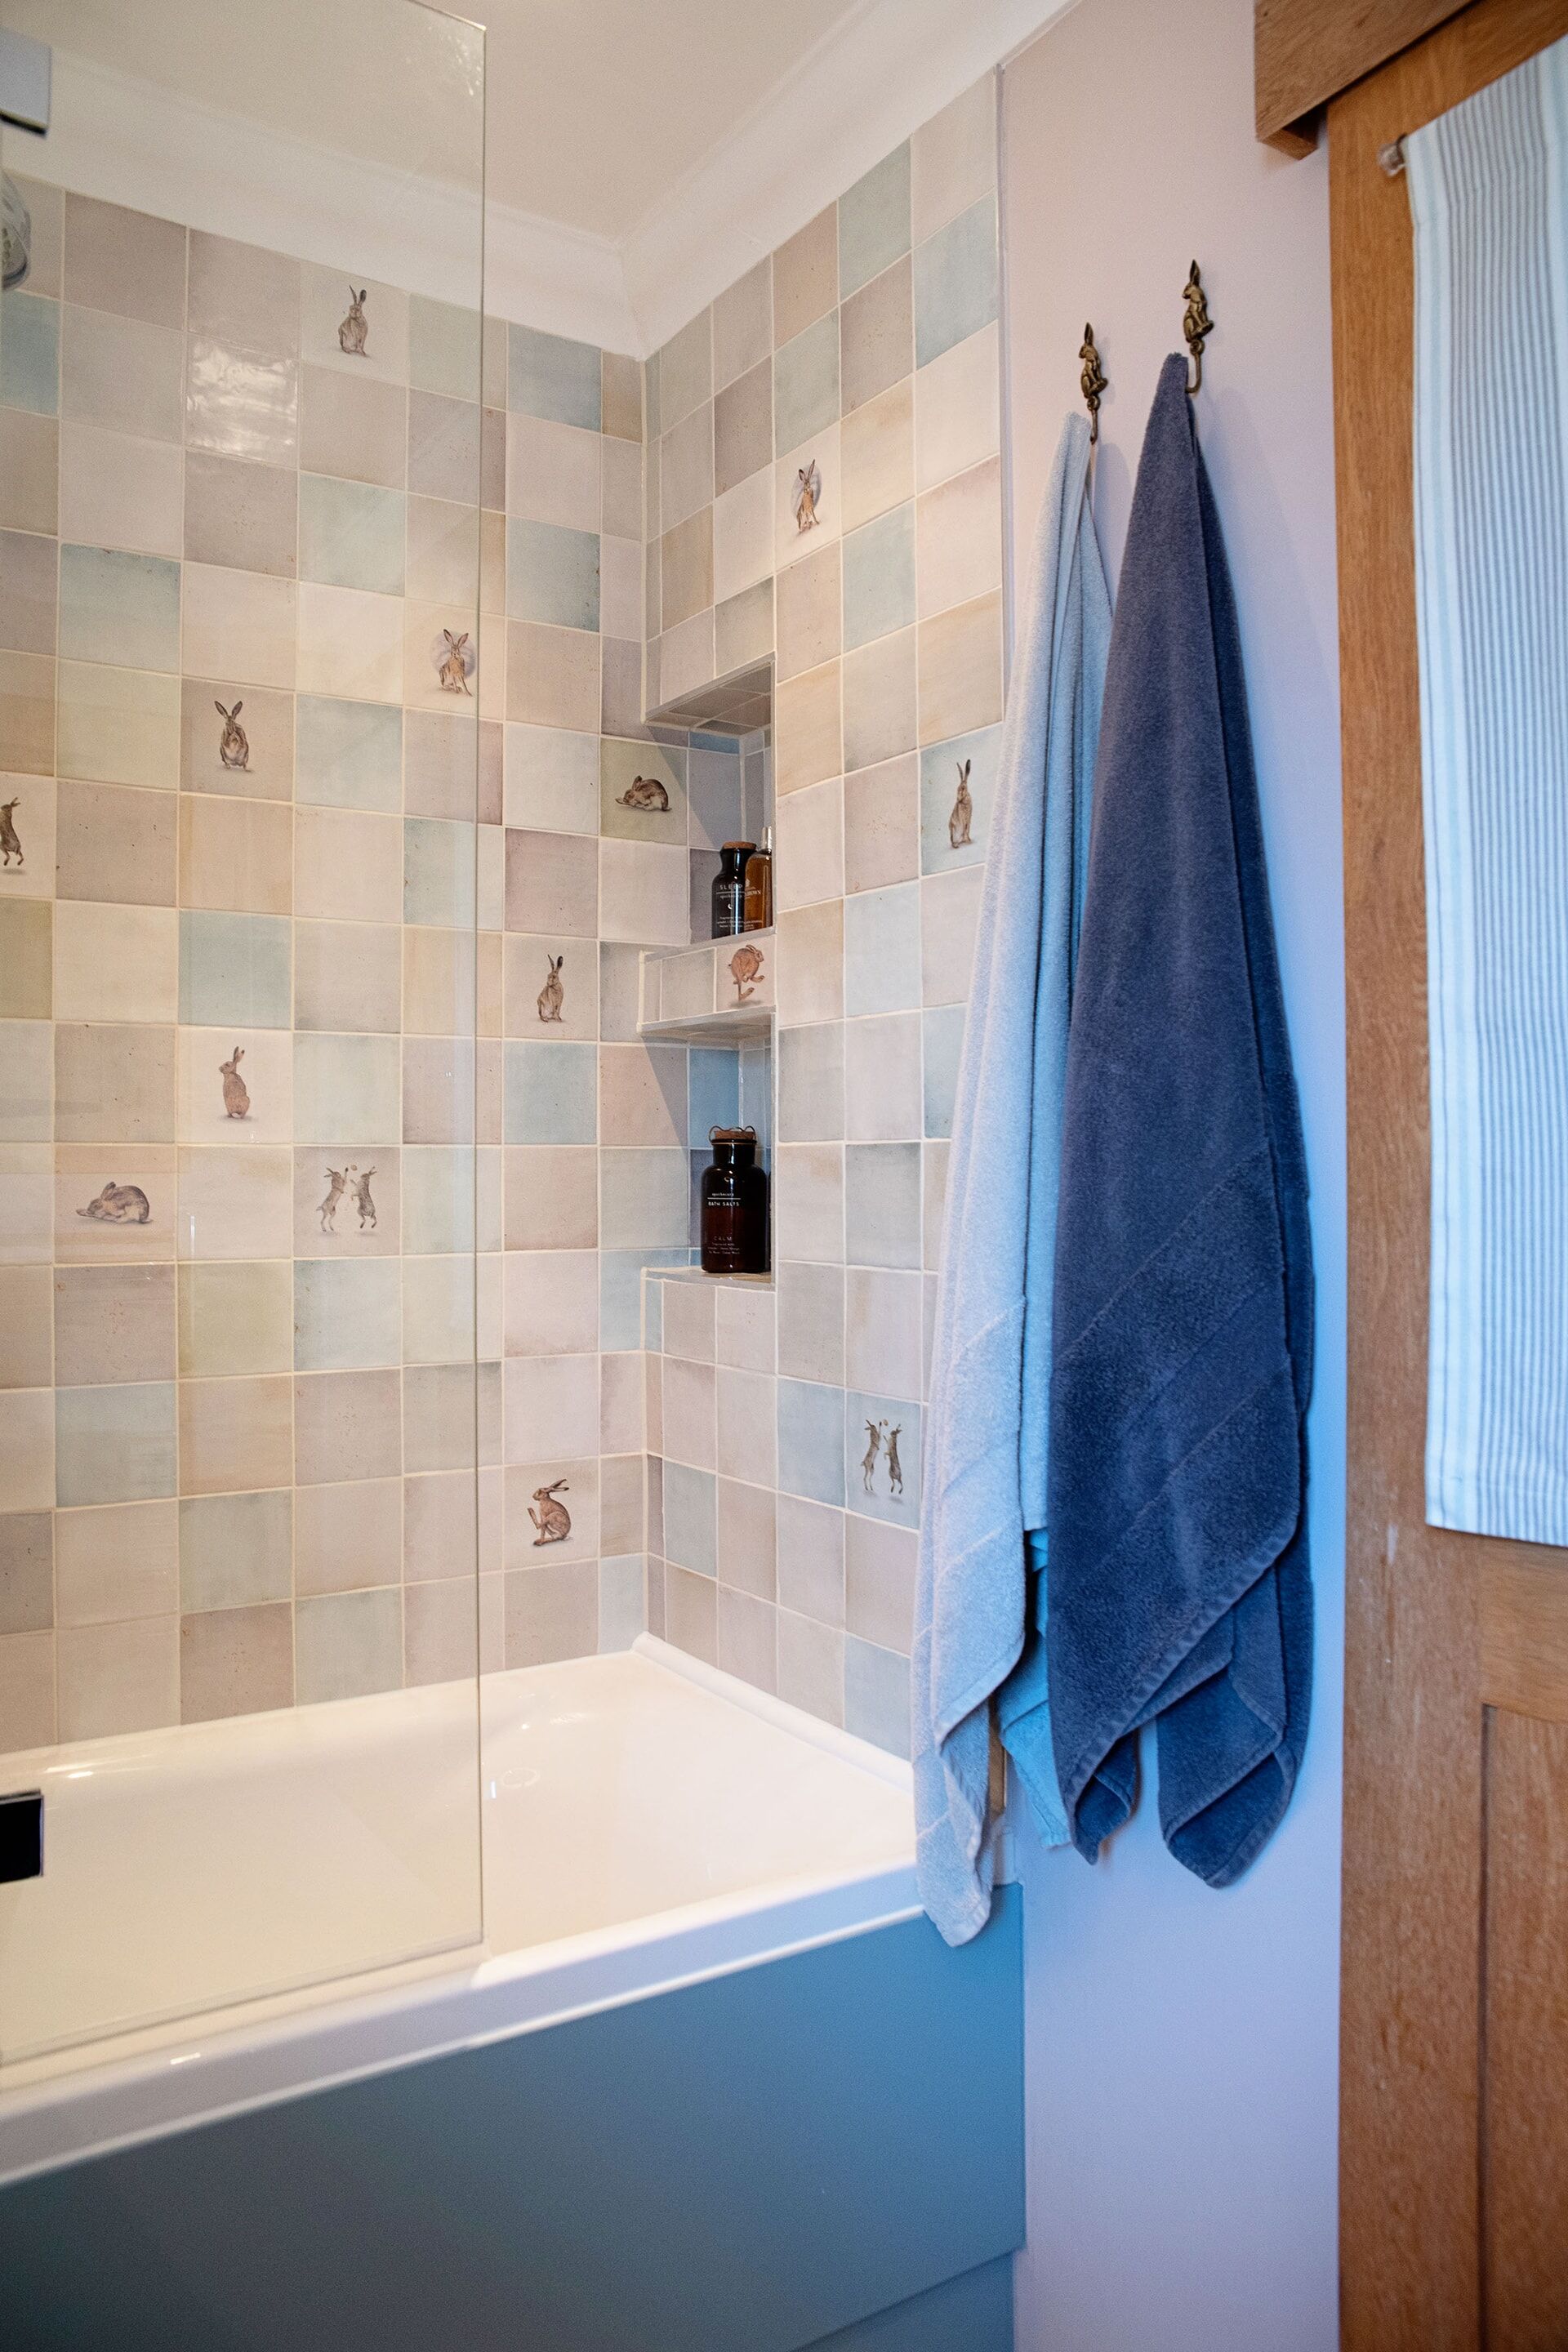
In Kelvedon, a partition built out “roughly 380mm deep” holds two niches lined in patterned tile with brushed brass edging. This is a useful example of creating enough depth deliberately rather than accepting what the original wall provides.
The Halstead wetroom takes the opposite approach to the smaller stacked boxes. Its long niche continues the bookmatched Nero Magnifique finish and is lit with IP67 LEDs.
Together, the projects show three different reasons for choosing a niche layout: making use of an awkward corner, building a wall forward to create storage, or using one long lit recess as part of a wider wet-room wall.
How we handle it
The niche is drawn on the same plan as the tile layout, valve and shower head, so its size and position are fixed before first fix. Bowmans project pages describe this planning at Bures and Great Baddow.
If you’re buying tiles and products for your own fitter, give them the niche size and position as part of the tile layout, along with the maker’s installation guide for any prefabricated niche.
Frequently Asked Questions
Planning your niche
Choose the tile first, then fix the niche size and position on the tile layout before deciding how it will be waterproofed. Bring the wall dimensions, what the wall is built from if you know, and the tile you like when you book a showroom visit at Braintree or Leigh-on-Sea.
Your own fitter is welcome. Design is included when you choose your products with us.