
Mitred tile edges: the corner with no trim, and when it’s worth it
Every external corner in a tiled bathroom needs the tiles to stop somehow. That includes boxing, shower niches, window reveals, bath platforms and the end of a half-wall. The way you finish those corners decides whether you see the tile face, a cut edge or a line of metal.
A mitred tile edge is made from two tiles cut at 45° so their faces meet on the corner. The tip should be eased slightly rather than left knife-sharp. It gives you the cleanest finish on corners you look at, while a trim is usually the better choice where the corner will be knocked or walked on.
A tile-cutting tool maker points out that many tilers avoid mitres because of the risk of chipping the tile. So this needs to be discussed while you’re choosing the tile and planning the layout, not left until the fitter reaches the first external corner.
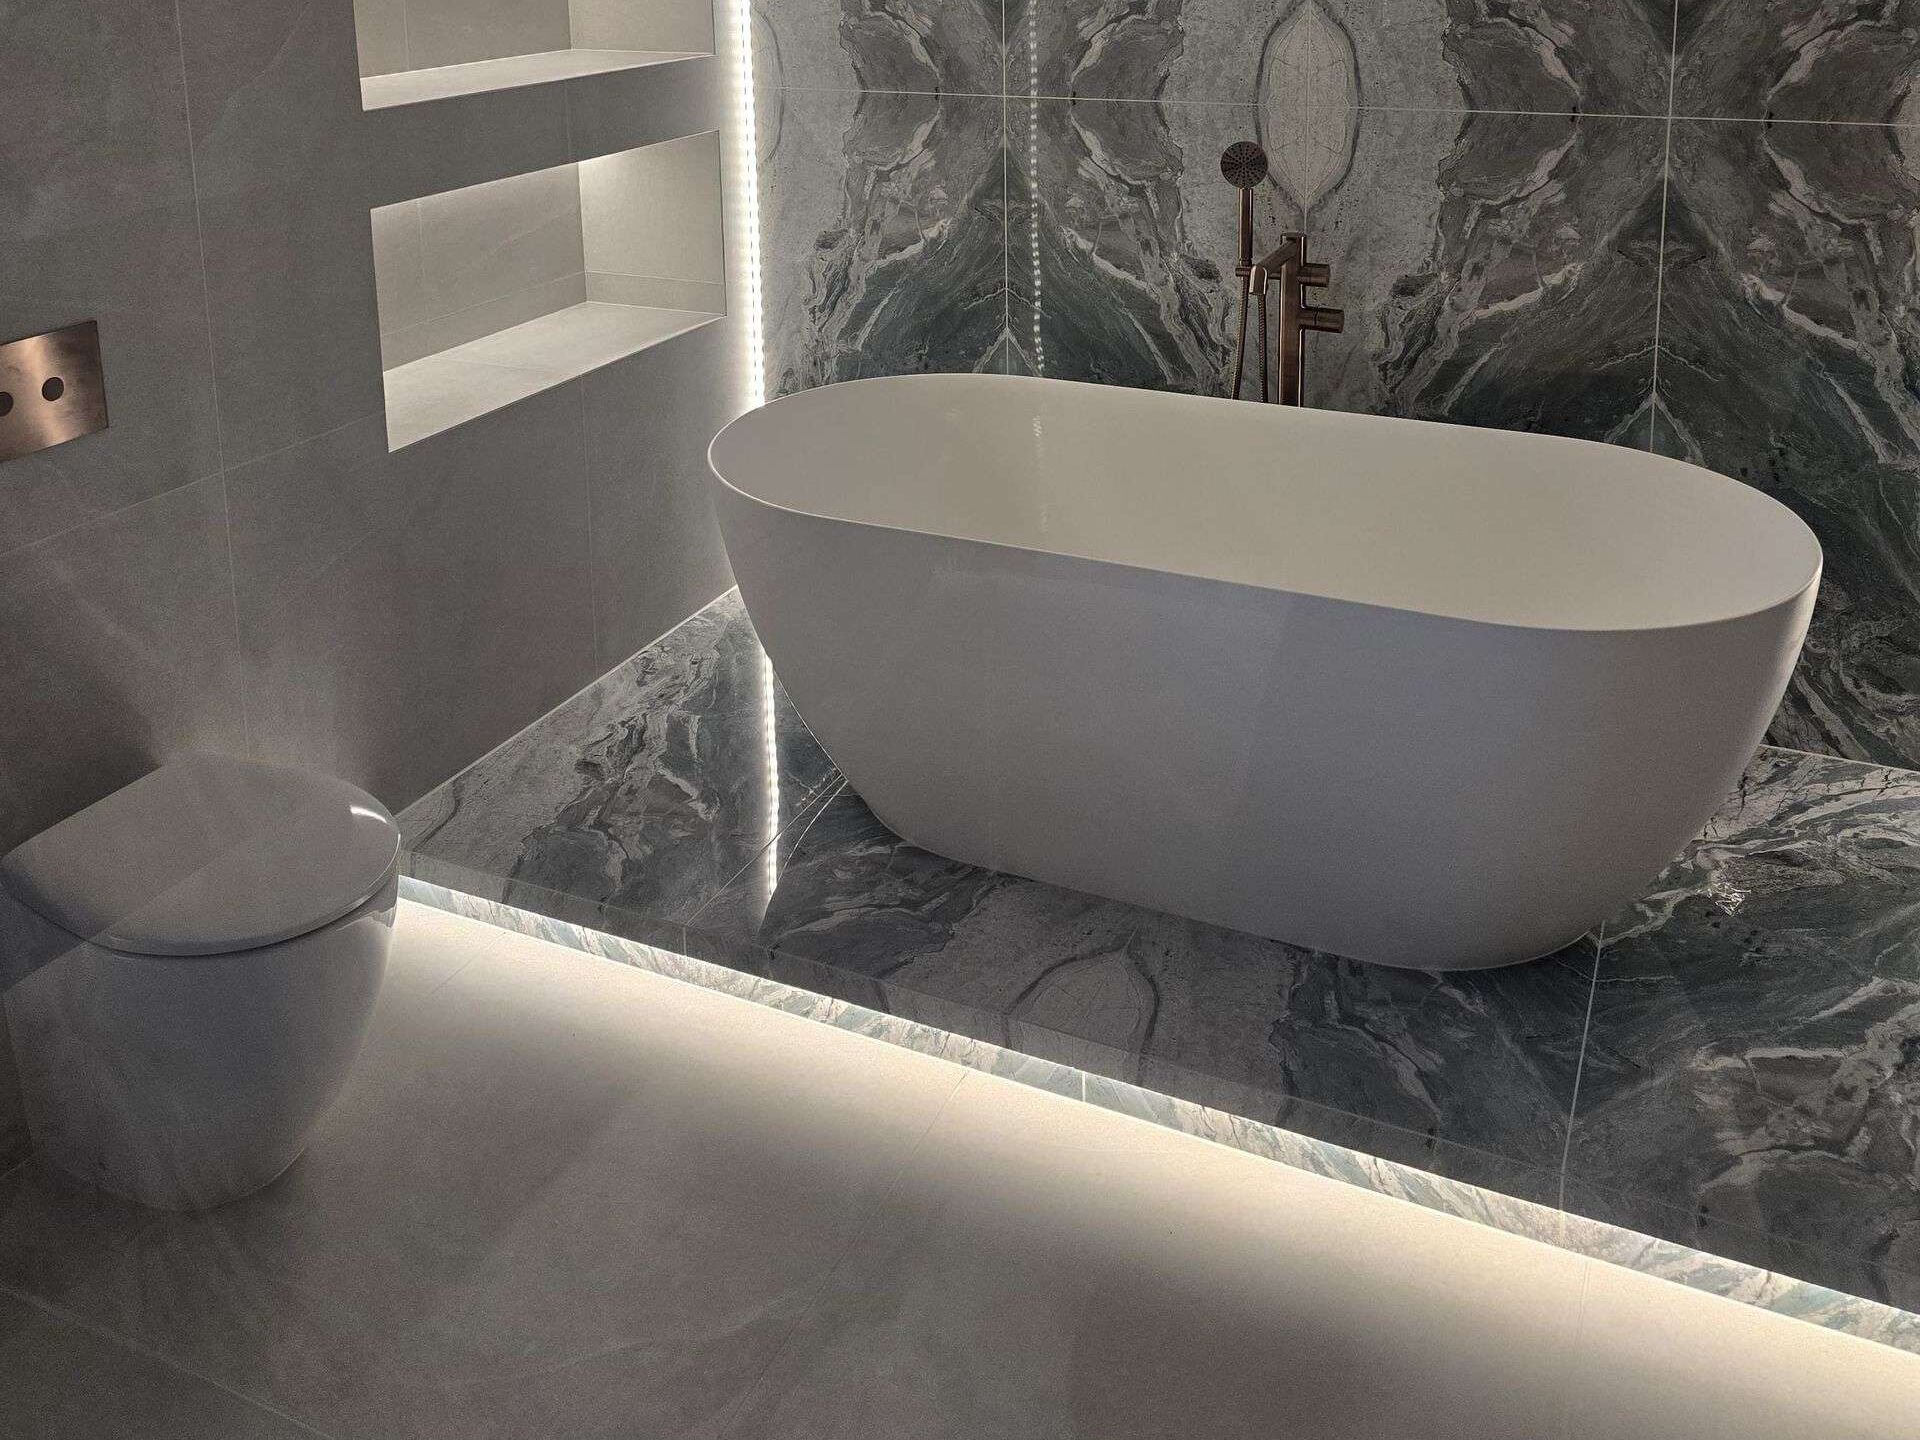
A mitred tile edge is an external corner where both tiles are cut at 45° along the edge, so their faces meet on the corner and the tile appears to wrap around it. The cut removes the underside of the tile rather than its face, and the very tip is usually eased with a small arris so it isn’t sharp.
The alternatives are a metal trim, a butt joint where one tile laps over the other, or a factory-finished edge such as a bullnose or pencil piece.
“Mitre” can also describe floor tiles cut diagonally to follow the falls of a wet room former. That’s a different job from forming an external corner.
Quick Navigation
Why a mitred corner looks more expensive
A mitred corner looks more expensive because nothing interrupts the tile. With a trim, you see a line of metal down the corner. With a mitre, you see the tile face turn around it, with only a fine joint where the two tiles meet.
You notice it most on a tiled box, platform or ledge, where trim would otherwise break it into separate faces. Several lengths of trim can divide it into separate faces. Mitred tiling makes it look more like one solid block.
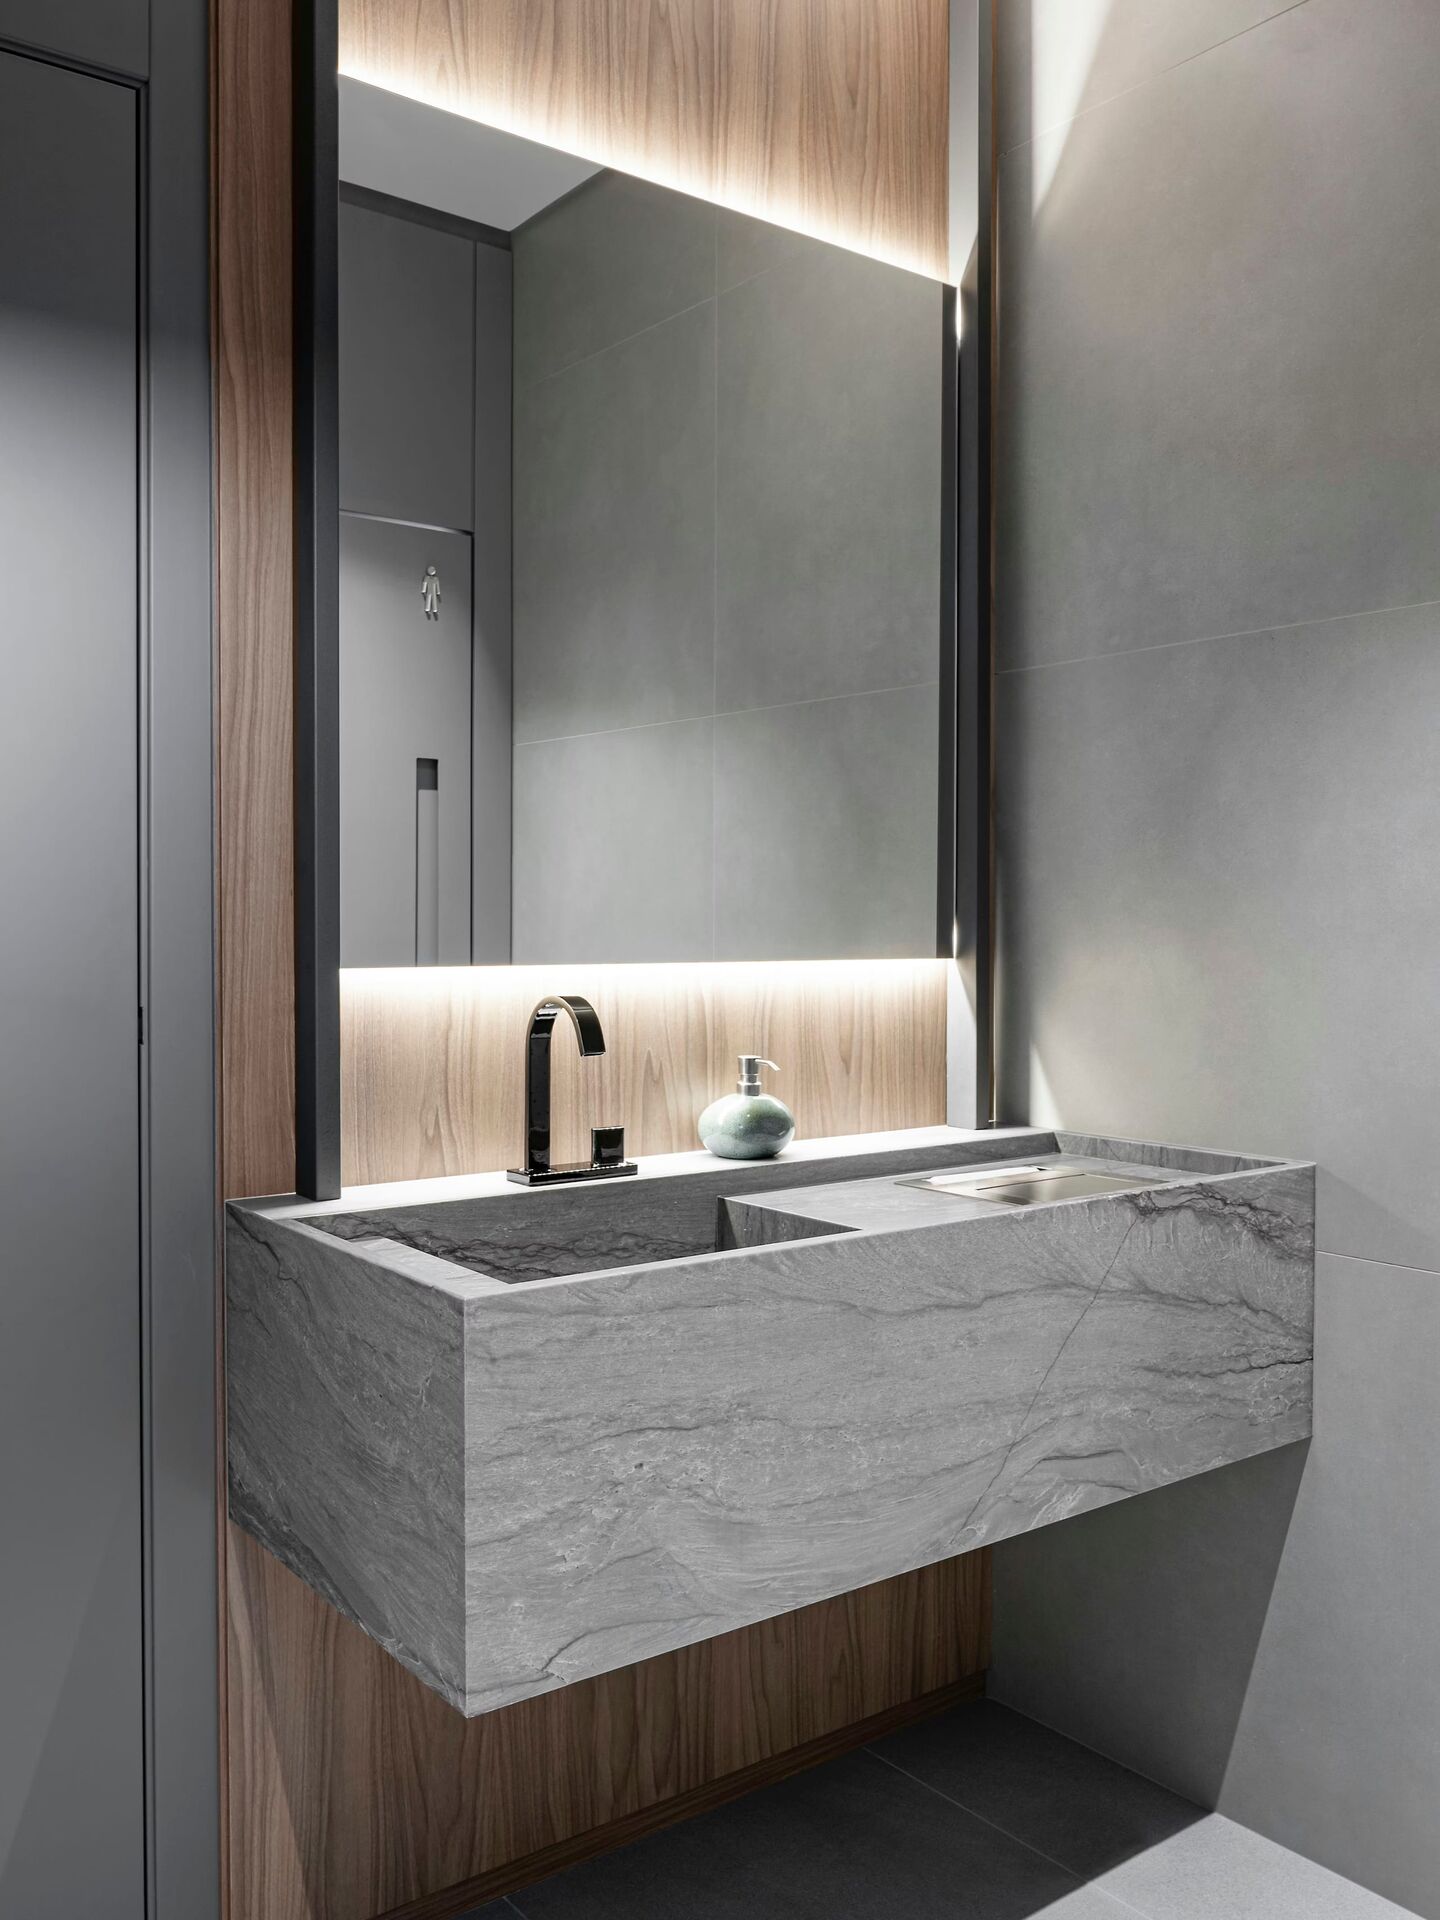
The bit people often miss is what happens inside the tile. Crossville, a US tile maker whose definitions we use here, describes glazed porcelain as having “a surface layer that creates the visual”. It also notes that the body underneath doesn’t always match that surface.
Some porcelain has a printed surface. Ca’ Pietra’s Magnifique range, which appears in several Bowmans projects, creates its marble appearance with “a high-definition print”. That pattern doesn’t continue through the body of the tile. A mitre keeps the cut body inside the corner, while a trim covers it. A butt joint leaves one cut edge visible.
A mitre doesn’t automatically continue the veining around the corner. The two faces will usually come from separate pieces, so the pattern won’t match exactly. True continuity requires pieces to be cut and ordered in sequence. Porcelanosa describes this for certain XTONE slab collections as an arrangement where “the graphic development continues through one piece to the other”, supplied “upon request”, with a possible deviation of up to 3cm.
You can read more about patterns, finishes and ordering in our tile buyer’s guide.
Mitre, tile trim, butt joint or a finished edge?
There are four main ways to finish an external tiled corner. The right one depends on what you want to see and what that corner has to put up with.
Swipe across to compare all columns.
| Finish | What you see on the corner | What protects the edge | Suits | Watch for |
|---|---|---|---|---|
| Mitre | Tile face turns the corner, with a hair-line joint | Nothing but the tile itself | Corners you look at, including niches, reveals, boxing, platforms and ledges | Needs the right tile body and a careful fitter; the tip should be eased, not sharp |
| Metal trim | A line of brass, bronze, black or steel | The trim covers the tile edge | Steps, floor edges, knock-prone corners and tiles that won’t mitre | The metal becomes part of the design, so we’d relate it to the brassware |
| Butt joint | One tile’s cut edge | Nothing | Through-body tiles whose cut edge matches the face | The body shows on printed or glazed tile |
| Finished edge piece | A rounded or moulded factory edge | The piece itself | Traditional and ceramic schemes, stone sills and shelves | Only works if a suitable piece is available |
Metal tile trim has a perforated leg that sits in the adhesive beneath the tile. It forms the corner and protects the edge “against damage caused by mechanical stresses”, according to one trim maker. Porcelanosa describes decorative profiles as “the perfect technical solution for corners” and says they protect people “from sharp edges”.
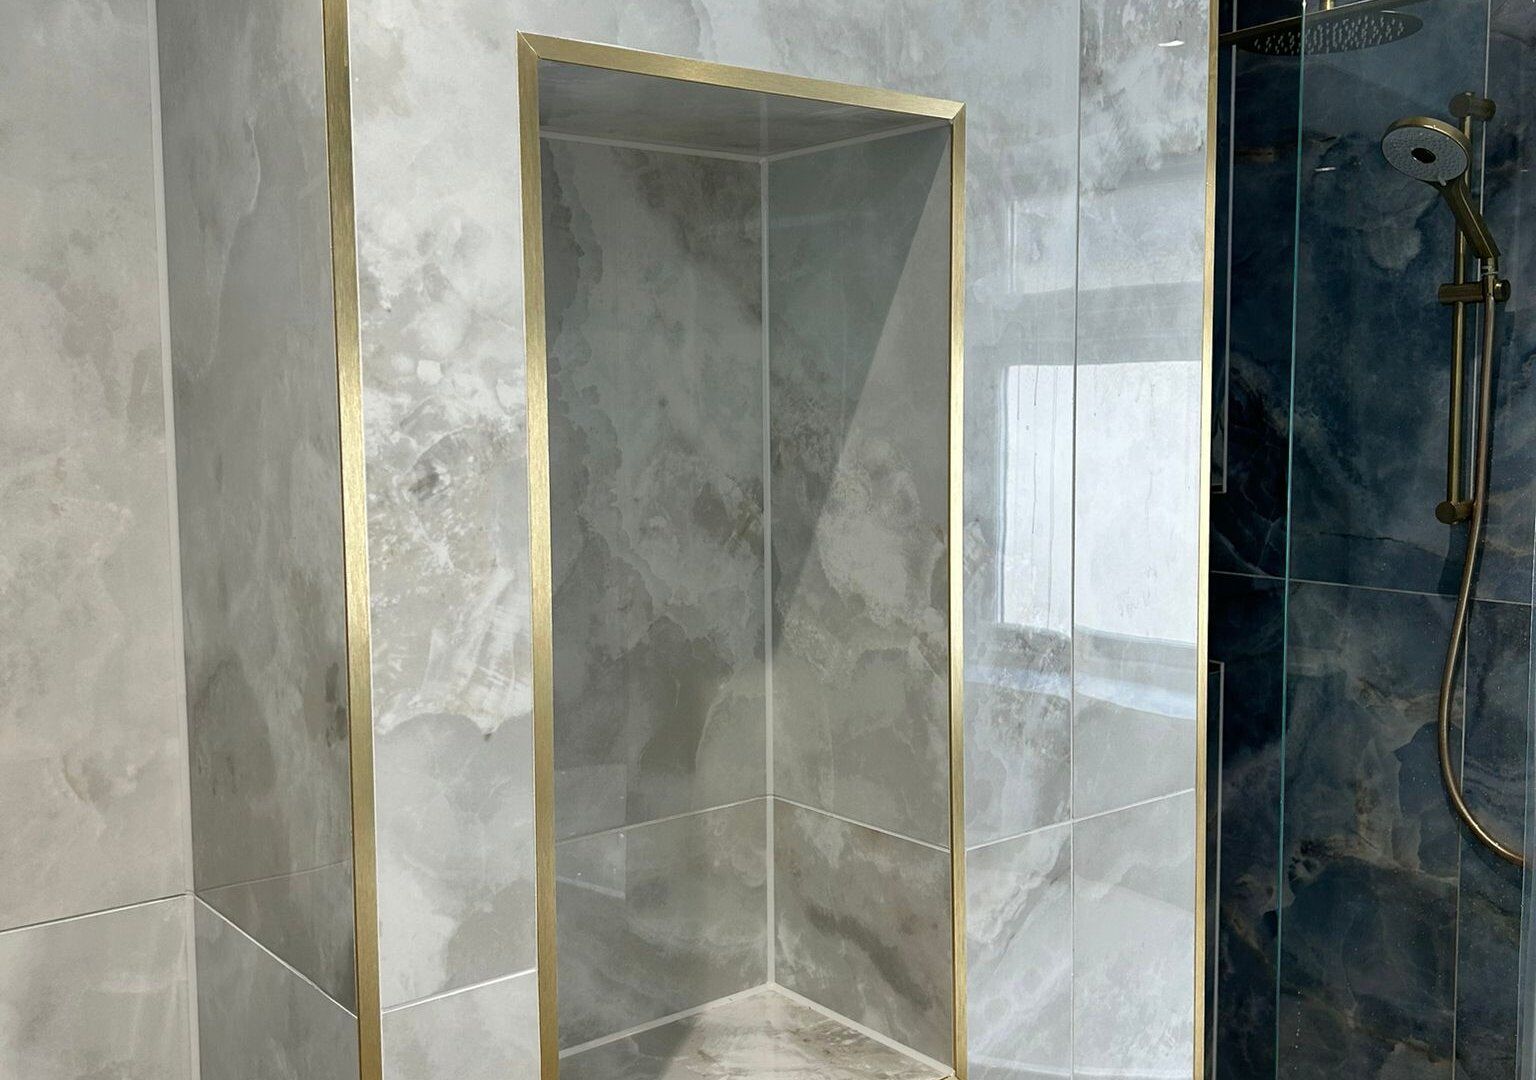
A tile edge trim can also be used deliberately as part of the room. Bowmans projects include brass trim around niches and, at Great Baddow, a window reveal, where the metal line relates to the other brass finishes rather than looking like an afterthought.
Some ranges offer their own tile edging pieces. Ca’ Pietra’s trims and mouldings include “pencil mouldings”, with a ceramic version listed for bathrooms, showers and wet rooms. Its workshop also produces stone sills and shelves with “pencil, bullnose and ogee profiles”. If you want bullnose tiles or a pencil edge, check what the particular range offers before finalising the layout. You can explore the maker in more detail on our Ca’ Pietra page.
A butt joint is the least complicated option and the most honest about the body of the tile. It can work well with through-body porcelain because the cut edge remains visually consistent with the face. We wouldn’t choose it for a printed tile where the exposed body is noticeably different.
Four ways to finish an external corner
Each panel looks straight down on the same external corner, where two tiled wall faces meet. No dimensions are shown except the 45 degree mitre angle.
Mitre
Metal trim
Butt joint
Finished edge piece
Which tiles can be mitred?
Most porcelain and natural stone can be mitred by a good fitter, but some tiles make a clean corner much easier than others. The body, thickness and surface all matter, so ask the question before you commit to the tile.
Porcelain generally falls into three useful groups:
- Through-body porcelain is unglazed, with colour running through the body. The US maker whose definitions we use describes a cut or chip as remaining “visually consistent”. You may also see this called full-body porcelain, the term Porcelanosa and Ca’ Pietra use. Ca’ Pietra says the pattern on one of its full-body tiles “runs throughout the tile”, so chips or scrapes “remain inconspicuous”.
- Colour-body porcelain has a glazed face over a body made in a similar colour. The pattern is still at the surface, but a small exposed area is less conspicuous than it would be against a strongly contrasting body.
- Glazed or printed porcelain carries its colour and pattern in the surface layer. The body underneath may be a different colour.
Through-body and colour-body tiles are the more forgiving options for a mitred edge. If the arris needs to be slightly larger, or the edge suffers a small chip, you don’t immediately see a different colour underneath.
Printed or glazed porcelain, including many marble-effect tiles, needs a tighter mitre and a small, clean arris. Anything more exposes the body. Guidance from a tile-cutting tool maker is to keep the cut “below the enamel or line of the glaze” so the surface doesn’t chip.
Natural stone is the same material throughout, so it can be mitred and given a shaped edge. Ca’ Pietra’s workshop, for example, makes stone sills and shelves with several edge profiles. Sealing and care of the cut edge still need to follow the stone maker’s guidance.
Large-format slabs can also be mitred, but they need a fitter who is equipped to handle them. Porcelanosa’s XTONE guide says the material should be “worked wet” and recommends “reducing the cutting speed” when forming a mitre to limit chipping. You can find more information about the maker on our Porcelanosa page.
We’d usually avoid mitring handmade, heavily textured or irregular glazed tiles. If the face isn’t flat and consistent, getting two edges to meet cleanly at 45° becomes difficult. A trim or a factory-finished edge will normally give you a neater result.
Ask for an offcut of the tile you like and have your fitter produce a sample corner before the order is placed. It shows you the colour of the body, the size of the arris and how cleanly that particular surface cuts.
What a cut edge shows
Three tiles cut straight through, showing what a chip or a mitred edge exposes in each body type. No thickness or size figures are implied.
Through-body porcelain
Colour-body porcelain
Printed or glazed porcelain
Where to mitre, and where trim is the better choice
We’d mitre the corners you see and touch but don’t regularly knock. We’d use trim on edges that take feet, impacts or the everyday punishment of a busy route through the room. It’s perfectly normal to use both finishes in one bathroom.
Where we'd mitre
- Niche returns and sills (see our shower niche guide)
- Window reveals
- Boxing around pipes or a cistern
- Bath platforms and tiled bath panels
- Vanity and shelf returns
- The cap and end of a half-wall
- Bench edges
Where we'd use a trim
- Steps and any edge you walk on
- Corners at hip height beside a door or busy route
- A family bathroom corner that will take knocks
- Tiles whose body or surface won't mitre cleanly
- A fitter who isn't set up for mitre cut tiles
- Rooms where the extra labour isn't worth spending on the corner
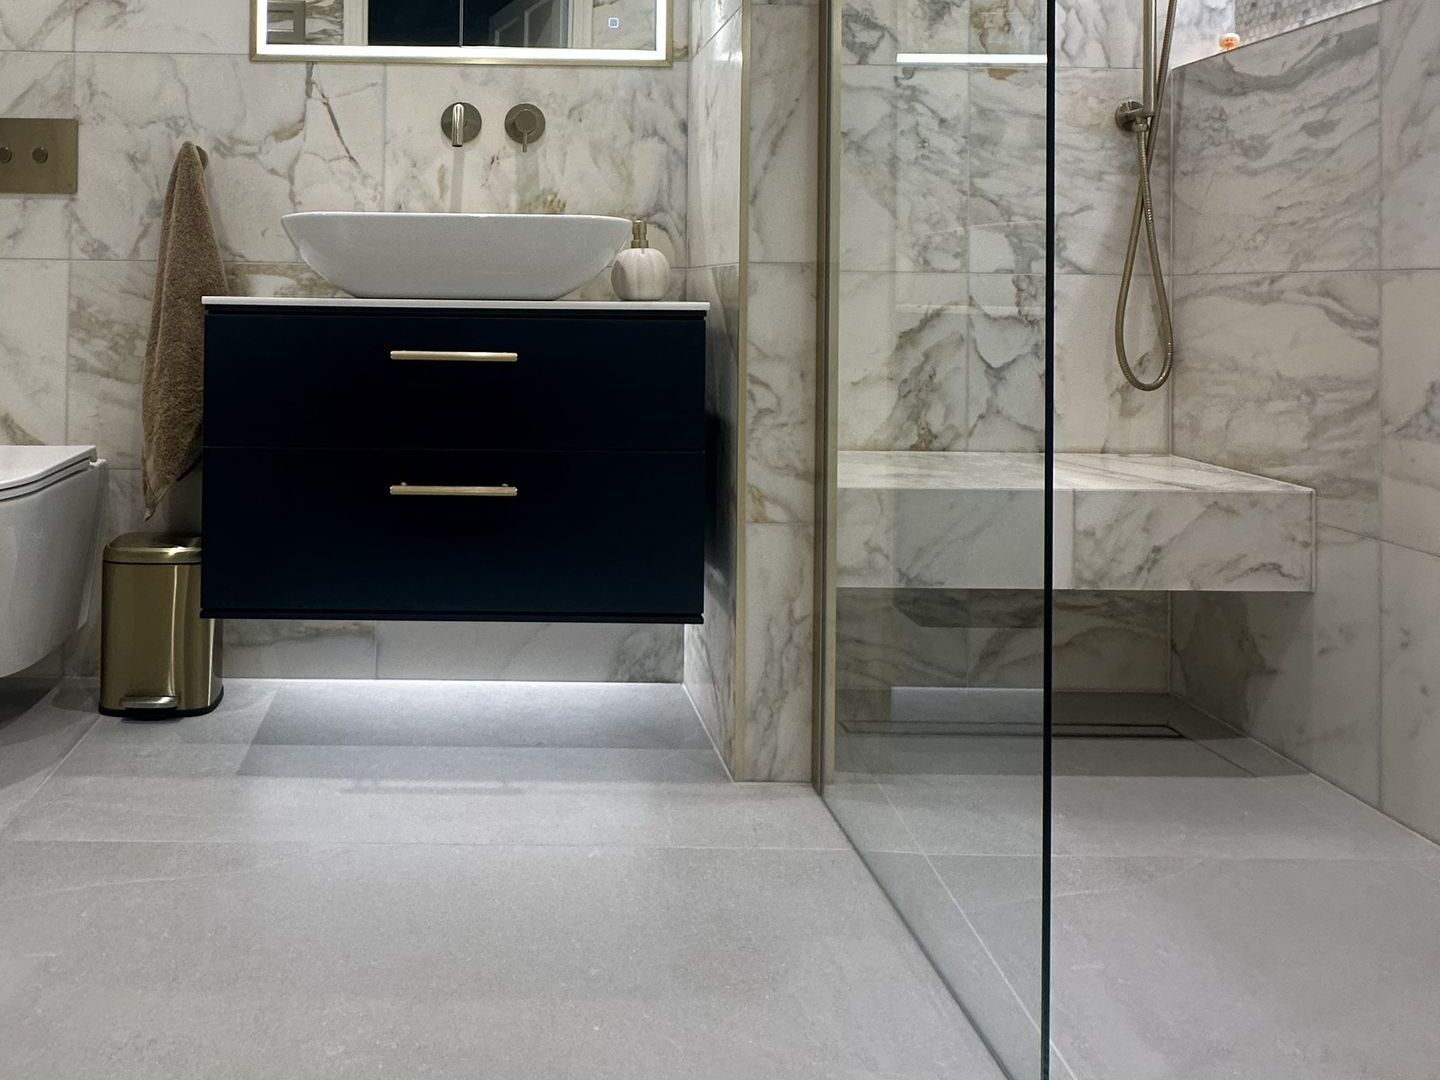
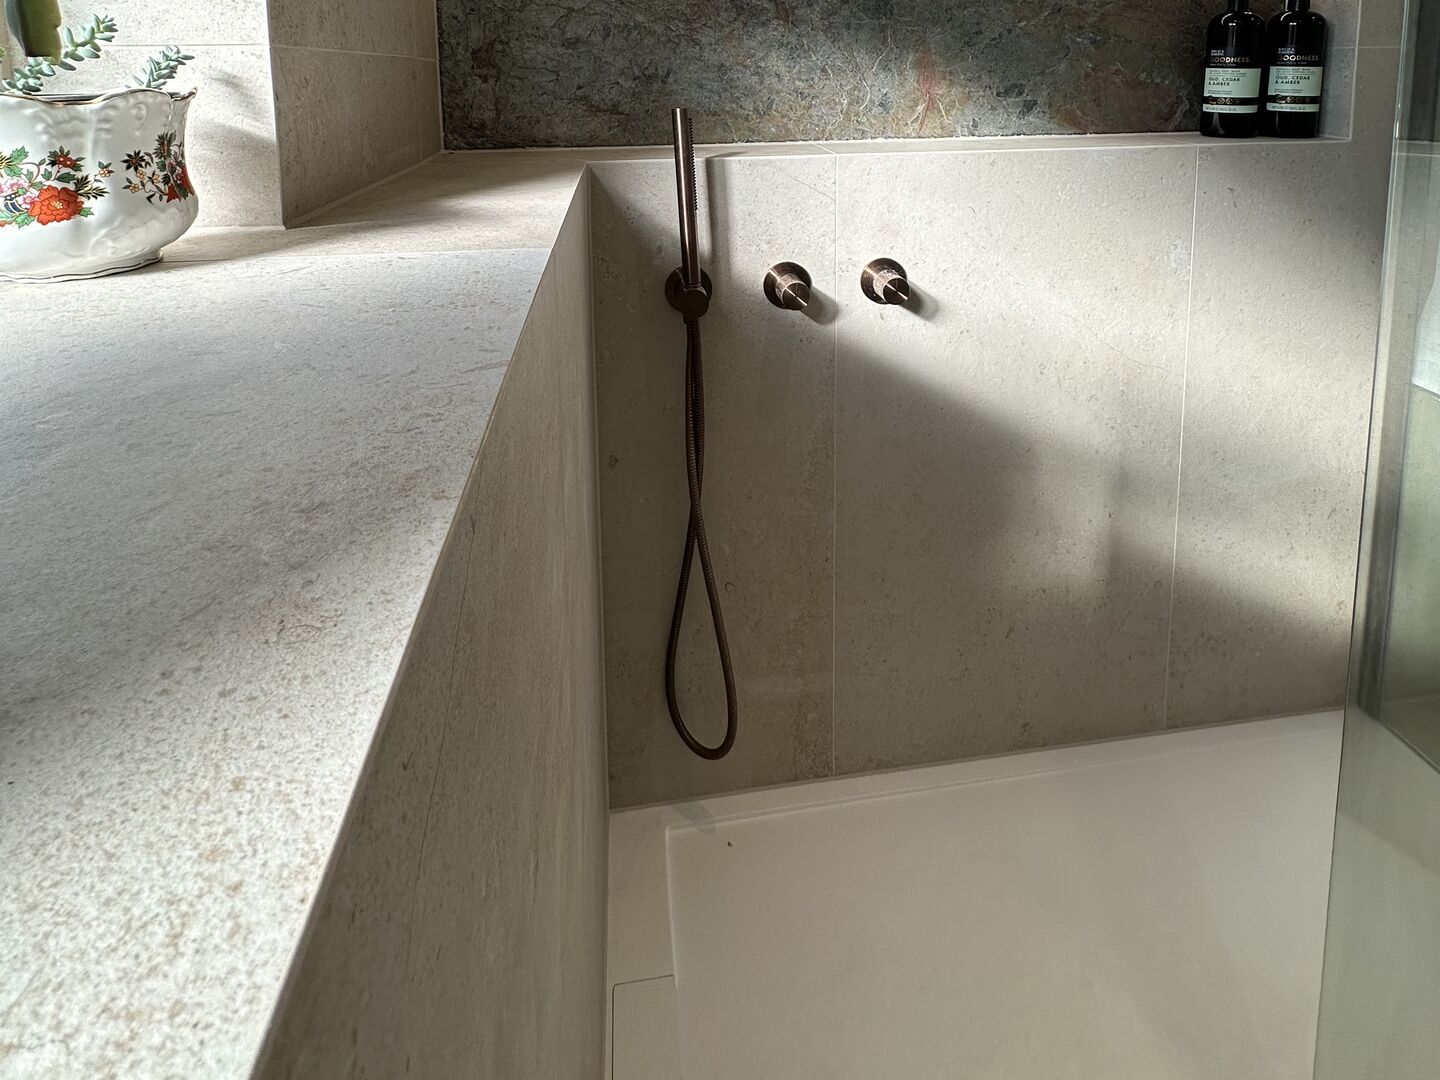
The Chelmsford CM3 project shows how the two approaches can sit together. There is a brass trim down the wall corner beside the vanity, while the shower bench has no trim along its edge. We can’t infer the reason from a photograph, but it shows that a room doesn’t have to use the same finish on every corner.
At Great Waltham, the split-level steps are finished with brushed brass nosing “right down to the stair nosing”.
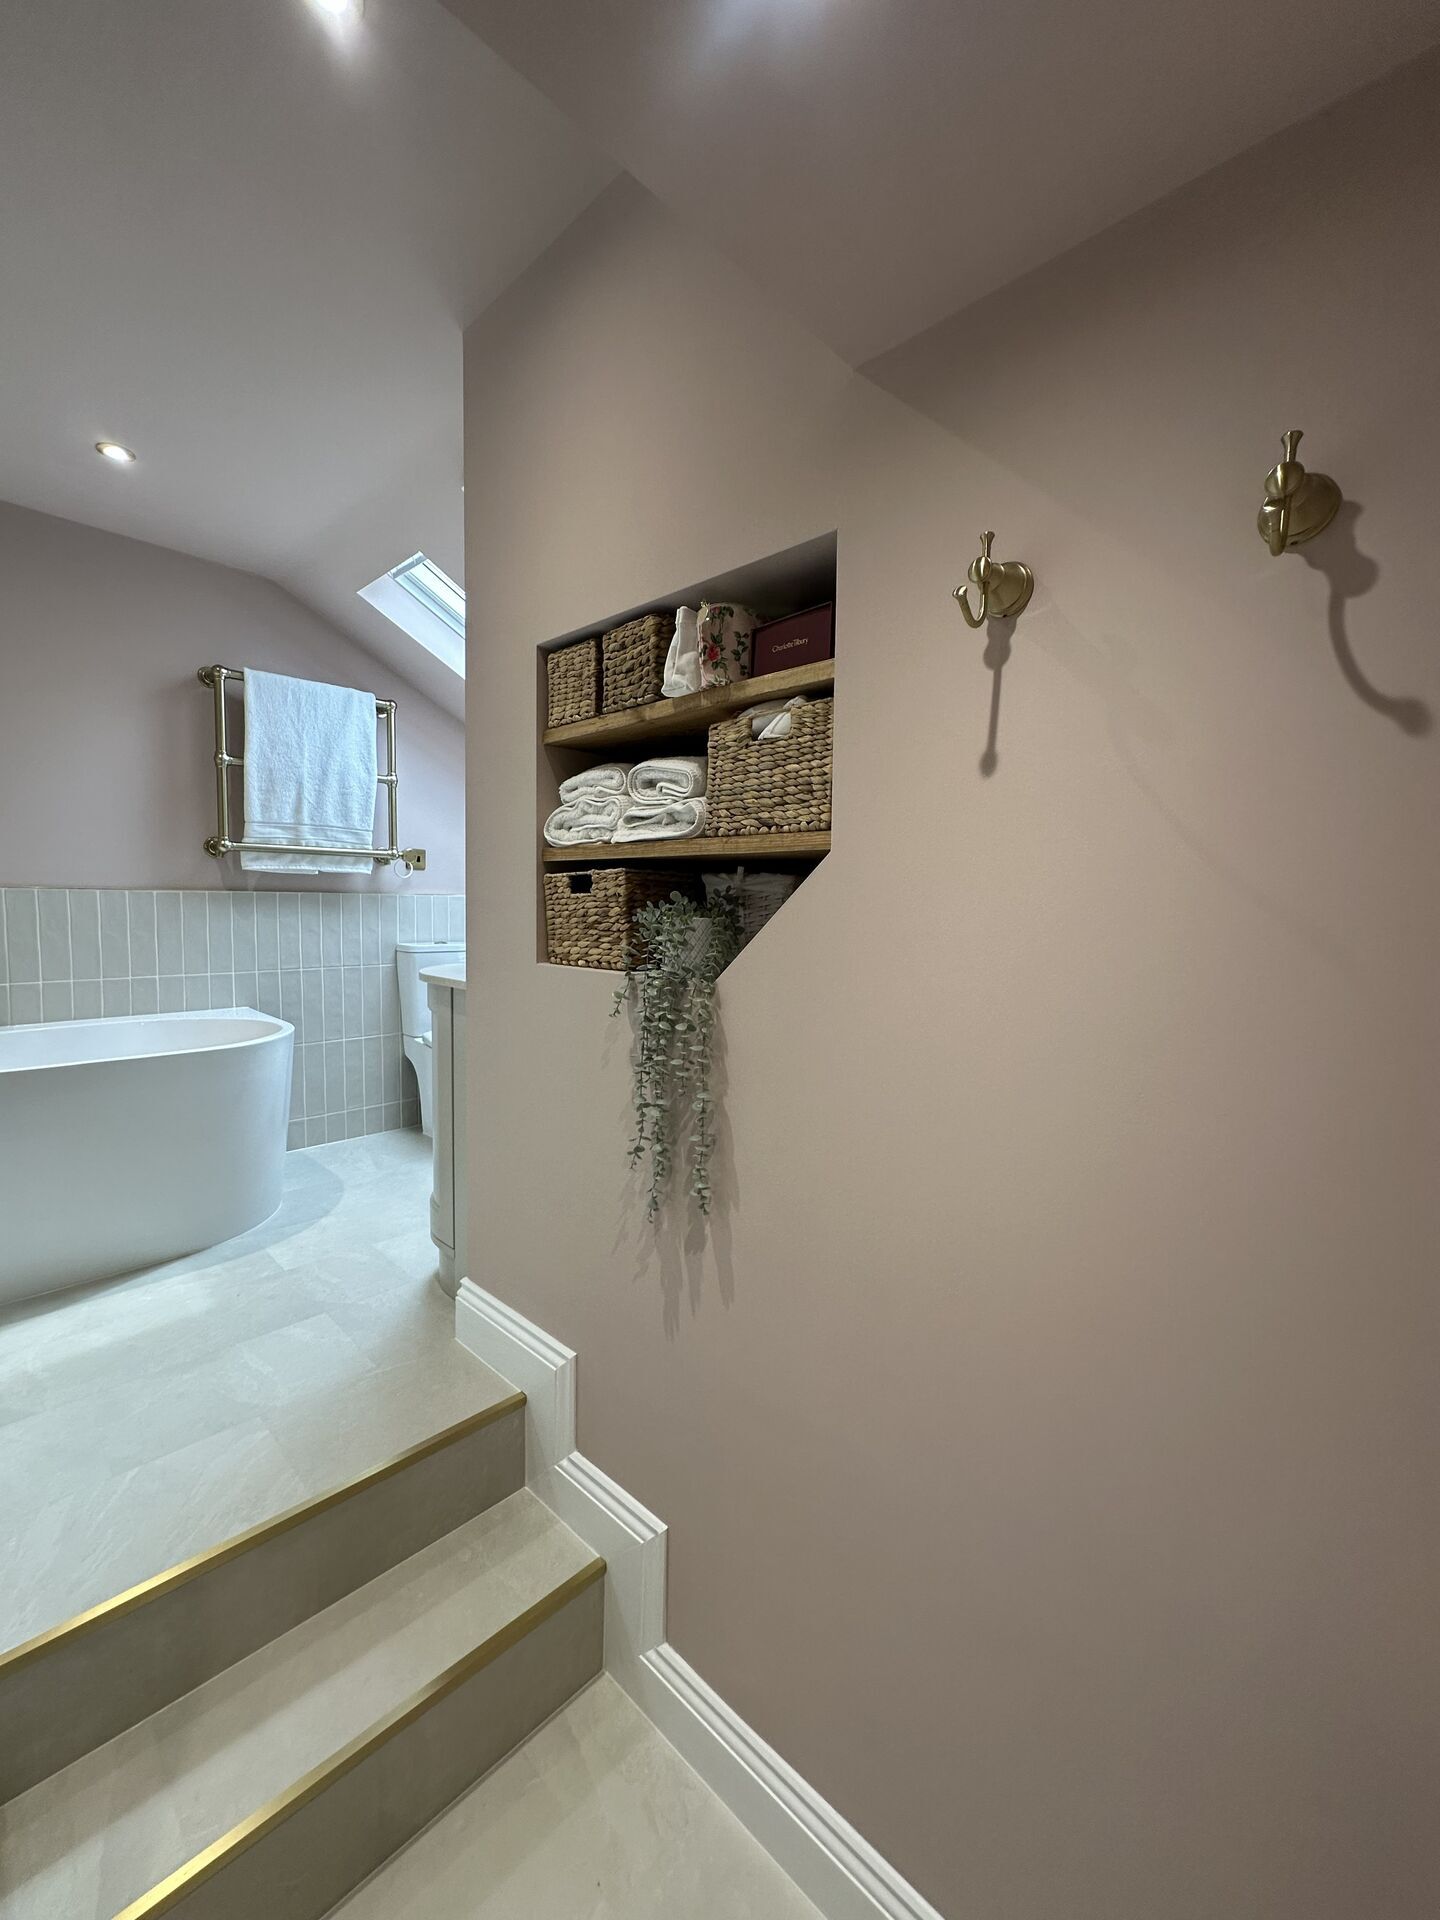
That’s the sort of edge we’d protect rather than mitre because people walk on it. A US tiling trade manual warns that mitred edges can be sharp, “especially true in wet areas”, and an installer quoted in a US trade magazine adds that “high traffic areas can be susceptible to damage”. A small eased arris deals with the sharp point, but it doesn’t turn an exposed tile edge into a step nosing.
Our view is the same as the one we give in the niche guide. A trim is the more protective finish because it covers the tile edge. A mitre can look cleaner, but the finished corner depends much more heavily on the tile and the fitter’s work.
Verdict: mitre what you look at, trim what you walk on
In a room built from porcelain or stone, we’d mitre the corners you see, including niches, reveals, boxing, platforms and ledges. We’d trim steps, floor edges and corners likely to be knocked. If the tile is printed and the fitter can’t keep a small, clean arris, our view is that a well-chosen trim will look better than a chipped mitre.
What a good mitre needs
A good mitre needs the right tile, a decision made before tiling starts, a small eased tip, a wet saw that holds 45° and protection while the rest of the work is completed. These are points to agree with your fitter, rather than decisions to make once the first tile has been cut.
Decide it at the design stage
Mark which corners will be mitred and which will be trimmed on the tile layout. That allows the set-out to place full tiles on the mitred corners where possible, rather than leaving narrow cuts in prominent positions. Our tile layout ideas explain why the set-out needs to be considered before tiling begins.
Keep a small arris, not a knife edge
A sharp 45° point is fragile and can be sharp to touch. Makers of slab surfaces show their mitred edges with a small eased arris. Porcelanosa recommends “a 2-3 mm” bevel on exposed XTONE slab edges that may take knocks, while Cosentino’s Dekton worktop guide also shows a small bevel on a mitred edge. These are slab and worktop documents, not a measurement rule for bathroom wall tiles. Agree the finished arris with your fitter using the actual tile.
Cut wet, on a saw that holds the angle
How to mitre tiles is your fitter’s job. The cut should be made wet on a saw that can be locked at 45°, rather than attempted freehand with a grinder. Confirm that your fitter is set up for the tile format and can show you a sample corner.
Agree how the joint is filled
Practice varies. Fitters use grout, a colour-matched filler or a flexible sealant depending on the tile and the construction behind it. Ask what your fitter intends to use and follow the grout or adhesive maker’s instructions.
Protect the corner until you move in
A completed mitred edge remains exposed while other work continues around it. Ask for the corners to be protected until handover so they aren’t damaged by tools, materials or furniture being moved through the room.
A knife-sharp corner
A tip cut to a full point chips easily and is unpleasant to catch a hand on, especially in a wet area. Agree the eased arris with your fitter before cutting starts, not after.
Deciding on the day
If mitres haven’t been agreed before tiling, the fitter may trim corners you wanted left clean or try to mitre a tile that doesn’t suit it. Put the decision on the layout.
What mitring adds to the cost
Mitring adds labour, usually priced per metre of corner on top of the normal tiling rate. Each edge takes longer to prepare, and a spoiled cut costs another tile. A trim adds the cost of the trim itself, and it still has to be fitted.
Patterned layouts such as herringbone add cutting and setting-out time, and large-format tiles take longer to handle, so the total depends on the tile, the number of corners and the rest of the layout. Our bathroom tiling cost guide explains the other items that can change the quotation.
Mitred and trimmed corners in Bowmans projects
The Bradwell family bathroom has a “raised bath platform with mitred tile edges” and LED lighting underneath. A Crosswater MPRO stone bath sits on the raised tiled platform, in front of Ca’ Pietra Ocean Magnifique bookmatched tiles.
In the Great Notley shower room, a tiled half-wall forms a ledge beside the shower. Its top and side meet on a crisp corner with no metal trim.
The Halstead wetroom takes a different approach. Its half-height wall, tiled in Ca’ Pietra Nero Magnifique, has square-edged metal trim on the corners. It is the same Ca’ Pietra range used at Bradwell, finished differently. Both are valid choices.
At Brentwood, brushed brass trims define the external corners of an alcove lined with Ca’ Pietra white onyx tiles. The metal is clearly visible, but it works as part of the room rather than trying to disappear.
How we’d approach it: corners are part of the tile design, so it’s worth deciding which are mitred and which are trimmed when the tile and layout are chosen. At Bradwell, the mitred platform edges were already shown in the 3D design. If you’re buying tiles for your own fitter, agree the mitred corners with them before ordering and ask them to cut a sample corner from an offcut. Design is included when you choose your products with us.
Frequently Asked Questions
Planning your corners
Choose the tile, check its body and confirm that your fitter can mitre it cleanly. Then mark the mitres and trims corner by corner on the layout before ordering.
You can book a showroom visit at Braintree or Leigh-on-Sea and bring photographs or measurements of the boxing, reveals, niches and steps in question, along with the tile you’re considering. You’re welcome to use your own fitter, and design is included when you choose your products with us.