
Herringbone Tiles: The Complete UK Design & Installation Guide
Herringbone tiles are rectangular tiles laid at 90-degree angles in a staggered zig-zag pattern. Unlike chevron tiles, which are cut diagonally to form a continuous V shape, herringbone tiles use straight ends to create a broken, interlocking design that adds depth, movement and architectural texture to walls and floors.
Herringbone tiles are one of the most searched tile layouts in the UK, particularly for bathrooms, kitchens and hallways. Homeowners researching herringbone bathroom tiles, how to lay herringbone tiles, or how much waste to allow for herringbone are usually trying to answer three core questions:
- Will it suit my space?
- How much extra will it cost?
- Is it difficult to install properly?
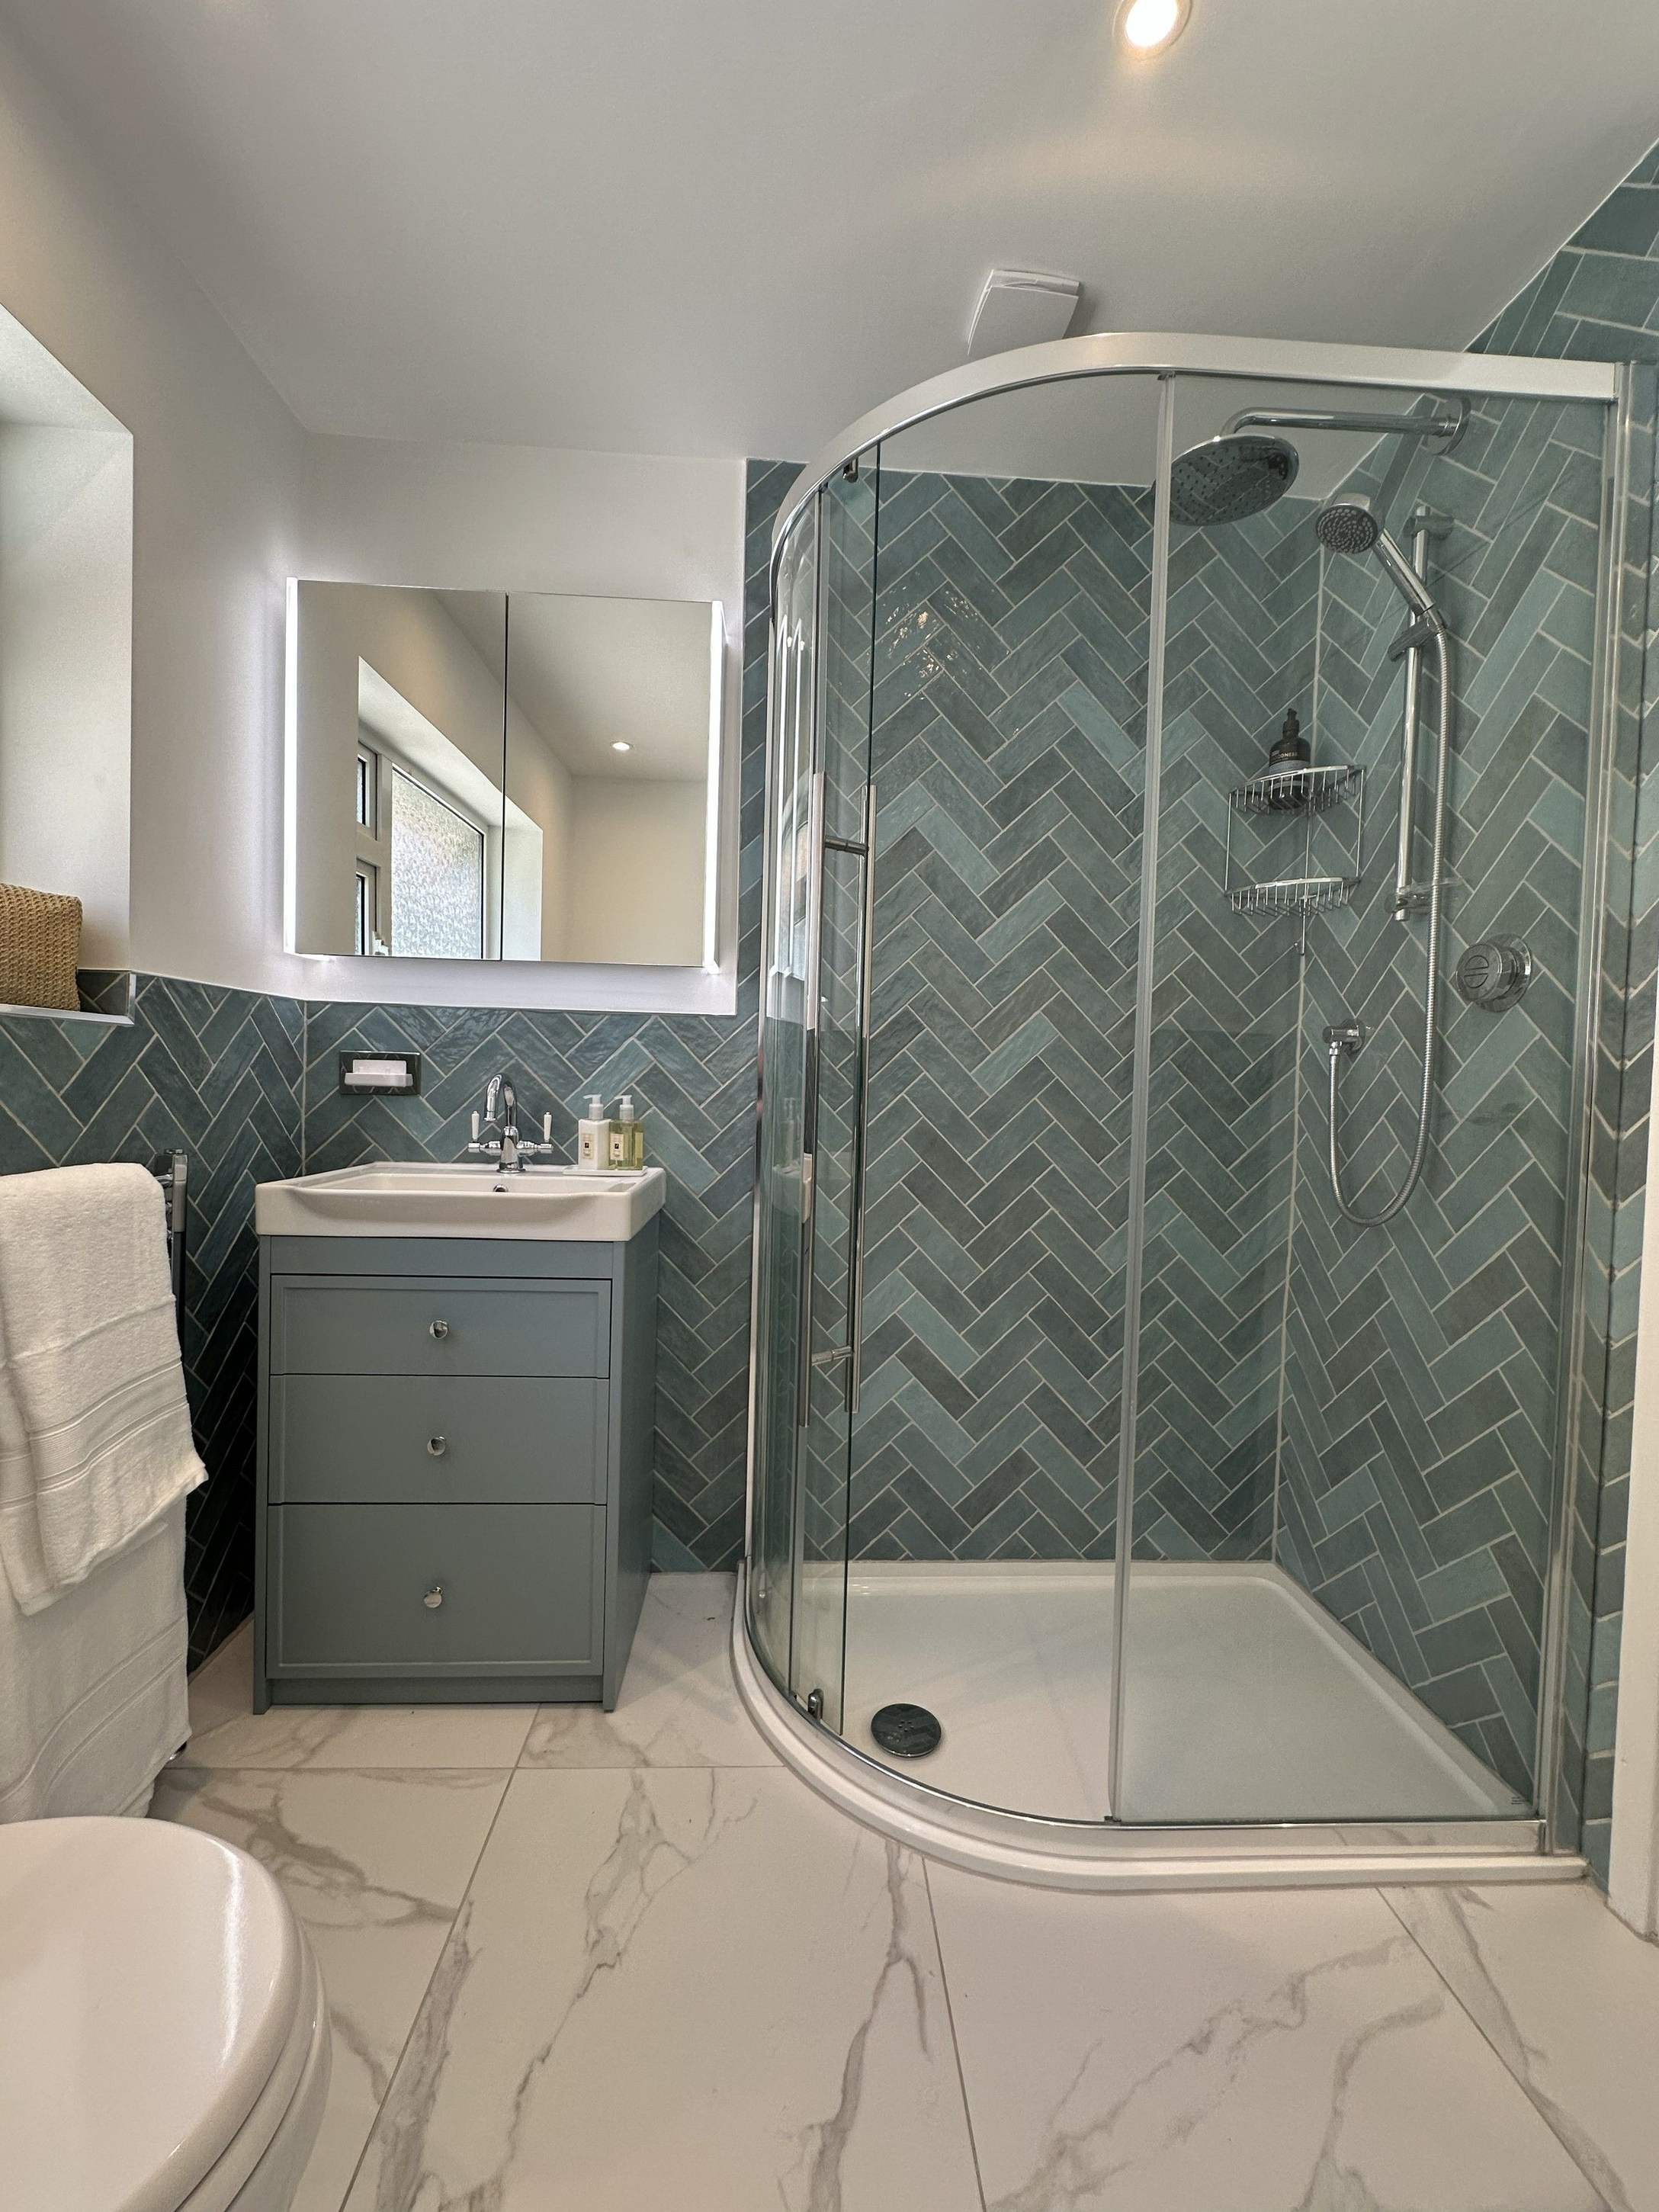
This guide answers all three in detail. We cover design psychology, tile sizing, grout decisions, slip ratings for wetrooms, full installation logic, waste calculations, UK‑based cost modelling and real project execution, including our Brentwood CM13 family bathroom, where herringbone anchors the main vanity wall.
Quick Navigation
Quick Tile Quantity Formula
If you’re working out how many herringbone tiles you need, here’s the formula we use:
Room Area (m²) × Waste Percentage (15–22%) = Total Tile Quantity Required
Example: 12m² bathroom floor × 1.18 (18% waste) = 14.16m² tiles required
Herringbone eats more material than a straight lay because of all the angled edge cuts, so in a small or complex room we’d plan closer to 20–22%.
What Are Herringbone Tiles?
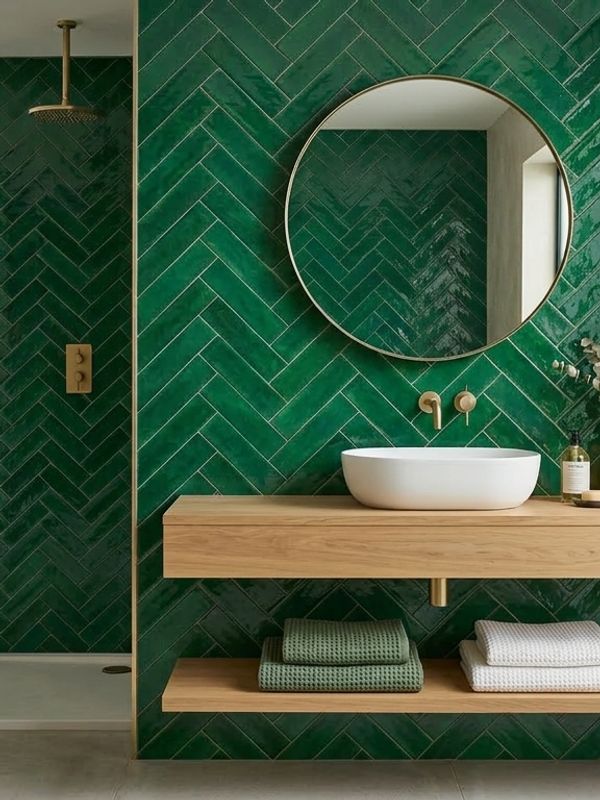
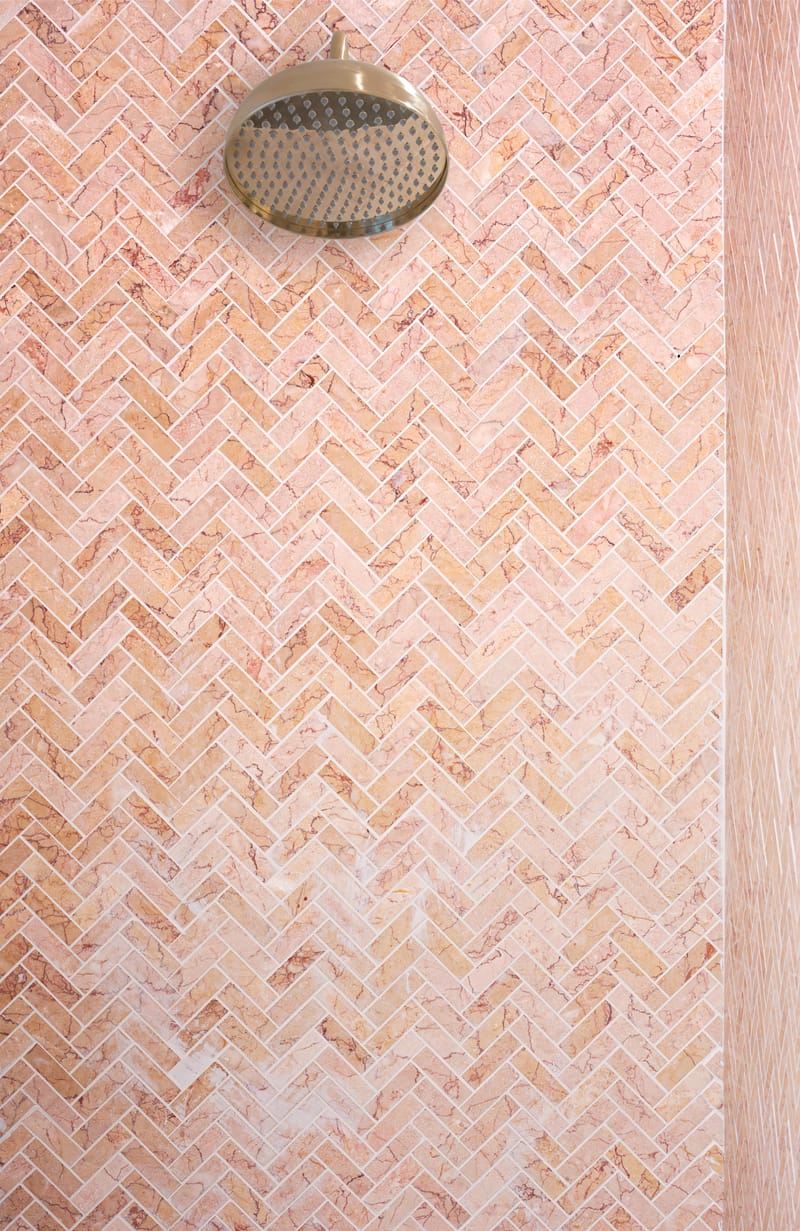
Herringbone tiles are rectangular tiles laid in a staggered zig‑zag formation at 90‑degree angles, with the end of one tile meeting the side of the next to make a repeating broken V‑shaped pattern. Chevron tiles are cut at an angle to form one continuous V; herringbone keeps its straight factory ends, and that’s what gives the pattern its texture and movement.
The pattern takes its name from the skeleton of a herring, and it’s been used for centuries in everything from Roman road construction to the parquet floors of grand European houses. Today it’s one of the most requested tile layouts in UK bathrooms, kitchens and hallways.
The pattern looks simple on a mood board, but a refined result takes planning, the right tile size, a careful tiler and some understanding of how the layout will behave in the room.
Key Herringbone Benefits
- Movement across a wall without the room feeling busy
- Real architectural depth out of plain rectangular tiles
- At home in a period house or a new build
- Changes how big and how tall the room feels
- Tells anyone walking in that the tiling was done properly
Why Herringbone Tiles Are So Popular
There are a few reasons herringbone keeps turning up in every interiors feature:
- It gives a flat wall some rhythm and direction
- It turns an ordinary rectangular tile into something architectural
- It sits happily in a period home or a new build
- It gives you texture without needing a bold colour
Large-format plain tiles can feel flat and minimal, but herringbone brings rhythm and direction, and the eye follows the zig-zag in a way that suggests depth and flow.
In a compact bathroom it can stretch a wall or widen a floor, and in a bigger space it adds detail and sophistication without any clutter.
Herringbone vs Chevron: Understanding the Difference
The difference between herringbone and chevron trips up almost everyone who walks into the showroom.
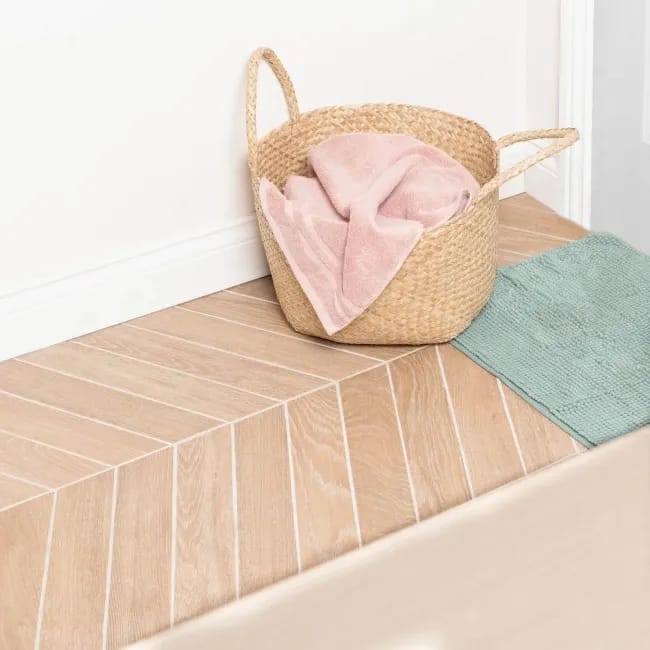
Herringbone
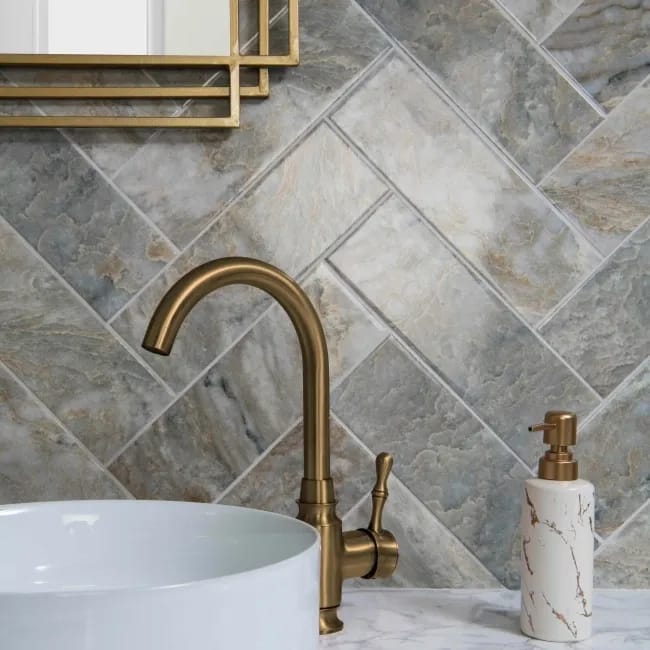
- •Uses rectangular tiles with straight ends
- •Tiles meet at right angles (90 degrees)
- •Creates a broken zig-zag pattern
- •Feels slightly more traditional and textured
Chevron
- •Tiles are cut at an angle (usually 45 degrees)
- •Forms a continuous, seamless V shape
- •Requires more precise manufacturing and installation
- •Feels sharper and more modern
Designer’s Insight
If you prefer subtle texture and timeless appeal, herringbone is usually the better choice, and if you want crisp symmetry and strong geometry, chevron may suit you better. Most of our clients go herringbone for its warmth and versatility.
Where Herringbone Tiles Work Best
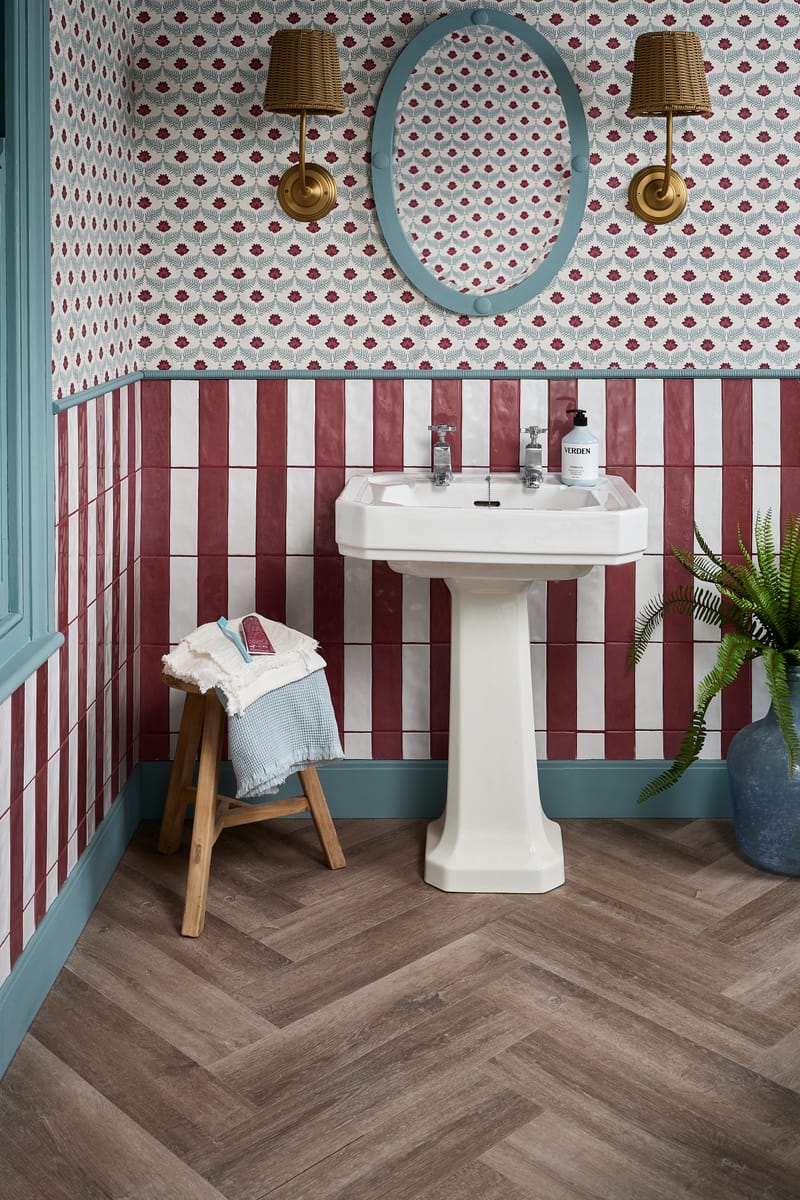
Bathrooms
Herringbone works in bathrooms because it adds interest without swallowing a small room, and we use it most often for:
- •Feature walls inside the shower enclosure
- •Wetroom floors in a textured finish
- •Recessed niches inside the shower
- •Half-height panelling under a painted wall
- •Full-height statement walls behind the bath
In family bathrooms it often works beautifully on the floor, especially against calm neutral wall tiles, and in a smaller en-suite the traditional layout can visually lift the ceiling height.
Kitchens
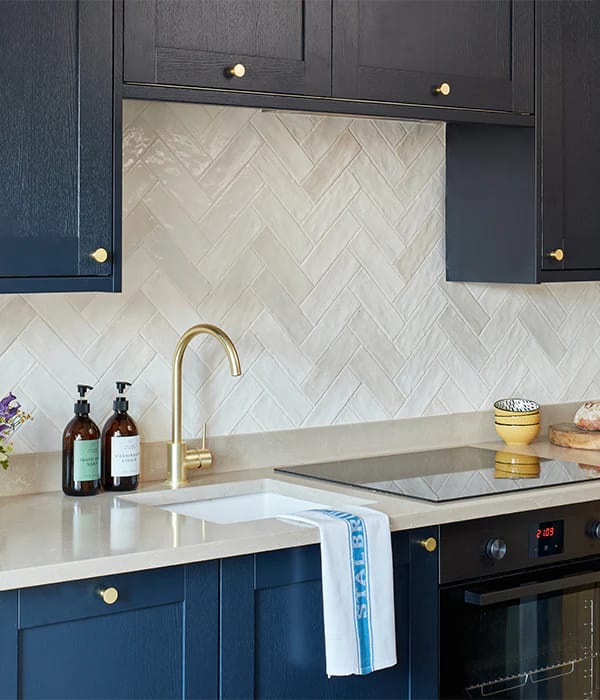
In kitchens herringbone is usually a splashback, and classic metro tiles laid this way can turn an otherwise plain kitchen into something refined and considered.
Hallways & Entrances
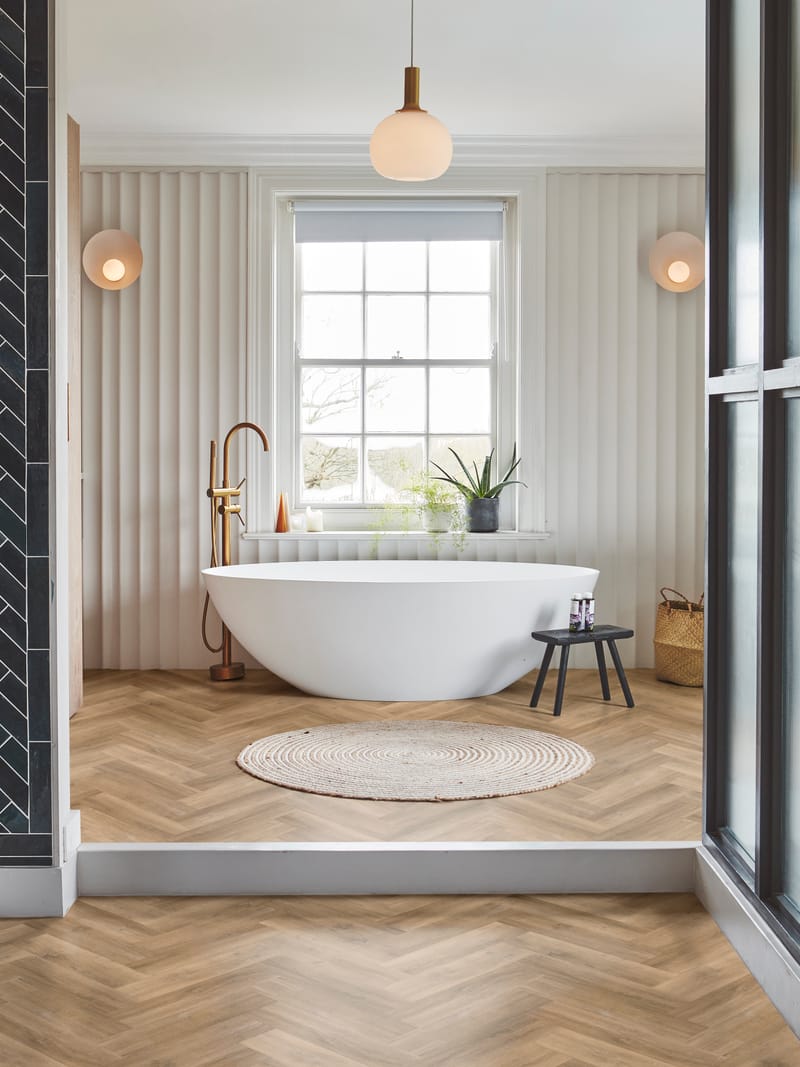
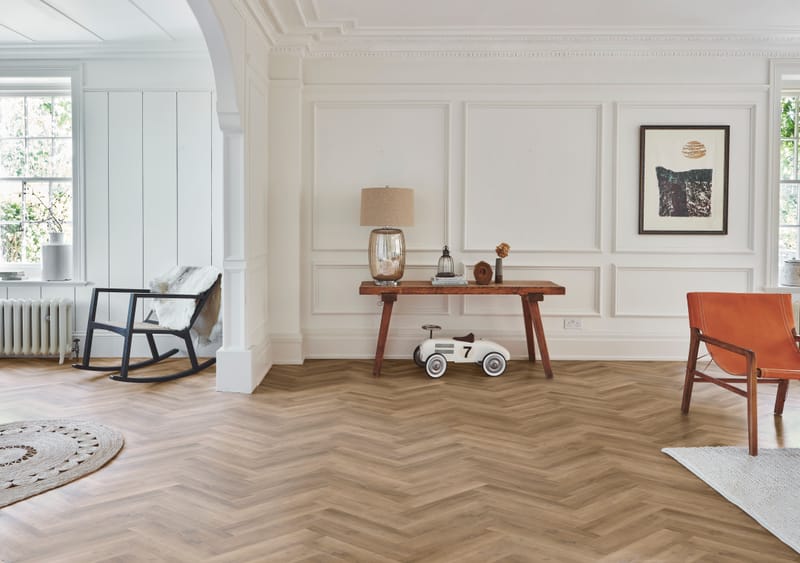
Herringbone borrows from parquet flooring, so it works well in entrance halls and transitional spaces, where the pattern guides movement through the home and sets the tone at the front door.
Choosing the Right Tile Size
Tile size changes the character of a herringbone layout more than most people expect.
Small Format (75 × 300 mm)
Classic metro look, more intricate up close, and the format we’d usually pick for a compact bathroom.
Medium Format (100 × 200 mm)
Balanced and versatile, and it suits most rooms without much argument.
Slim Rectangles (50 × 250 mm)
Elegant and refined, with a tighter pattern rhythm across the wall.
Larger Formats (150 × 600 mm)
Stronger visual impact, so keep this one for floors and larger rooms.
Worth knowing: smaller tiles emphasise the pattern while larger ones emphasise scale and architecture, so pick your size off the room dimensions, the ceiling height and how bold you want it to feel.
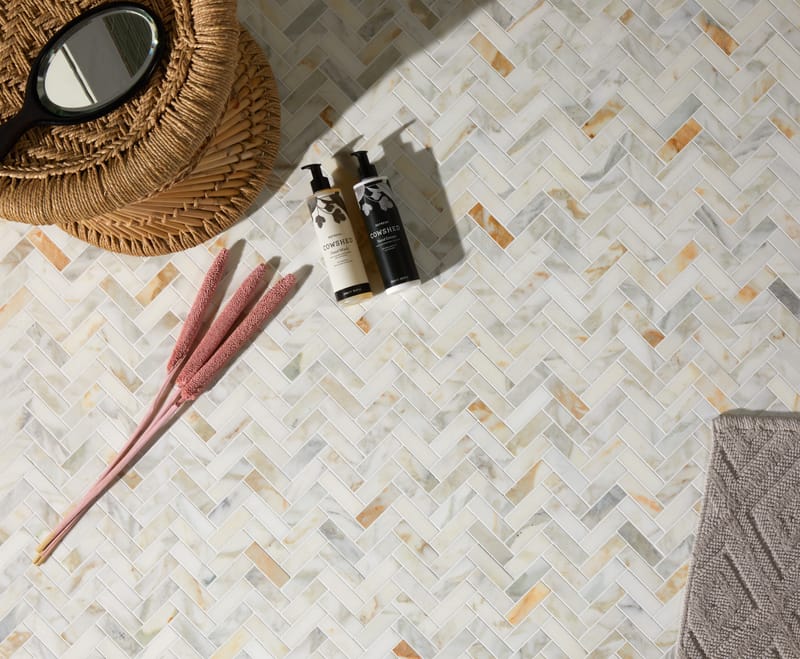
Grout Colour: The Most Underrated Decision
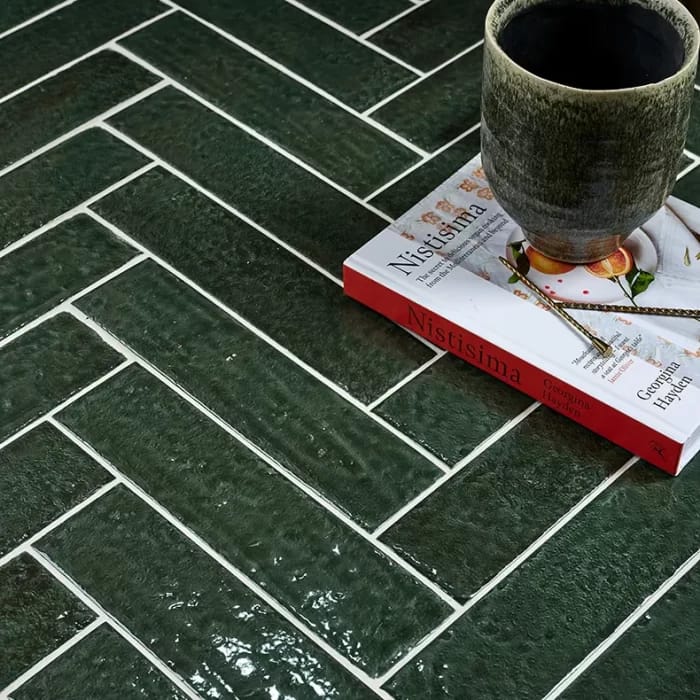
Grout colour does more to the finished look than almost anything else you choose.
Matching Grout
Softens the pattern into something calm and continuous, which is what you want in an understated, high-end bathroom.
Contrasting Grout
Highlights every zig-zag for a bold, graphic look, which works well in kitchens and on statement walls.
Mid-Tone Grout
Offers balance: it takes the hard edge off the contrast while keeping the pattern visible.
In most high-end rooms we’d keep the grout subtle so the pattern supports the design instead of running it.
Layout Direction and Visual Illusion
You can point herringbone in different directions, and each one changes how the room feels.
Horizontal
Widens the space visually, which makes it the one to use in a narrow bathroom or hallway.
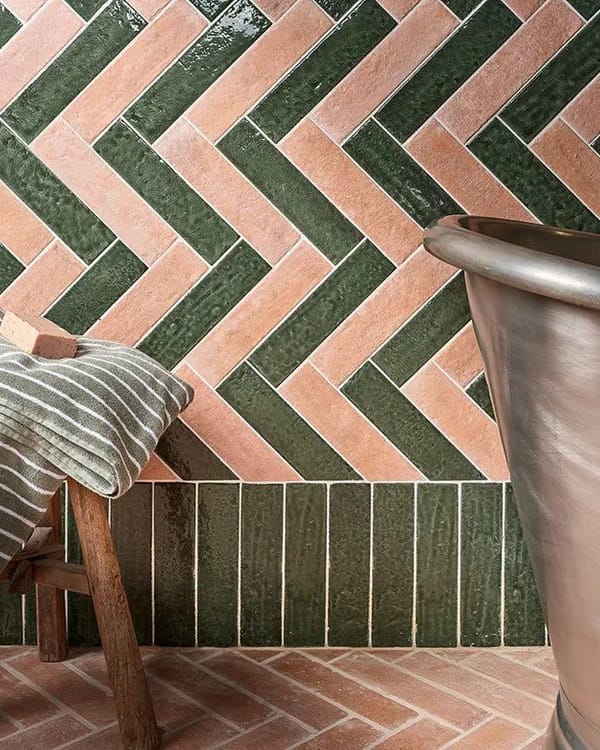
Traditional
The classic V-shape running up and down, which draws the eye upward and makes the ceiling feel higher than it is.
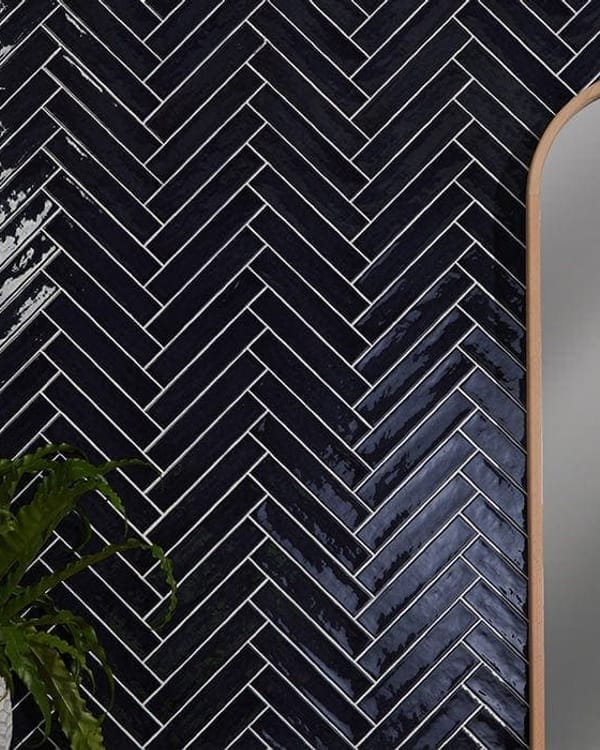
Straight
Tiles run parallel and perpendicular to the walls for a modern, structured look that suits contemporary flooring.
Designer’s Insight
Pick the direction deliberately, because the main sightline as you walk in is where the pattern will do most of its work.
Design Psychology: Why Herringbone Feels Expensive
There’s a psychological reason herringbone feels more “premium” than the same tile laid straight.
Pattern Density Signals Craftsmanship
We associate complexity with effort, so a pattern that needs more cuts, more alignment and more labour precision quietly signals higher craftsmanship.
Directional Movement Guides the Eye
The zig‑zag rhythm creates motion, which makes walls feel dynamic and floors feel deliberate rather than flat.
Repetition Creates Visual Texture
Even in a neutral colour the repetition creates richness, which is why plain white metro tiles laid in herringbone feel far more considered than stacked brick.
Scale Determines Sophistication
Small tiles give you high pattern density and an intricate feel, while large tiles give bold geometry and an architectural one. Most luxury interiors land in the middle, on a medium format with subtle grout.
Room-by-Room Specification Matrix
Use this matrix to make the call quickly and with some confidence behind it.
| Room Type | Ideal Tile Size | Slip Rating | Grout Tone | Waste % | Notes |
|---|---|---|---|---|---|
| Cloakroom Floor | 75×300 or 100×200 | R9–R10 | Matching | 15–18% | Smaller scale enhances detail |
| Family Bathroom Floor | 100×200 or 150×600 | R10 | Mid-tone | 18–20% | Balance pattern with calm walls |
| Wetroom Floor | 100×200 textured | R11+ | Matching | 18–22% | Prioritise slip rating |
| Shower Wall | 75×300 | N/A | Matching | 15–18% | Traditional layout can lift height |
| Kitchen Splashback | 75×300 | N/A | Contrast optional | 15–18% | Classic metro effect |
| Hallway Floor | 150×600 plank | R10 | Matching | 18–22% | Works beautifully in period homes |
Slip Ratings, Wet Areas & Bathroom Suitability
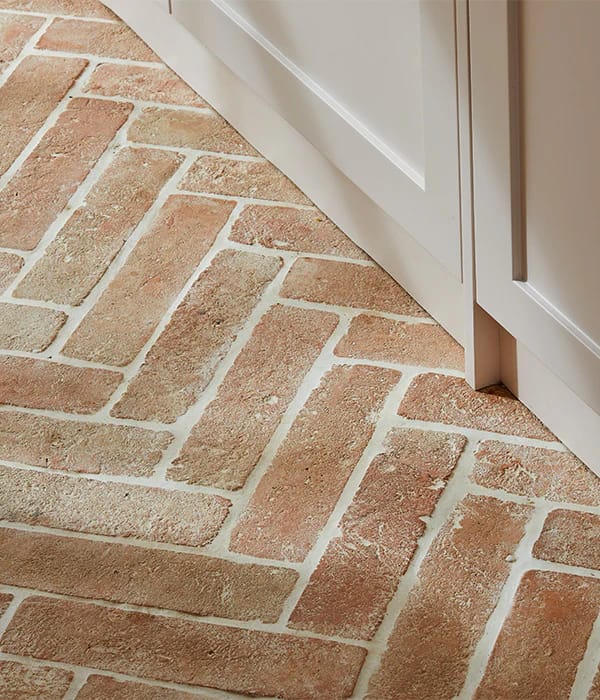
Slip resistance is the thing most people forget when they specify herringbone for a bathroom, and the pattern itself has nothing to do with it: the surface finish of the tile does the work.
Important: never rely on grout alone for grip, and always check the manufacturer’s slip rating before you specify a floor tile for a wet zone.
In UK bathrooms and wetrooms these are the numbers that matter:
- R9–R10 rating: fine for most bathroom floors where the shower sits in a standard tray.
- R11+ rating: what we’d specify for a wetroom or a level-access shower, where the floor is wet constantly.
Smaller formats can improve grip because there are more grout lines underfoot, and on shower walls the slip rating is irrelevant anyway: what matters there is tile weight, substrate suitability and waterproofing preparation.
Substrate & Preparation Considerations
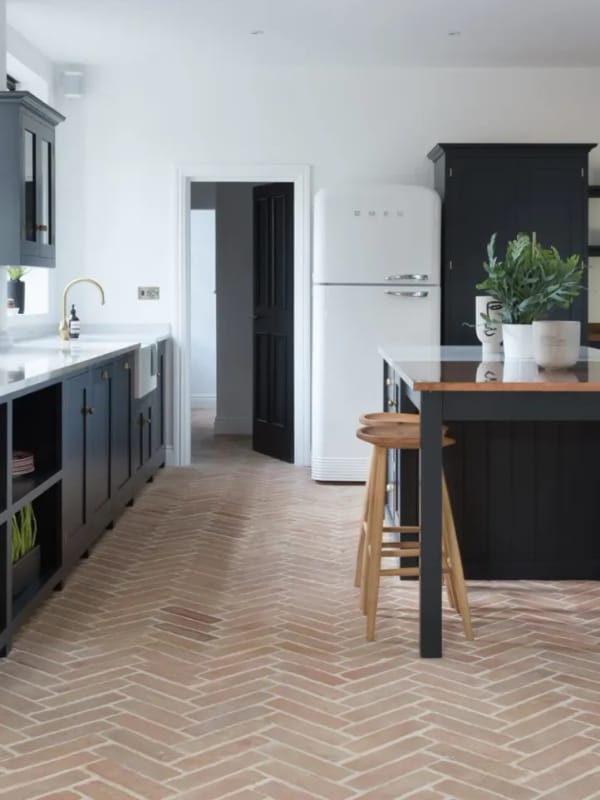
Herringbone shows up imperfections that a straight lay would hide, so the substrate prep matters more here than the tile you chose.
Before anyone opens a box of tiles, check that:
- Floors are level within acceptable tolerances
- Tile backer boards are used on timber floors
- Surfaces are primed properly before any adhesive goes on
- Underfloor heating compatibility is confirmed with the tile supplier
Warning: movement in a floor or wall cracks grout, and cracked grout is far more obvious in a patterned layout than a straight one.
Installation Reality: What Most Guides Don’t Tell You
Herringbone takes longer to lay than a straight pattern, so budget for:
The Importance of a Centre Line
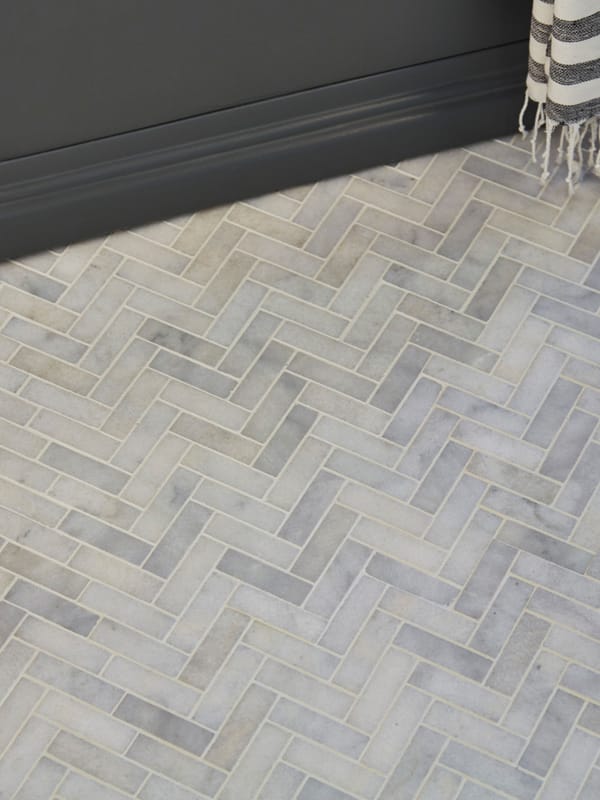
Installation should start from a clearly marked centre reference line, because starting from a wall usually ends in asymmetry and visible imbalance once the cuts reach the edges.
Dry Laying
Dry laying a few rows before any adhesive goes down confirms the spacing, the symmetry and the way the pattern flows.
Adhesive and Substrate Considerations
Use a flexible adhesive on timber or movement-prone floors, and get the substrate properly level, because an uneven base is far more obvious under a pattern.
Step-by-Step Installation (Wall Version)
Establish Your Centre Line
Mark a perfectly vertical centre line with a spirit level or a laser, and everything after that stays symmetrical.
Dry Lay Several Rows
Lay the tiles out without adhesive to confirm the spacing and see what size the edge cuts will be.
Begin at the Centre
Place the first tile at 45 degrees along your centre line.
Work Outward Evenly
Build out left and right alternately so the pattern stays symmetrical.
Cut Edge Tiles
Measure and cut the edge pieces precisely, keeping the grout gaps consistent all the way round.
Allow Adhesive to Cure
Follow the manufacturer’s guidance, which is typically 24 hours.
Grout Carefully
Apply the grout evenly and clean the residue off promptly, or you’ll be fighting haze later.
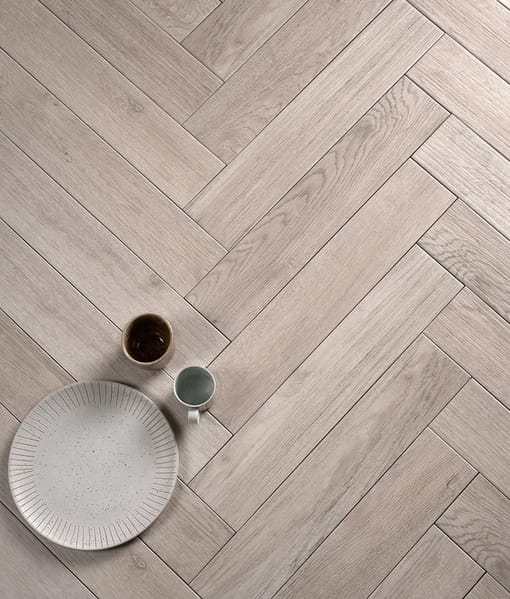
Step-by-Step Installation (Floor Version)
Floors need more care than walls because of the load and movement underneath them.
Confirm the substrate is properly rigid.
Snap chalk lines to establish centre axes.
Dry lay the full pattern grid.
Use a flexible adhesive rated for the floor load.
Keep the pressure consistent when you bed each tile.
Avoid walking on newly set tiles for recommended curing time.
Herringbone Tile Waste Percentage (UK Guide)
You’ll always order more tile for a herringbone layout than for a straight one, and it’s the diagonal cuts at the room boundaries that account for it.
Quick Spec: Waste Allowance at a Glance
15%
Standard rooms
20%
Small / awkward
25%
Complex / alcoves
Under-ordering delays the job and risks a batch variation you can’t unsee, so it’s always safer to over-order slightly.
Waste Calculation Explained in Detail
A straight lay typically needs 5–10% overage, and herringbone needs more because of those diagonal boundary cuts.
Standard Rectangular Room
1.15–1.18×
Multiply room area
Small or Awkward Room
1.18–1.20×
Multiply room area
Large Plank Format
1.20–1.22×
Multiply room area
Complex shapes, alcoves and niches push the waste higher still, and ordering a little extra is what stops a batch mismatch halfway through the job.
Advanced Waste Scenarios
The waste allowance climbs when:
- The room has several alcoves or recesses
- Tile planks are long relative to room width
- You rotate the pattern direction part‑way across
- There are curved or out-of-square walls
In a really complex bathroom, planning 20–25% waste is sometimes the right call.
Cost Considerations (UK 2026)
Cost swings on the tile you choose and the labour to lay it. Typical ranges:
| Category | Price Range |
|---|---|
| Standard porcelain tiles | £30–£70 per m² |
| Premium porcelain | £70–£120 per m² |
| Natural stone | £100+ per m² |
| Labour uplift vs straight lay | £15–£30 per m² additional |
Complex spaces, trims and detailed cutting all add installation time, and time is what you’re paying for.
Detailed Cost Modelling Example
Take a 10m² bathroom floor tiled in premium porcelain at £85/m².
Tile cost: 10m² × 1.18 waste = 11.8m² — 11.8 × £85 = £1,003
Labour uplift (additional £20/m²): 10m² × £20 = £200
Total herringbone uplift vs straight lay: approximately £200–£300 additional labour plus increased material quantity.
That’s why herringbone gets called expensive: it takes more time and more material than the same tile laid straight.
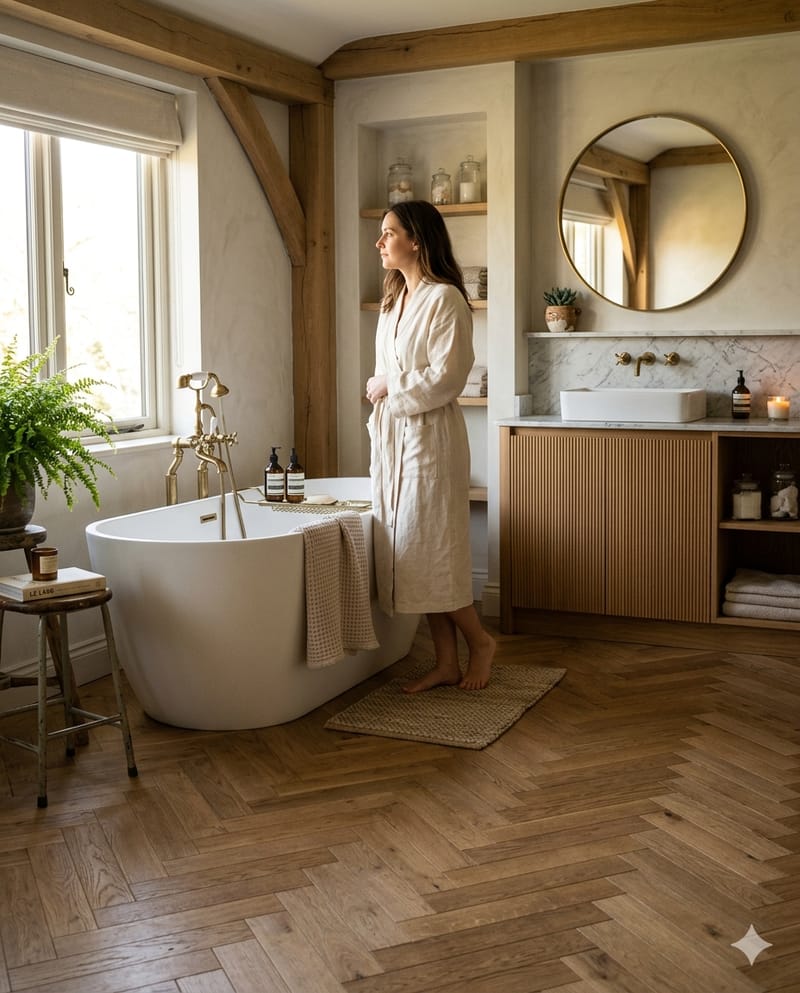
Material Comparison: Porcelain vs Stone vs LVT
Porcelain
- Hard-wearing enough for a family bathroom
- Water resistant straight out of the box
- The safe choice in almost any bathroom
Natural Stone
- A luxurious feel underfoot
- Needs sealing, then resealing over time
- Often generates higher waste
LVT (Luxury Vinyl)
- Quicker and easier to install
- Lower waste in some systems
- Softer and warmer underfoot
Your material choice drives installation time, slip rating and how much long‑term maintenance you sign up for.
Common Mistakes to Avoid
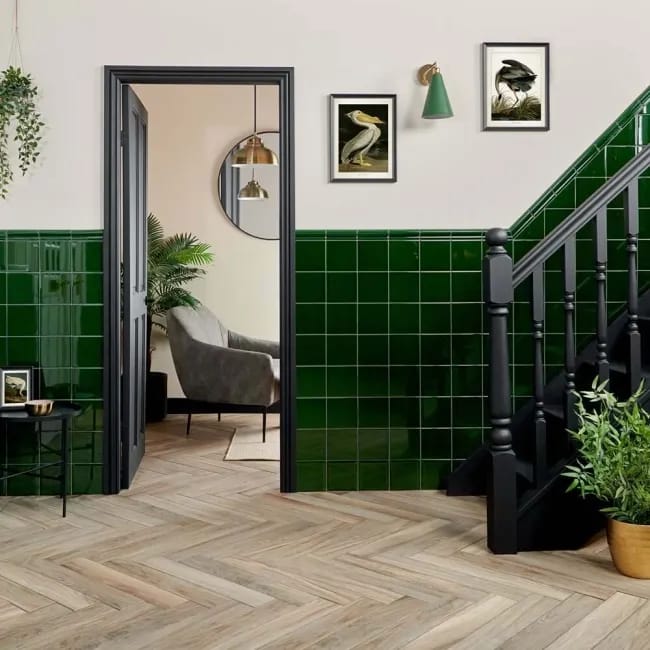
Starting from one side instead of centre
You end up with asymmetric cuts and a finish that looks off-balance across the room.
Failing to allow sufficient waste
Under-ordering means delays, and a reorder can come back in a different batch.
Choosing grout too contrasting for the scale
High contrast on a small tile creates visual noise where you wanted elegance.
Ignoring slip ratings in wet areas
The pattern doesn’t determine grip, so always check the tile’s surface rating.
Installing on uneven substrates
Herringbone amplifies every imperfection, so proper substrate prep isn’t optional.
Key Takeaway: the details above are what separate a refined finish from an average one.
Visual Planning & Layout Strategy
Centreline Symmetry
Always align the pattern with the room’s main focal point, which is usually the basin, the bath or the doorway.
Focal Point Alignment (Brentwood Example)
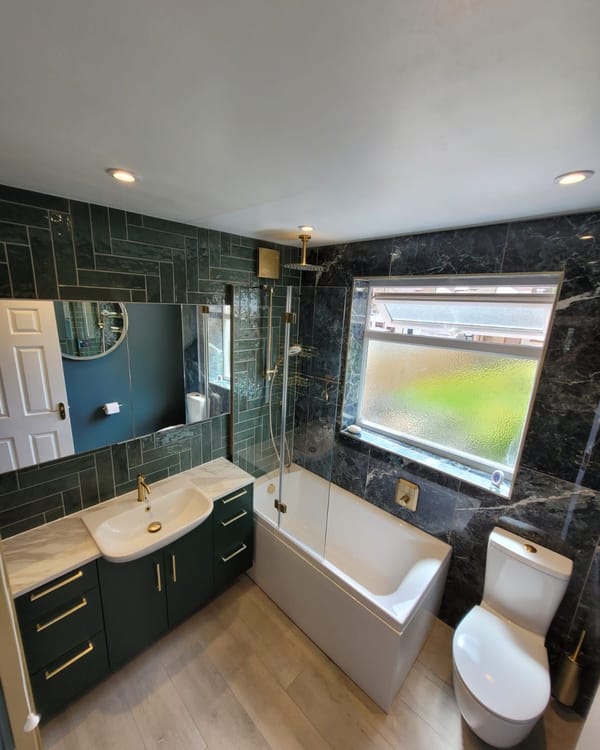
In our Brentwood CM13 family bathroom the herringbone was centred on the primary vanity wall so it stays balanced as you walk in, because starting from a side edge would have left uneven cuts across the key sightline.
Border Framing
In larger rooms, consider framing herringbone with a straight border tile to “contain” the pattern.
Threshold Transitions
Plan the doorway transitions carefully, because herringbone running into the next room out of line looks accidental.
Real Herringbone Bathroom Example, UK
Brentwood CM13 Family Bathroom Case Study
In our Brentwood CM13 family bathroom project the herringbone went on the walls and the floor stayed plain, a deliberate call to bring in texture without swamping the room.
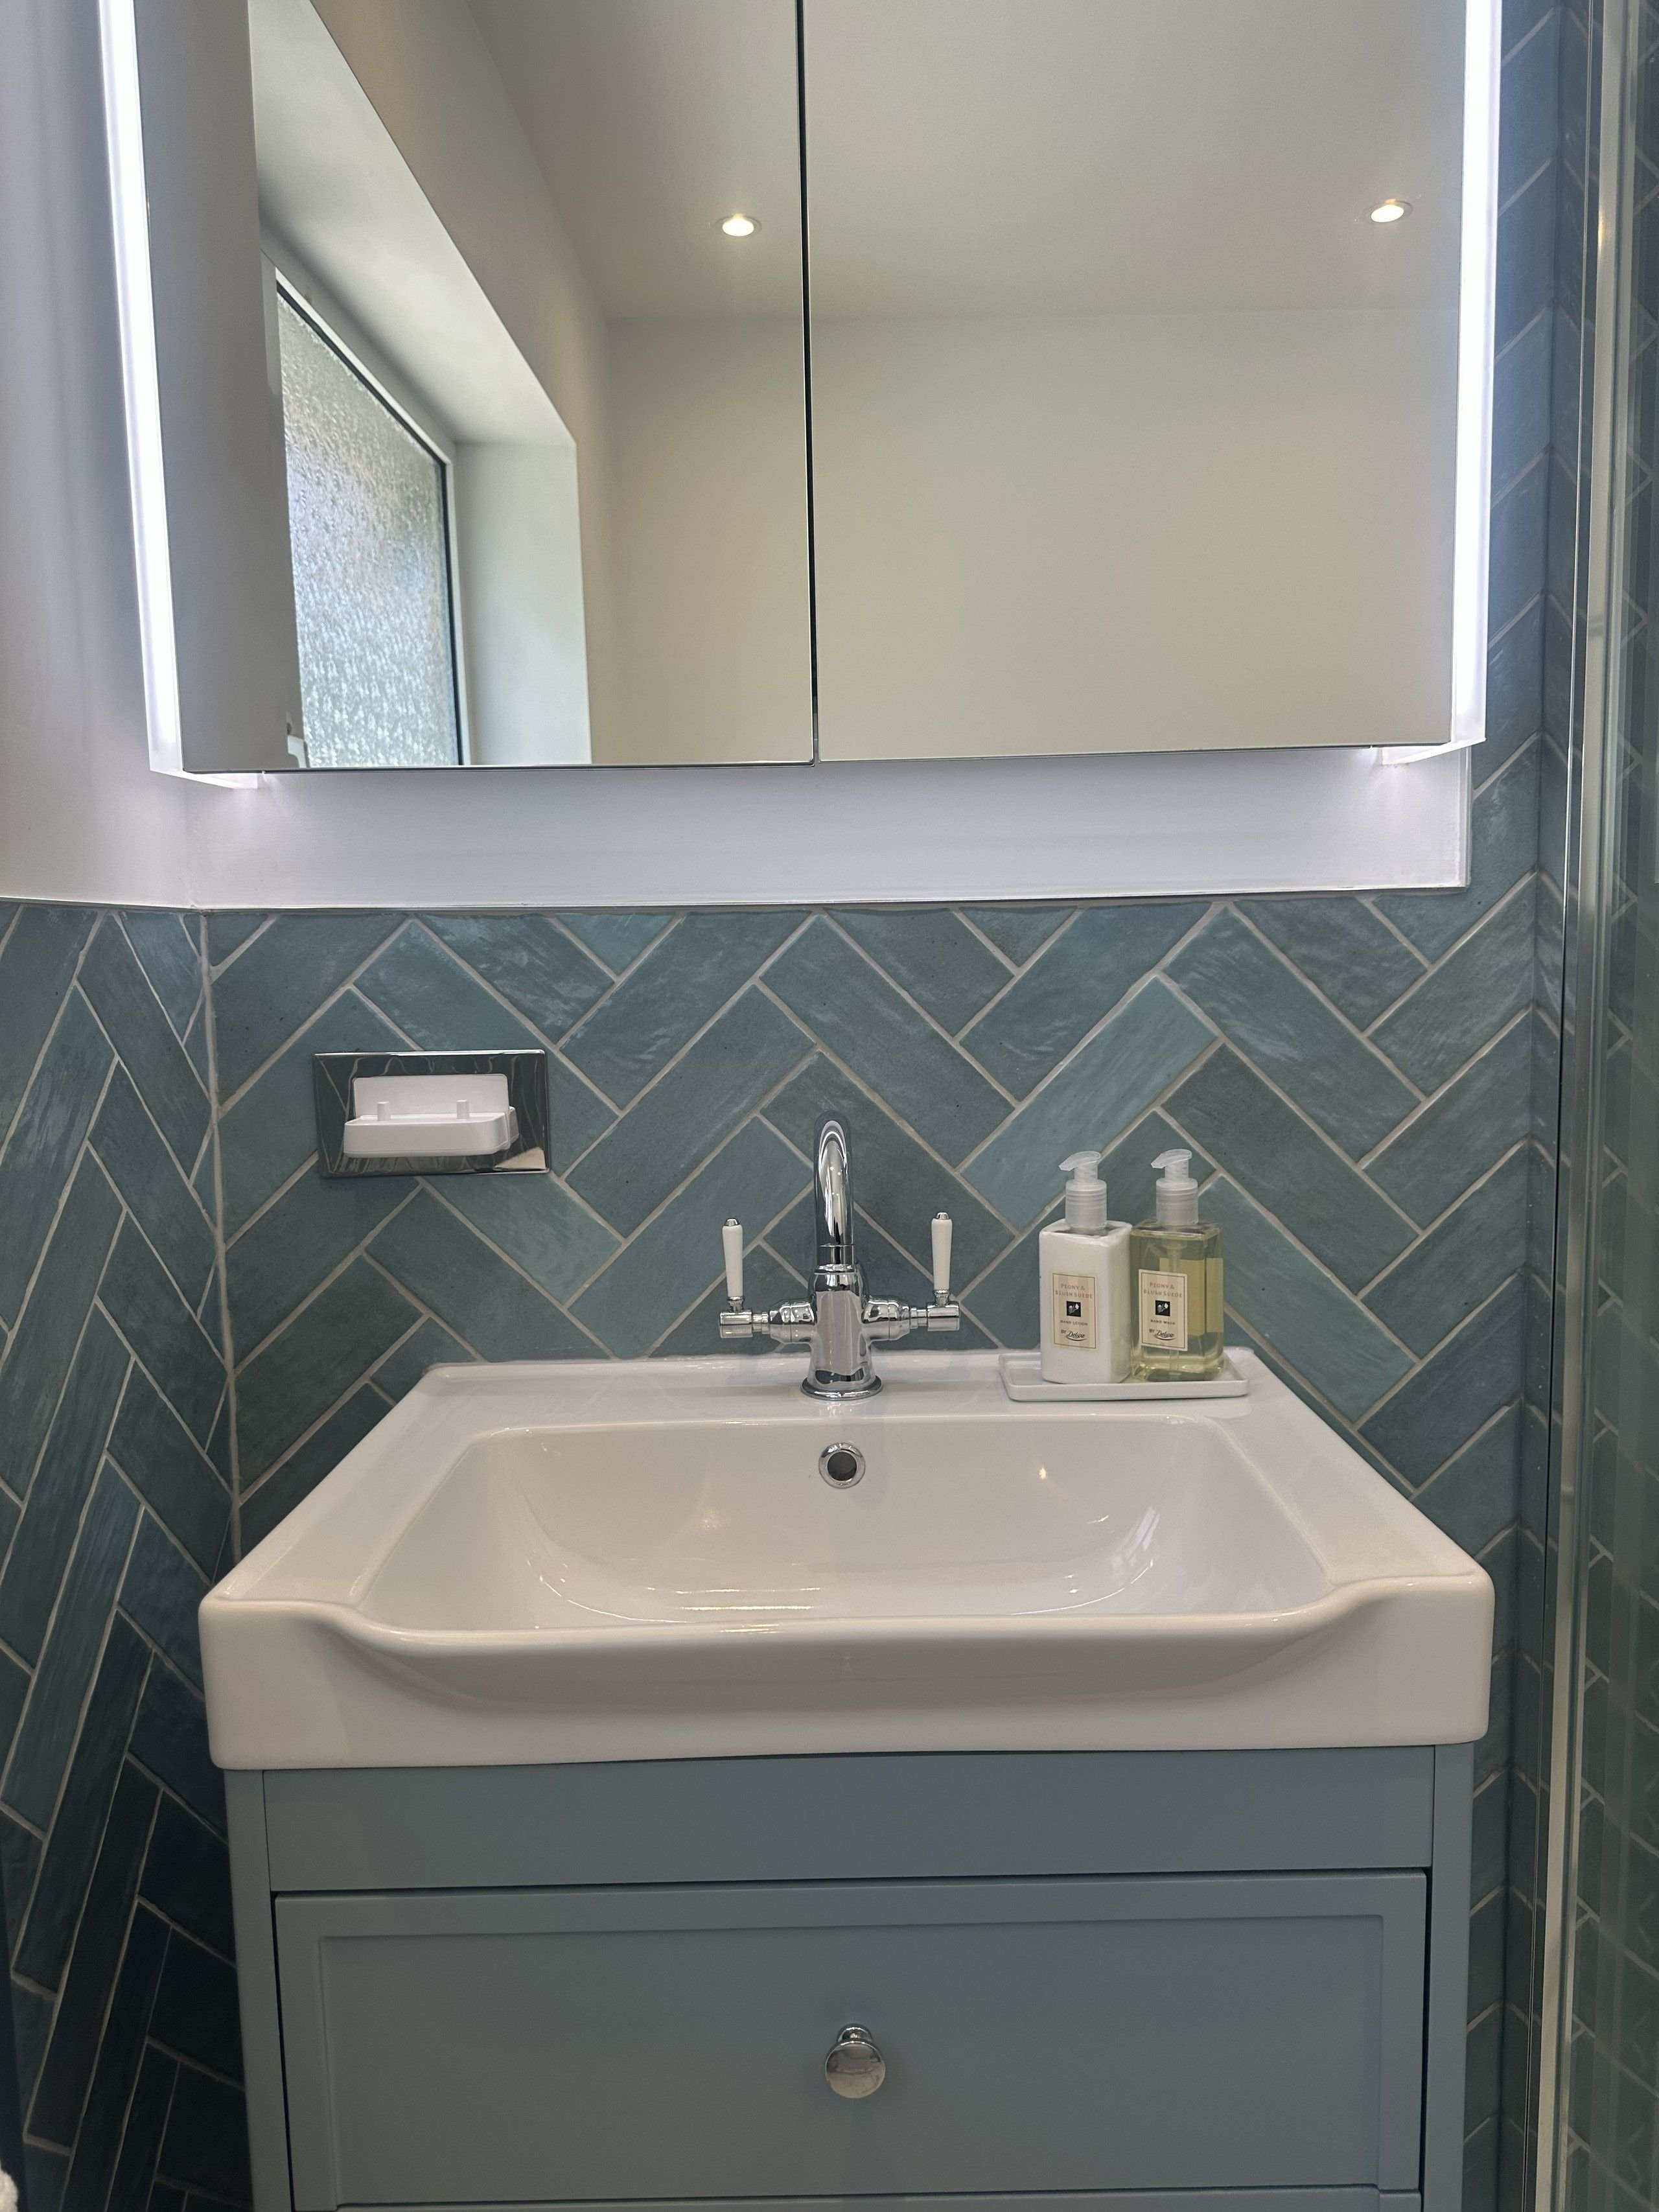
Tile Specification
- •Wall Tiles: Oasis Aqua Gloss ceramic tiles laid in classic herringbone
- •Floor Tiles: Ca’ Pietra Kensington 60×60 porcelain in calm square format
Why Herringbone on the Walls
- It adds visual rhythm behind the vanity and the bath
- The gloss finish pushes more light around the room
- It keeps the floor grounded and practical underfoot
Layout Strategy Used
- •Pattern centred on the primary vanity wall sightline
- •Careful dry‑lay planning to avoid awkward edge slivers
- •Subtle grout tone selected to soften contrast and prevent visual noise
Design Outcome
Pairing patterned walls with restrained 60×60 porcelain flooring is what gives the room its balance: movement above, calm below, and that’s how herringbone bathroom tiles stay refined rather than busy when the scale is right.
Herringbone Bathroom Floor Tiles: What to Know
If the herringbone is going on the bathroom floor, think about:
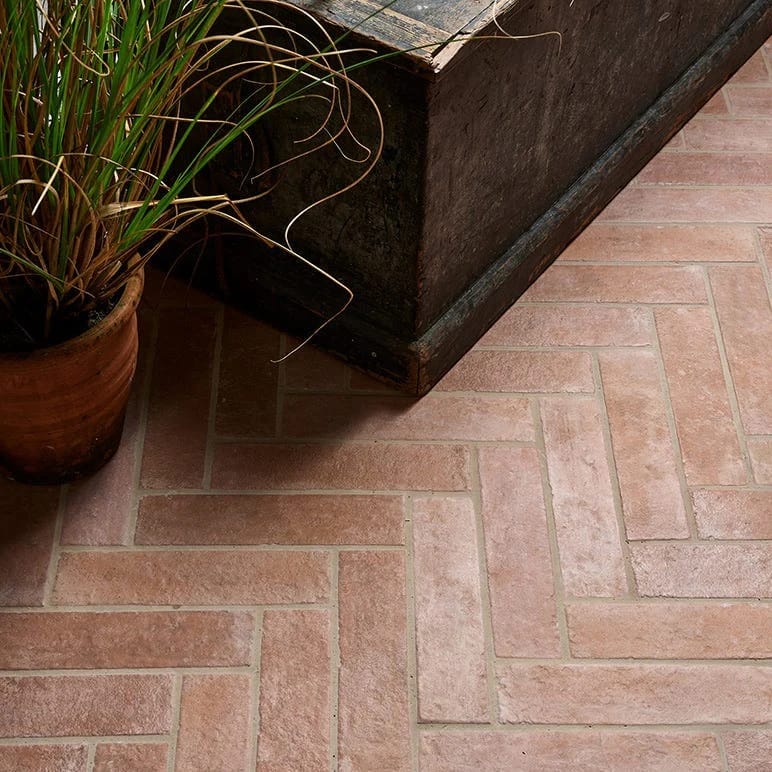
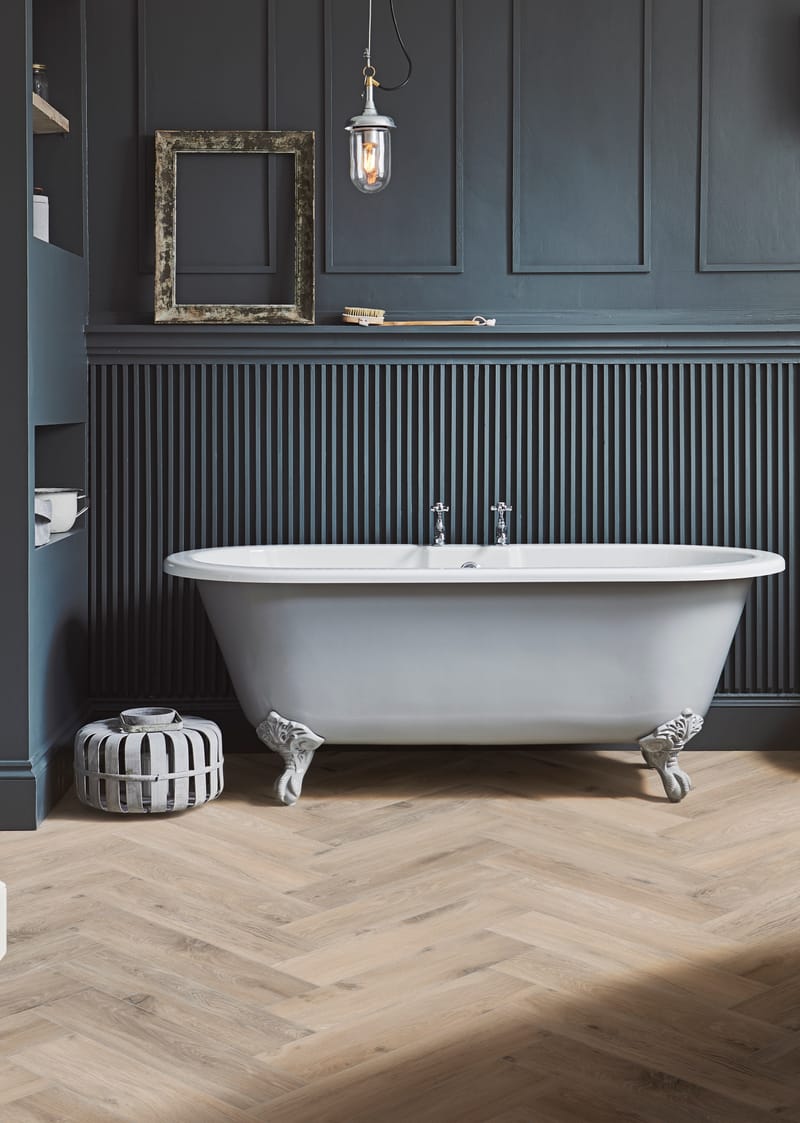
Herringbone bathroom floor tiles create strong directional movement, and in a narrow room a horizontal orientation can visually widen the space.
How to Lay Herringbone Tiles (Quick Overview)
Laying tiles in a herringbone pattern needs a precise setup, and it runs like this:
Establish your centre reference lines.
Dry lay the full pattern before any adhesive.
Begin from the centre rather than a side wall.
Work symmetrically outward from there.
Allow for 15–22% waste on the order.
Is Herringbone Right for You?
Choose herringbone if you want:
- Visual texture and movement on a plain wall
- A timeless look that still stands out
- A focal point that doesn’t rely on bold colour
Consider alternatives if:
- You prefer ultra-minimal, plain surfaces throughout
- Budget and installation time are both extremely tight
Frequently Asked Questions
Common questions about herringbone tile patterns and installation
Final Thoughts
Herringbone remains one of the most versatile and enduring layouts in modern interiors, because it adds architectural depth, guides the eye and makes a plain material look considered.
But the pattern rewards precision: tile size, grout tone, waste allowance and installation method decide whether the finished room looks intentional and refined or simply uneven and busy.
Get it right and herringbone gives you a finish that feels considered, timeless and architecturally grounded.
Our Brentwood CM13 family bathroom project is the proof: specified correctly, a timeless layout can feel contemporary and enduring at the same time.

Written by
Jonathon Barclay
Founder, Bowman Bathrooms · Engineer by background, over a decade designing and supplying bathrooms across Essex.
Related Guides You May Find Useful
What Is Bathroom Tanking?
Essential waterproofing knowledge for any tiled bathroom or wetroom.
Brentwood CM13 Project
See herringbone tiles in action in this completed family bathroom.
Our Design Process
How we plan, specify and manage a bathroom, from the first conversation to the day you use it.
Herringbone vs Chevron
Side-by-side comparison of cost, waste, visual style and installation complexity.
Best Tiles for Small Bathrooms
Tile size, colour and layout choices that buy back space in a small bathroom.
Bathroom Design in Colchester
Design and supply for CO1–CO7 homes, from our Braintree showroom.
Have a question we haven’t covered? Get in touch and we’ll happily answer it.
Planning a Herringbone Bathroom?
We can help you choose the tile format, the scale and the layout so the finished room looks intentional instead of noisy.