Bowmans · Inspiration · Design
Bathroom layout mistakes that cost thousands to fix
Most bathroom regrets are spec mistakes — wrong tap, wrong tile, wrong grout colour. They cost a few hundred to put right, sometimes less. The mistakes on this list are different. They're the ones built into the layout itself, the ones you can't undo without lifting the floor or moving a wall, the ones that turn a £25,000 renovation into a £30,000 one and ruin the room every day until they're fixed.
00 · The category
Why layout mistakes are different from spec mistakes
A spec mistake is the tap, the tile, the grout colour, the vanity finish. Get it wrong and the worst case is a return-and-reorder, two weeks of project delay, maybe £500. We covered the five most expensive of those in our companion piece on whether a bathroom designer is worth it — monobloc taps on gravity systems, waterfall taps in hard-water areas, textured vanities and limescale, the rest. Annoying, but recoverable.
A layout mistake is built into the room. The bath is in the wrong place. The soil-pipe is in the wrong wall. The joists run the wrong way. The mirror reflects the wrong thing. You can't return-and-reorder a layout — you have to rebuild the room.
The unrecoverable rework costs that follow are the reason layout decisions deserve more attention at the planning stage than spec decisions. Spec mistakes show up post-install in the snagging round; layout mistakes show up six months in, when you've lived with them long enough to realise the door catches the vanity edge every single time, or the mirror reflects the toilet from the bath. By then the room is finished and the cost of putting it right is structural.
The honest framing: most of the 10 mistakes below were caught at planning stage on every project we've designed in the last three years. Not because we're cleverer than fitters, but because layout problems are easier to catch with a tape measure and a 3D render than with a Pinterest board. Each entry below shows the cost when it gets through to construction, and the £nothing cost of catching it on paper.
01 · Mistake one
Door swing into the vanity
The most common layout mistake we see, and the one homeowners discover on day one of using the room. The bathroom door opens inward, and the leading edge of the door clears the vanity by 15mm — until you stand at the basin and the door clips your back, or you put a vanity drawer pull on the front and the drawer can't be opened with the door swung wide.
It happens because the floor plan is drawn with the vanity flush to the wall and the door arc shown as a faint dotted line. On screen the clearance looks generous; on site, with a 600mm-deep vanity instead of the 500mm shown, or with a Crosswater pull-out drawer that the catalogue spec lists at 470mm extension, the geometry stops working.
Cost to fix once installed: rehanging the door to swing outward is £150–£300 if the corridor allows it. Replacing the door with a sliding pocket door is £600–£1,200 plus making good. Cutting back the vanity by 100mm to clear the swing is rarely possible without rebuilding the unit — typically £800–£2,000 for a bespoke replacement. Worst case: removing and replacing the door wall to allow an outward-swing into a different room — £1,500+.
What a designer catches: the door arc is drawn full-radius on the layout, not a dotted line, and the vanity is sized with the drawer-extension dimension not the carcass dimension. We work to a minimum 100mm clearance between the fully-extended drawer and the door at its tightest point; below that, we either change the door swing on the plan, change the vanity to one with a recessed handle, or lose 50mm of vanity depth. It's a 30-second decision on paper. It's a £1,000 decision in plaster.
02 · Mistake two
WC too close to a wall (waste-line offset)
You can stand a WC pan as close to a side wall as you like — there's no Building Regulations minimum distance for domestic dwellings. The mistake is two-fold and the second half is the expensive one.
First, the ergonomic problem: most close-coupled WCs need 200mm minimum from the centre of the pan to the nearest obstruction or the room reads as cramped. Approved Document M Volume 1 (in force October 2024) sets the accessibility benchmark at 200mm clear for M4(2) accessible & adaptable dwellings, and 250mm for M4(3) wheelchair-user. Below 150mm the elbow rotation needed to wipe is awkward. People notice. They mention it to guests.
Second, the structural problem: the soil-pipe centre-line is set by where the pan sits, and most close-coupled WCs need the soil connection 200–230mm from the finished wall. If you've planned for the pan flush to the wall, the soil-pipe centre is too close to the wall studs to cleanly route the waste — the pipe ends up behind the cistern back-panel, the cistern doesn't sit flush, and the whole assembly is offset by 30–50mm at the front. By the time the tiler discovers this, the back-of-pan tile is cut, the cistern access panel won't sit flat, and the room looks subtly wrong forever.
Cost to fix once installed: repositioning the soil pipe is £400–£900 in plumbing rework if the floor is still up; £1,500–£3,000 if the floor has been tiled. Replacing the pan with a model that has a closer-coupled outlet is £200–£600. Adding a back-to-wall frame system to hide the offset is £400–£800.
What a designer catches: we measure to the soil-pipe centre, not to the wall, and we specify the pan model before the layout is fixed. The Catalano Zero, the Roca In-Wall, and the Geberit Sigma all have different centre-line dimensions; the layout is drawn around the chosen pan, not the other way around.
03 · Mistake three
Shower drainage falling the wrong way
The shower works on day one. Within a fortnight, water pools at the wall opposite the drain instead of running into it. The tiles look slightly warped because they aren't — the floor underneath is. By six months, the silicone at the base of the screen is permanently wet, the grout has gone dark, and the room smells slightly of drain.
Two things cause it. The branch waste pipe doesn't have enough fall — BS EN 12056-2 sets the gradient for domestic shower wastes at 18mm per metre minimum (1:55) and 90mm per metre maximum (1:11); below 18mm the water doesn't move solids, above 90mm it runs faster than them. Or, more often, the floor itself doesn't fall toward the drain — for a wet-room linear drain the showering zone needs a fall of 1:50 to 1:80 across the whole area, and if the tray former or screed isn't set with that gradient, no amount of waste-pipe grade fixes it.
Cost to fix once installed: lifting a tiled floor to re-screed and re-tank is £1,500–£3,500 depending on size, with proper waterproofing per the membrane system in use. If only the tray needs replacing — most off-the-shelf trays are pre-formed with the correct fall — it's £400–£900 plus retiling the perimeter. Outside warranty, you eat all of it.
What a designer catches: the branch pipe length and fall is calculated at the planning stage and shown on the section drawing, not left for the plumber to figure out on site. For wet rooms we specify the tray former or pre-graded screed by name (Wedi, Schluter Kerdi-Line) and require photographed evidence of the gradient before tiling starts. Both items add 30 minutes of designer time. Both items prevent a £2,500 problem.
What considered layout looks like
04 · Mistake four
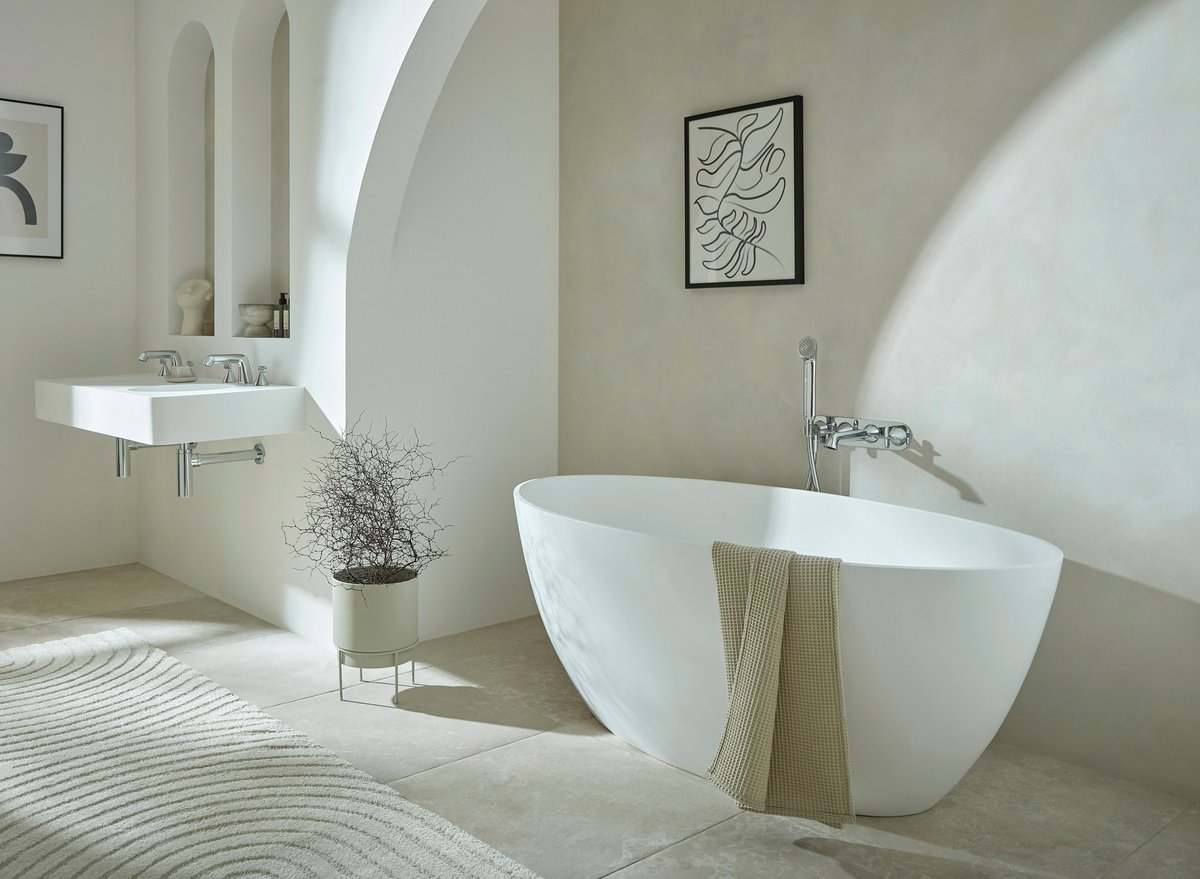
Joist orientation under a freestanding bath without reinforcement
This one belongs in the unrecoverable category and it's the second-most-expensive mistake on the list. A cast-iron freestanding bath weighs 100–180kg empty. Add 200 litres of water (200kg) and an adult bather (75–100kg) and you're loading 350–450kg over a footprint smaller than a sofa. Loaded weight per square metre exceeds the design-load assumption for most domestic floors, especially in period properties.
Where the joists run perpendicular to the bath length, the load distributes across four to six joists. The floor handles it. Where the joists run parallel to the bath length, the bath load sits over one or two joists only. The floor flexes. You feel it when the bath is full. Six months in, the silicone at the base of the bath cracks because the bath has moved. A year in, you notice the wall tile at the bath end is hairline-cracked because the bath is rocking on the floor.
Period-property joists are usually undersized by modern standards anyway — 100×50mm at 400mm centres was standard for Victorian terraces, against current Building Regulations Approved Document A guidance which assumes 175×47mm at 400mm for similar spans. The two issues compound.
Cost to fix once installed: lifting the floor, sistering the joists or adding steel-flitch reinforcement, replacing the floor, refinishing — typically £1,200–£2,500 plus the cost of any re-tiling of the bath surround. If the wall tile has cracked, add £500–£1,500 to retile.
What a designer catches: we ask the joist-orientation question at the measured site survey, before the bath is chosen. Where joists run parallel to the bath, we either rotate the bath 90° on the layout, choose an acrylic or stone-resin bath instead of cast-iron (cuts the dry weight by 60–70%), or note "joist reinforcement required" on the spec sheet so it's priced into the build. The fitter sees it on day one of strip-out, not on day one of bathing.
05 · Mistake five
Soil-stack relocation that wasn't necessary
The most expensive layout mistake on the list, in pure rework terms. Here's the pattern: the homeowner falls in love with a layout where the WC is on the opposite wall from the existing soil stack. The fitter quotes for relocating the stack — often £1,500–£3,000 in plumbing alone, more if the floor or party wall is involved — and the cost is added to the build budget. Six months later, in a different conversation, a designer sketches an alternative layout where the WC stays within 1.5 metres of the existing stack and the rest of the room rearranges around it. Same usable bathroom. £2,000 cheaper.
This isn't always avoidable — sometimes the soil stack is in genuinely the wrong place and relocating it is worth the money. But about half the soil-stack moves we see in completed projects didn't need to happen. The homeowner committed to a layout before considering whether the stack position was negotiable, and by the time they were quoted for the move, it felt like a sunk cost.
Cost to fix once committed: you can't, easily — soil stacks are large-diameter cast-iron or PVC pipes that run vertically through multiple floors, and once moved they don't move back without significant cost. The mistake here isn't unfixable; it's that you spent £2,000+ on plumbing rework that wasn't needed.
What a designer catches: the planning conversation starts with "where's the soil stack and can we keep it there?", not "where do you want the WC?". On nine out of ten projects we can place the WC within the 1.5m soil-pipe limit (the maximum branch length for a domestic WC under standard install) without compromising the layout. The 10% where you genuinely need to relocate are easier to spot when you've ruled the other 90% out first.
“Half the soil-stack moves we see in completed projects didn't need to happen.”
06 · Mistake six
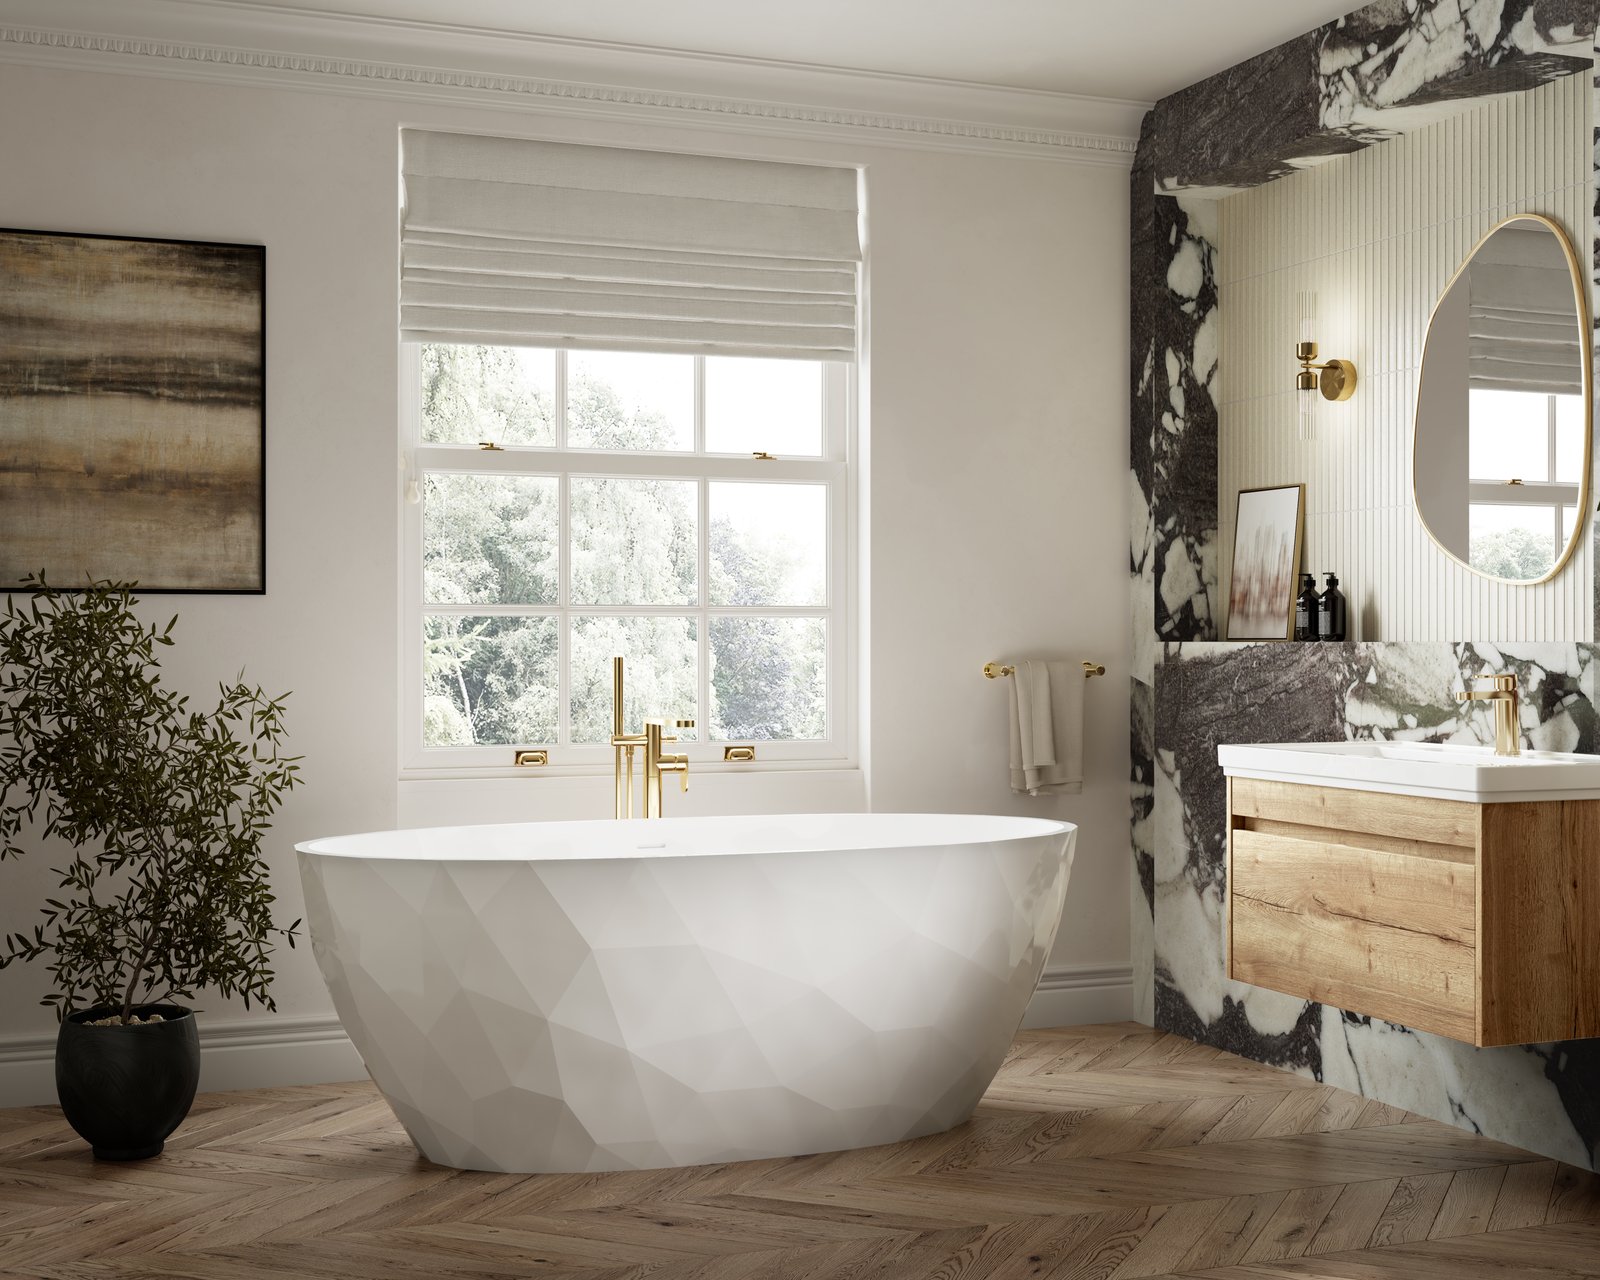
Bath in front of an inward-opening window
A freestanding bath under a window is one of the most photographed bathroom moments there is. It's also one of the easiest to get wrong, because the photograph never shows the bit that goes wrong: the window operating into the bath zone.
Three sub-mistakes here. The window is inward-opening casement — every time you ventilate, the casement swings into the splash zone and clips the bath rim. The window sill sits below the bath rim, so the sill becomes a hard headrest, which is unpleasant for anyone over five foot eight. Or the window has a textured timber frame finish, which traps moisture and goes mouldy within two years above an active bath.
The fixes: outward-opening, top-hung, sliding sash, or fixed-glass-with-vent-above all avoid the inward-swing problem. Sill height needs to be at least 200mm above the bath rim, ideally more — measure from the bath rim, not from finished floor. Frame finish needs to handle humidity: uPVC, painted timber with marine-grade paint, aluminium, or powder-coated steel.
Cost to fix once installed: repositioning a window, replacing a casement with a sash, or rebuilding the reveal to raise the sill is the most expensive single-item fix on this article — typically £2,500–£6,000 with structural lintel work, rendering and making good externally. If the only issue is the frame finish, repainting with marine-grade paint and adding active extraction is closer to £400–£800.
What a designer catches: windows go on the elevation drawing first, with the casement arc shown live. Bath placement is constrained to "no fitting within the casement arc plus 200mm". Where the existing window genuinely conflicts and can't be moved, we change the bath position or change the window before any spec is committed.
07 · Mistake seven
Towel rail blocking the radiator valve
A small mistake but a daily one. The towel rail is fixed to the wall, the thermostatic valve (TRV) sits at the bottom of one upright, and a fitting nearby — usually the WC, sometimes a built-in basin run, sometimes a wall-mount tap — sits close enough that the valve handle can't be turned without contortion.
It happens because the TRV body sticks out 80–110mm from the wall, and the valve handle needs another 60–80mm clearance to rotate. The catalogue diagram of a Bisque or DQ Heating towel rail shows the bare upright; the diagram doesn't show the protruding valve. On a Pinterest mood board, the scale is wrong. On a 2D plan, the valve is invisible.
Cost to fix once installed: moving the towel rail 100mm sideways is typically £200–£450 in plumbing rework plus making good the original wall (filling, retiling if the original tile is mounted, repainting). Replacing the TRV with a low-profile or flat-fronted alternative is £80–£180 plus install. Living with it permanently is free, and most homeowners do.
What a designer catches: the towel-rail elevation includes the valve dimension, not just the rail. Adjacent fittings are checked at the elevation stage, not just the plan stage. Five minutes of designer time. £400 of plumbing rework saved.
08 · Mistake eight
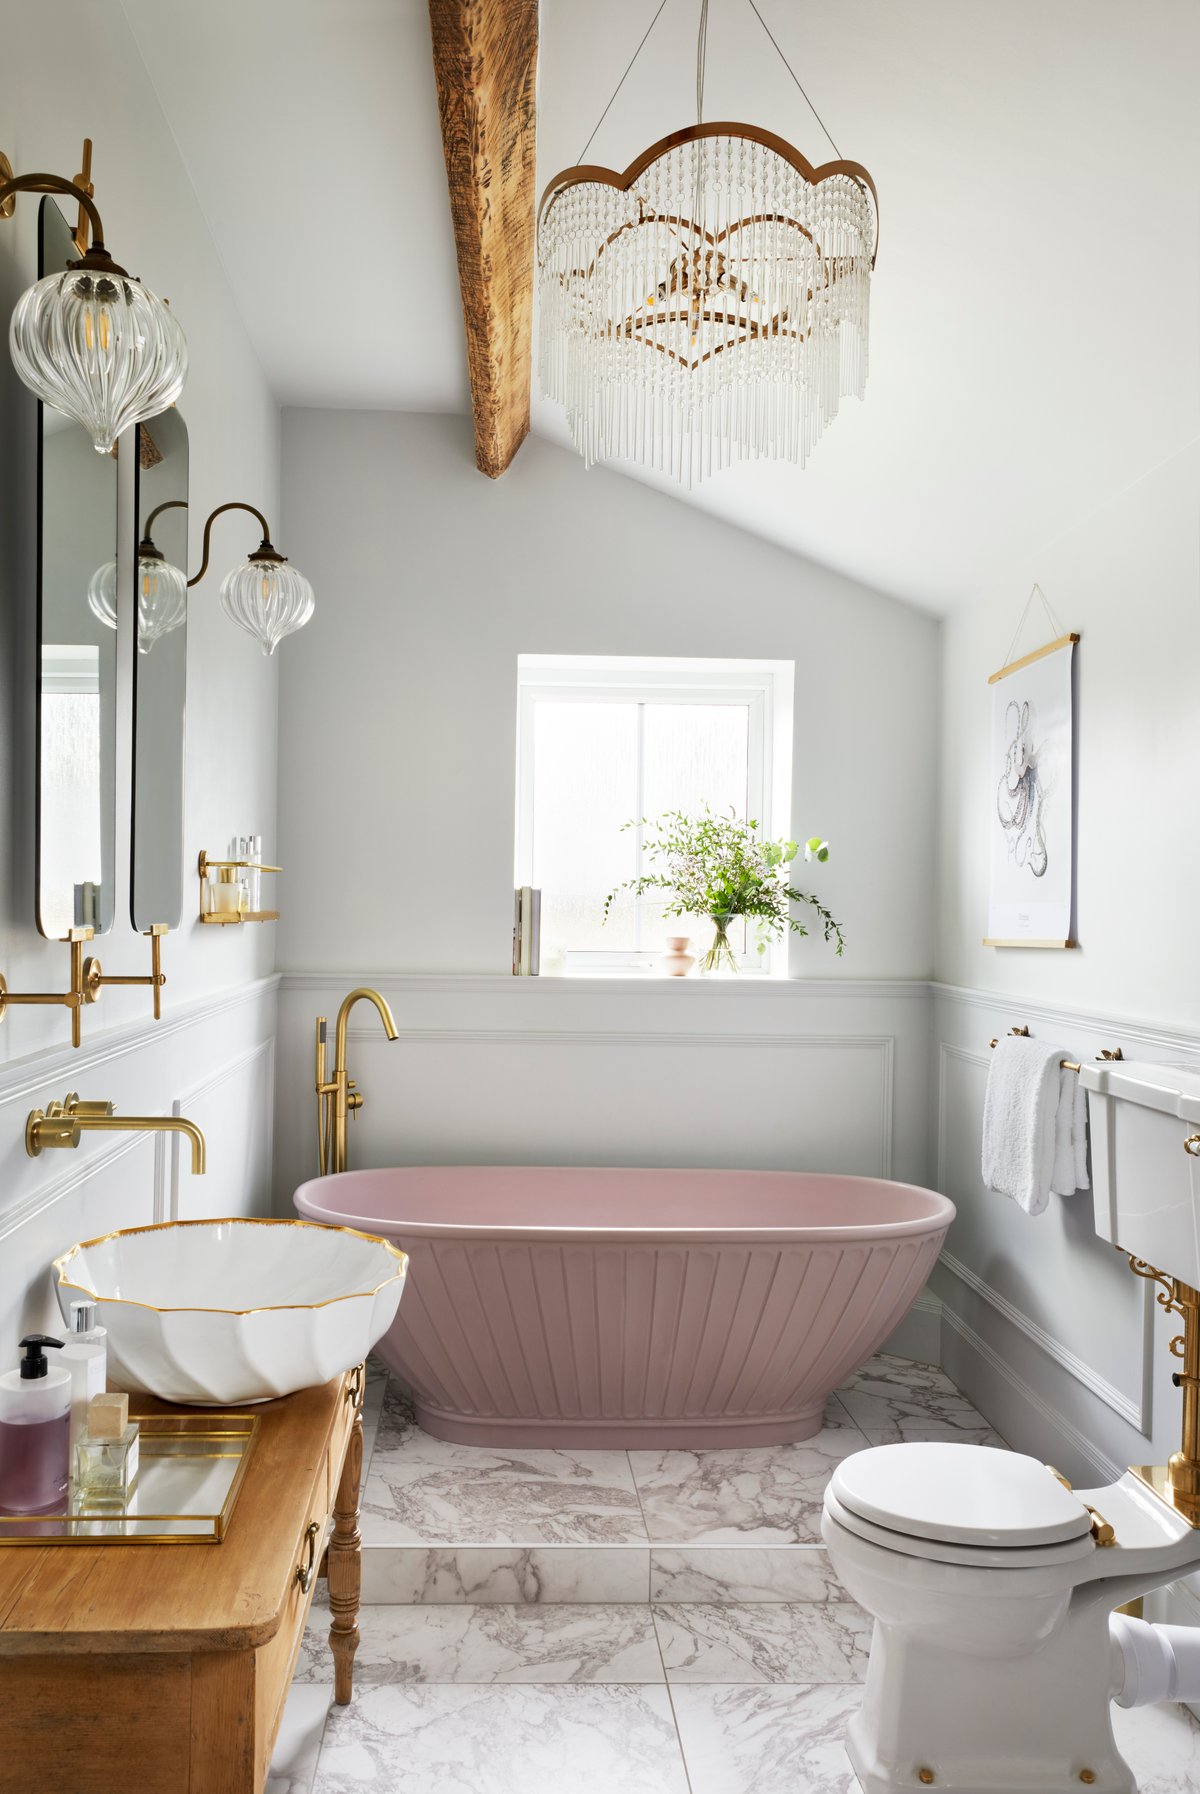
Mirror placement reflecting the WC
This isn't a regulation, it's an ergonomic and resale problem, and it's one of the most-cited bathroom regrets on UK home renovation forums. The mirror is hung above the basin opposite or at a 45-degree angle to the WC, and the reflection includes the toilet from anywhere you stand in the room — including the doorway and the bath. Magazines never warn about this because the photographer crops out the WC. You only notice in occupation.
The fix is not putting the mirror there. A wider mirror (so the reflection includes face but not the angle to the WC), a mirror moved to a different wall, or — most commonly — a WC moved out of the reflection line by repositioning the toilet by 200–400mm.
Cost to fix once installed: repositioning a hung mirror is £50–£150 if you keep the same mirror; up to £300 if the mirror is illuminated or hardwired. Repositioning a recessed or LED-backlit mirror is £200–£600 with retile. Repositioning the WC is much more expensive — see mistake two — typically £400–£1,500.
What a designer catches: the 3D render is walked from every standing point in the room, including the doorway. If the WC reflects in any view, the mirror moves on screen, not in plaster. This is one of the simplest checks a 3D render does that a 2D plan cannot.
09 · Mistake nine
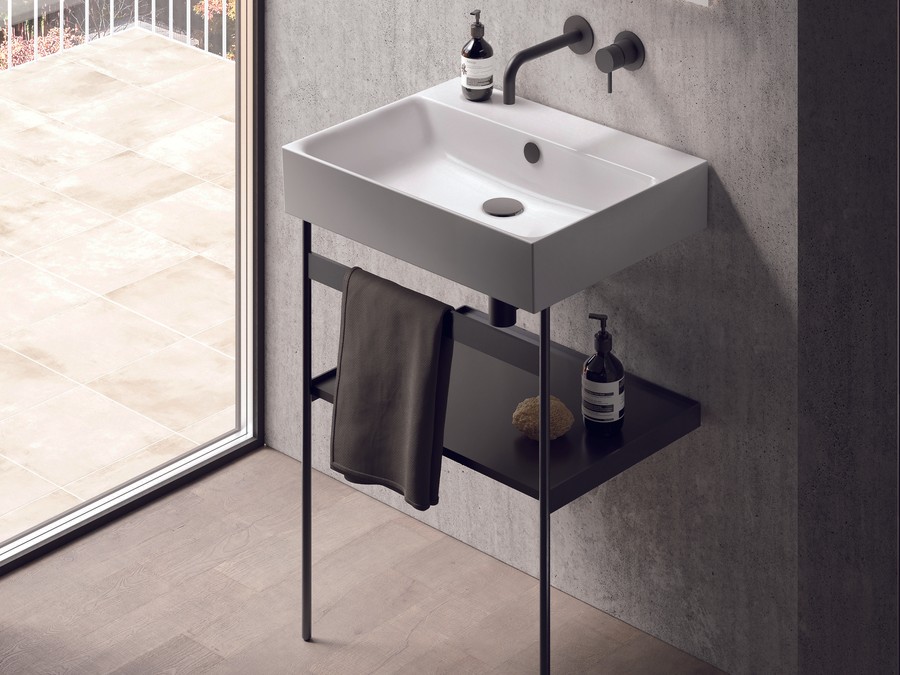
Basin too close to the side wall (no elbow room)
The basin is fitted with the centre 150mm from the side wall. The plan looked tight but workable. In use, washing your face requires a tilt, washing your hair in the basin is impossible, and — if it's a child's bathroom — a smaller user gets a constant elbow knock from the wall.
The working rule is 200mm minimum from the basin centre to the nearest obstruction, 250mm or more for comfort. The problem is that "the nearest obstruction" includes a wall that's plumb, a tile that adds 12mm to the original wall, a bath rim at the same height as the basin, or a tall vanity unit. Plans drawn against bare-wall dimensions don't account for finishes; once the room is finished, the 200mm becomes 175mm.
Cost to fix once installed: repositioning a wall-hung basin is £200–£500 plus retile. Repositioning a vanity-mounted basin is rarely possible without replacing the vanity — £600–£1,500. Living with it is free; we have homeowners on Mumsnet who have lived with cramped basins for ten years and never solved it.
What a designer catches: elevations drawn to finished-wall dimensions, not bare-wall. The 200mm clearance is plotted as a no-fitting zone on the layout. Where the room is genuinely tight, a smaller basin (Catalano Zero 80, Roper Rhodes Note 530) preserves the clearance instead of cramming a 600mm basin into a 750mm slot.
10 · Mistake ten
Lighting position causing face shadow at the mirror
The single most-cited "wish we'd thought about" item on UK bathroom forums after underfloor heating. The mirror is fitted, the only light above it is a ceiling downlight or a single spot directly above, and the result is shadow under the eyes, nose and chin every time you look in the mirror. Useless for shaving. Worse for makeup.
Light from above casts shadow downward. Light from beside the face casts no shadow. The fix is either vertical wall-lights either side of the mirror at face height (around 1700mm finished-floor-level for an average user), an integrated edge-lit LED mirror that throws diffused light forward onto the face, or both. CIBSE LG7 (the lighting guide for healthcare and domestic environments) recommends 300 lux at the face for grooming tasks — most single ceiling downlights deliver 150–200 lux at the face regardless of position.
Cost to fix once installed: adding wall-lights post-completion means cutting tile, chasing cable, getting Part P notification under Approved Document P (since the bathroom is a special location requiring 30mA RCD protection per BS 7671 Amendment 3:2024). Typically £400–£800 per pair of fittings plus the lights themselves. Replacing a non-lit mirror with a backlit version is £300–£700 if the spur is already in place; up to £900 if not.
What a designer catches: the lighting plan is a separate drawing from the layout, with mirror-light fittings drawn at face-height position, switched on a dedicated circuit, and noted as "wall-mounted at 1700mm AFFL, IP44 minimum, dimmable warm-white". The fitter wires for this on day one of first-fix, not after the tile is on the wall.
“Light from above casts shadow downward. Light from beside the face casts no shadow.”
11 · The pattern
The pattern beneath every layout mistake
Read the 10 mistakes back to back and the same shape appears in every entry. Each one is invisible on a 2D plan and only becomes visible when the room is built. Each one is catchable for free at the planning stage and expensive to fix afterward. And each one shows up on a 3D render walked from every standing point in the room, before any product is committed.
That's not a coincidence. Layout mistakes survive because 2D plans are flat — they don't show door arcs in motion, valve protrusions, mirror reflection geometry, joist orientation, sill heights relative to bath rims, or shadow direction at face height. Pinterest is worse than a plan because Pinterest is camera-cropped. The angle the photograph excludes is exactly the angle the homeowner will live with for the next ten years.
The single skill that prevents every entry on this list is the ability to walk the room before it's built. That's what a measured site survey plus a 3D render gives you, and it's the bit most fitter-only routes don't include. A good fitter knows how to plumb, tile and finish; what they usually don't do is sit with the homeowner for two hours walking through the 3D render checking sight-lines, swing arcs and valve clearances. That's designer work, and it's the work that earns the fee.
If you're trying to figure out the cost of getting it right vs the cost of fixing it later, our breakdown of UK luxury bathroom cost in 2026 sets the planning-stage spend in context. The general rule: every £1,000 spent on careful planning saves £2,000–£4,000 in rework, and the saving is concentrated entirely in the layout-mistake category above.
None of the regulations above prevent layout mistakes on their own. The regulations set the floor; the layout work happens on top. Every entry above sits inside compliance — the rooms still pass building control. They're just rooms you'd rather not be in. Working through a designer's 14-step planning checklist before any product goes on order is the cheapest way to keep the rest of this article hypothetical.
Frequently asked questions
Everything UK homeowners ask about bathroom layout mistakes and rework costs.
What's next
Plan it once, build it once
Every mistake on this list is preventable in the first design appointment. The 3D render walks the room before products go on order; the elevation drawings catch valve protrusions and door swings before the fitter starts; the joist and soil-pipe questions get asked before the layout is committed. None of those steps are expensive — they're an hour or two of designer time, settled at the planning stage when changes are free.
Our design service runs from the Braintree and Leigh-on-Sea showrooms. Because we benchmark our product pricing against the major online retailers, you don't pay a premium to get the layout work done — the kit costs roughly what it costs online, and the design, the spec sheet, the elevations and the 3D render come alongside it. If you want to talk through your room before products are ordered, you're welcome to book in.