Luxury Bathroom Tile Layout Ideas UK Design Guide 2026
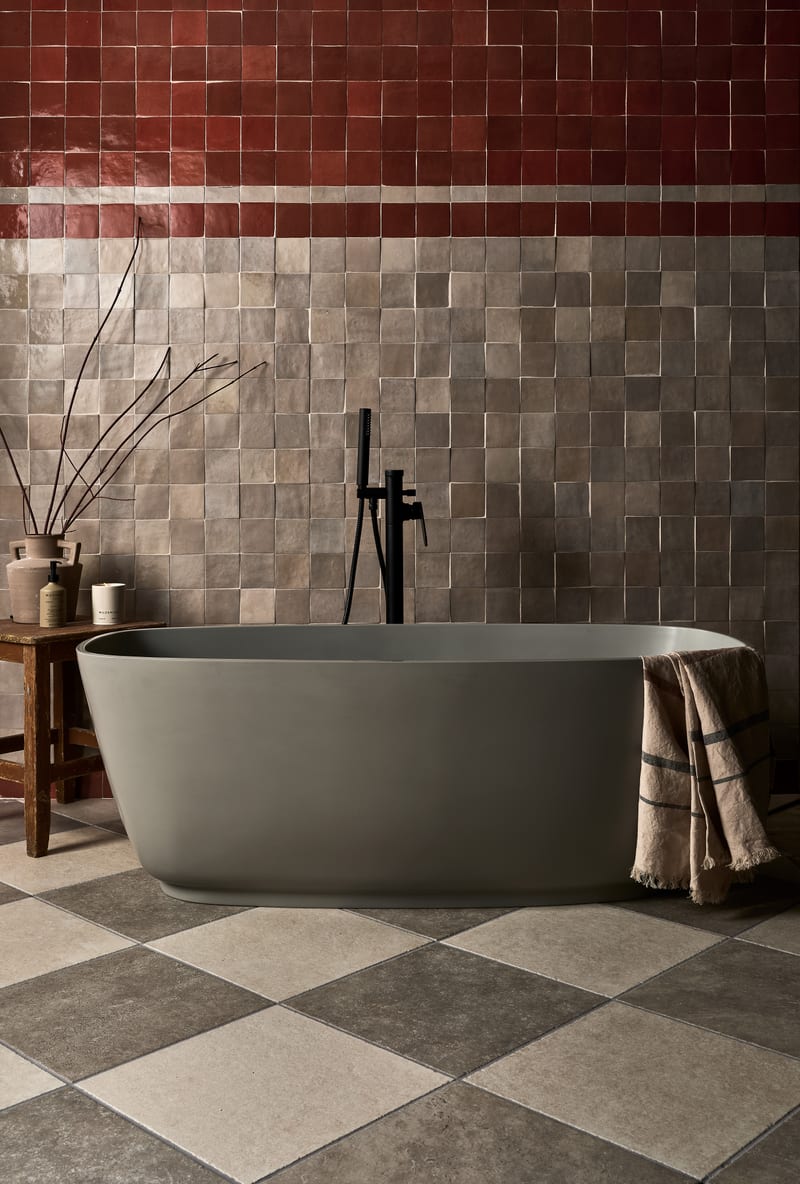
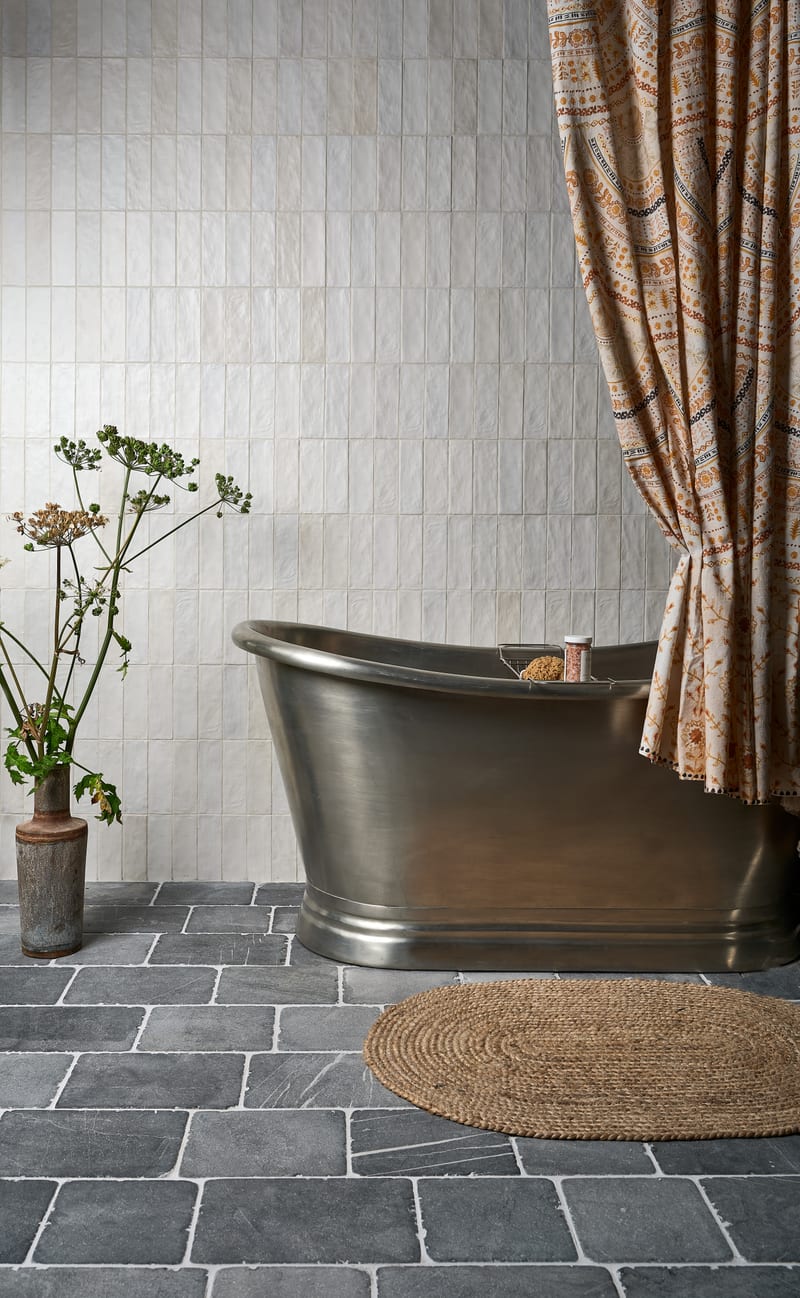
Luxury bathroom tile layouts use intentional pattern direction, tile scale, grout tone and centre-line alignment to create architectural balance, movement and spatial depth. Popular layouts include herringbone, vertical stack, brick bond, chevron, modular stone, basket weave, pinwheel and large-format grid patterns — each suited to different room proportions and design objectives.
Tile layout is often more influential than tile colour. The same tile can feel minimal, traditional, dramatic or architectural depending entirely on how it is laid.
This UK-focused design guide explores layout psychology, installation impact, cost implications, spatial perception and real project applications — helping you choose a layout that feels refined rather than accidental.
For labour modelling and real UK pricing examples, see our Bathroom Tiling Cost Guide. For pattern-specific mechanics, visit the Herringbone Tiles Guide.
Quick Navigation
What Are Bathroom Tile Layout Patterns?
Bathroom tile layout patterns refer to the direction, repetition and alignment strategy used when installing tiles on walls or floors. The same tile can produce dramatically different visual outcomes depending on whether it is laid in a grid, offset, stacked vertically or arranged in a patterned format such as herringbone.
In UK renovation projects, layout decisions influence:
- Perceived space and proportion
- Installation cost and labour time
- Material waste percentage
- Visual movement and architectural feel
- Long-term timelessness
Why Tile Layout Matters More Than Tile Choice
Many homeowners focus first on tile colour or brand. In reality, layout direction determines how a bathroom feels.
Layout Principle
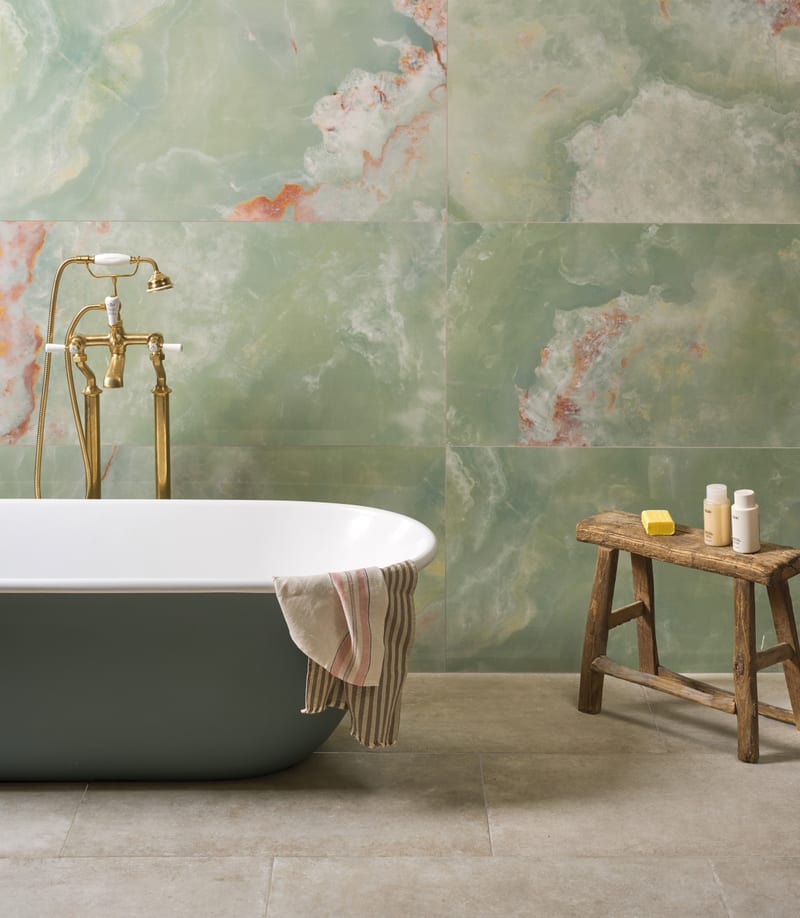
A simple white tile can feel architectural when stacked vertically, or decorative when laid in herringbone. Luxury bathroom design relies on proportion, restraint and sightline control — not trend-driven choices.
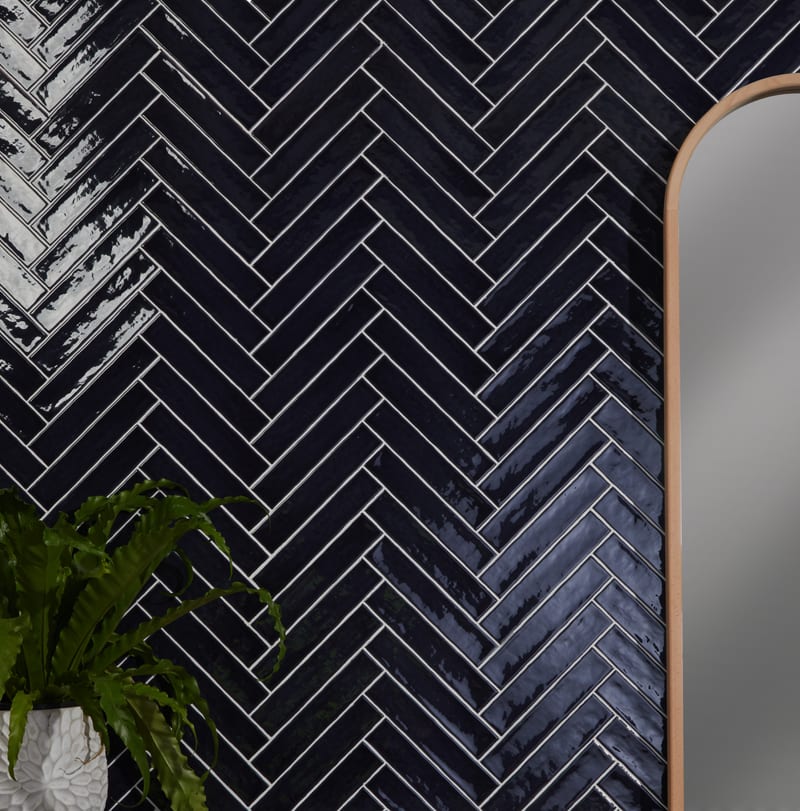
Same Avebury Ceramic Ink tile — two different layouts
Tile Materials & Finish Comparison
Layout alone does not define the outcome — material and finish dramatically change the final aesthetic and installation complexity.
| Material | Best Layout Pairings | Visual Effect | Installation Notes |
|---|---|---|---|
| Porcelain (Matte) | Grid, Vertical Stack | Clean, modern, spa-like | Most stable and cost-efficient |
| Porcelain (Gloss) | Brick Bond, Vertical Stack | Reflective, increases light | Shows grout lines more clearly |
| Marble | Herringbone, Chevron | High-end, architectural | Requires sealing & precision cutting |
| Wood-Effect Porcelain | Herringbone, Chevron | Warm, transitional luxury | Plank formats increase waste |
| Mosaic | Basket Weave, Feature Niches | Textural, detailed | Higher labour time |
Material choice influences waste percentage, labour complexity and long-term maintenance.
Maintenance & Longevity Considerations
Installation Note
Pattern and grout choice affect ongoing care. Consider maintenance implications before finalising your layout.
In family bathrooms, restraint often improves long-term durability and ease of cleaning.
10 Layout Types Compared
Core Luxury Tile Layout Types
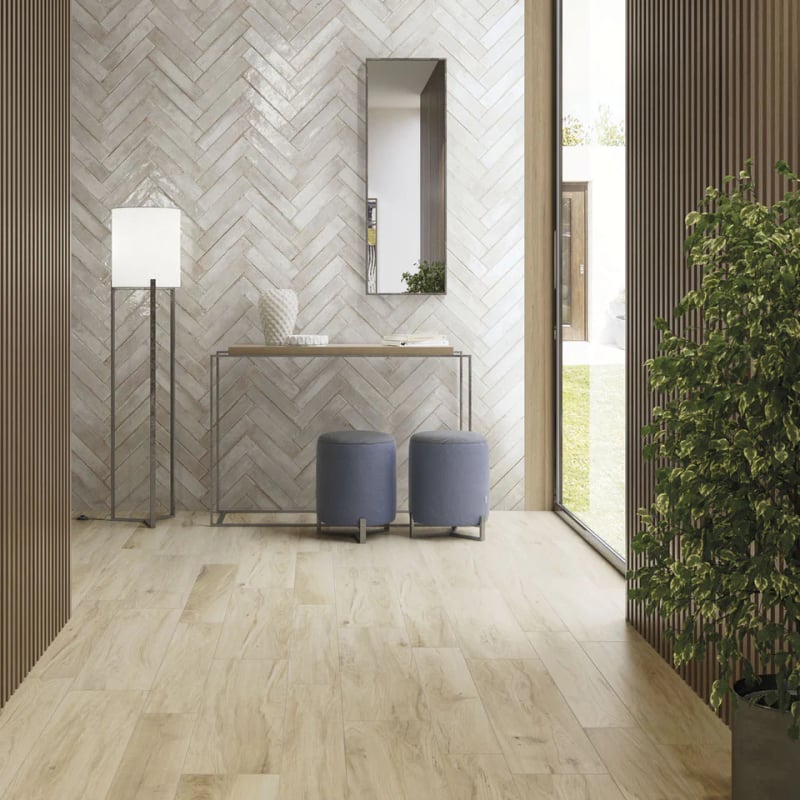
1. Herringbone Layout
A zig-zag pattern formed by rectangular tiles meeting at 90 degrees.
Best For
- Feature vanity walls
- Shower enclosures
- Statement flooring
Waste & Labour
Labour uplift: 20–30% above straight lay
Top Tip: Centre the pattern on the primary sightline (often the vanity wall) for symmetry.
Common Mistake: Running herringbone across every wall in a compact bathroom, creating visual overload.
For full installation guidance, see the Herringbone Tiles Guide. For ordering calculations, refer to the Tile Quantities & Waste Guide. Unsure whether herringbone or chevron is right? See our Herringbone vs Chevron Comparison.
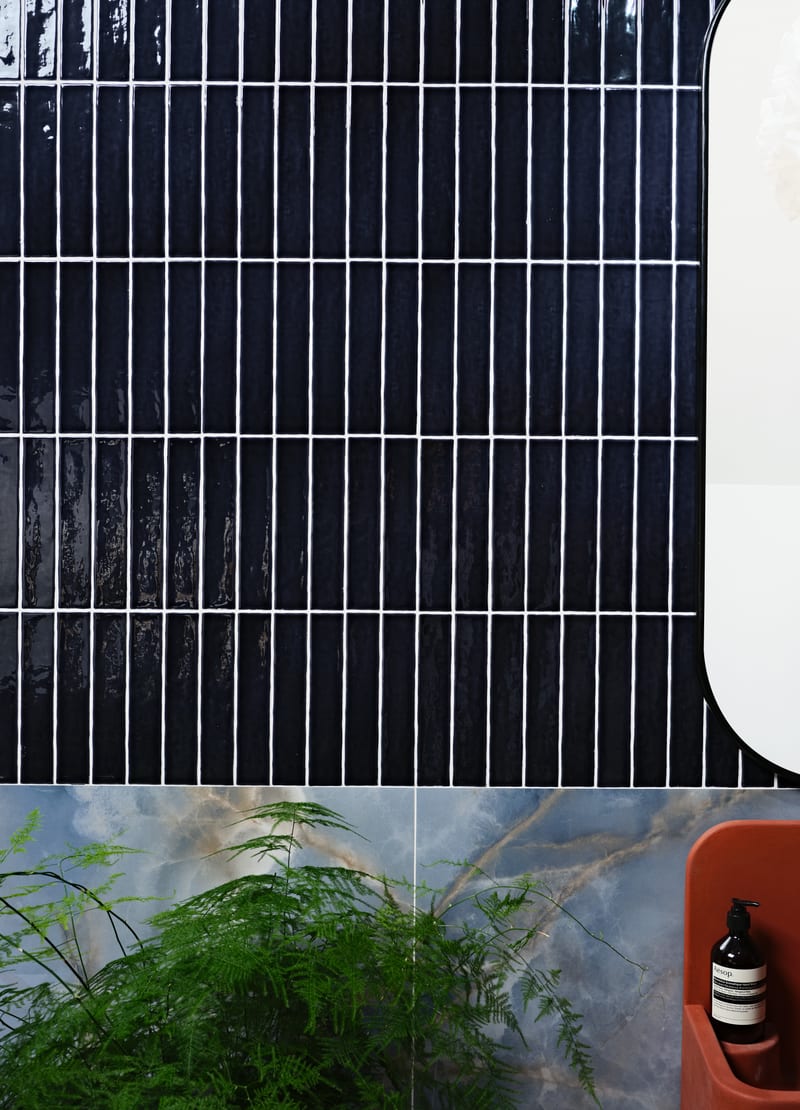
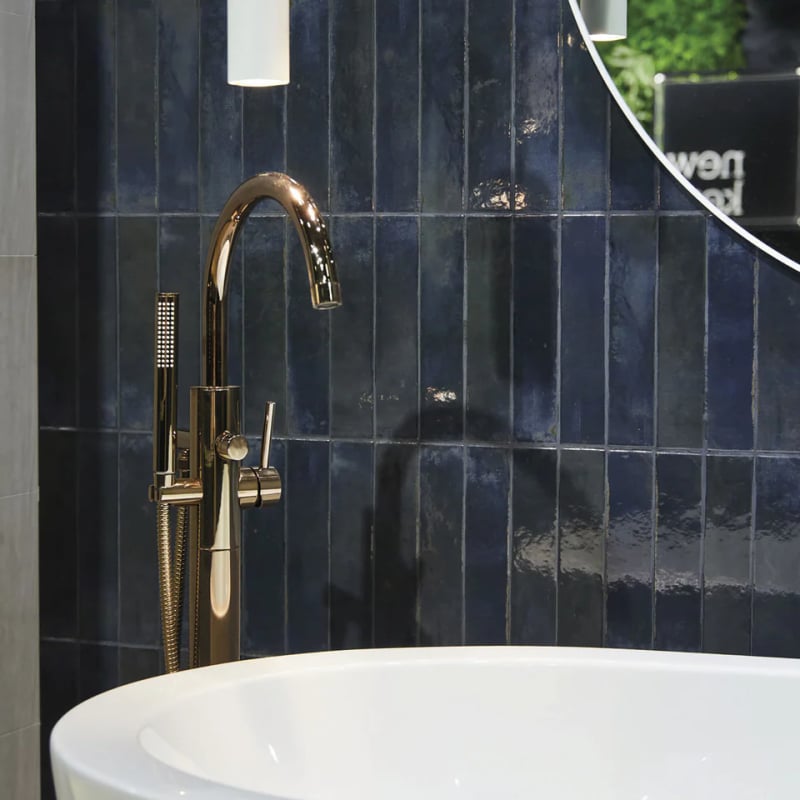
2. Vertical Stack
Tiles stacked directly above one another with aligned vertical joints.
Best For
- Low ceiling bathrooms
- Contemporary schemes
Waste & Labour
Moderate alignment precision required
Top Tip: Use elongated tiles (e.g. 60×20) and match grout colour closely for a seamless look.
Common Mistake: Poor levelling, which makes vertical misalignment highly visible.
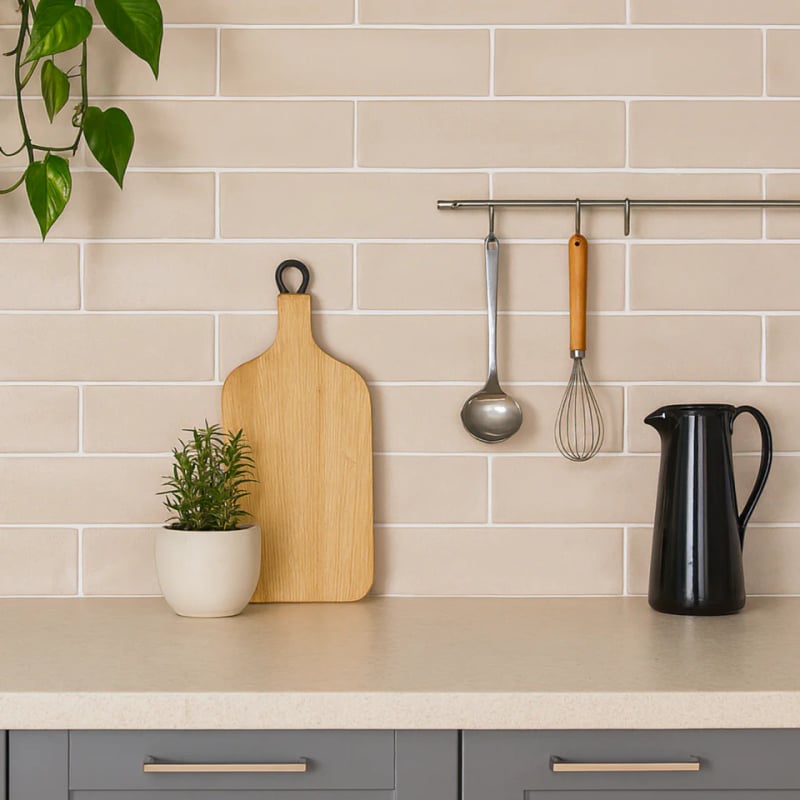
3. Brick Bond (Offset)
Traditional staggered tile arrangement, also known as running bond or offset.
Best For
- Transitional bathrooms
- Period properties
Waste & Labour
Low–moderate complexity
Top Tip: Reduce the offset from 50% to 30% for a more refined, contemporary feel.
Common Mistake: Using high-contrast grout in small spaces, making the pattern feel busy.
4. Chevron Layout
Tiles cut to angled ends forming continuous V shapes — sharper and more geometric than herringbone.
Best For
- Statement floors
- Symmetrical rooms
Waste & Labour
High precision required
Top Tip: Reserve chevron for balanced rooms where the central axis can be aligned precisely.
Common Mistake: Attempting chevron without perfectly flat substrates.
Not sure if chevron or herringbone better suits your bathroom? See our Herringbone vs Chevron Comparison.
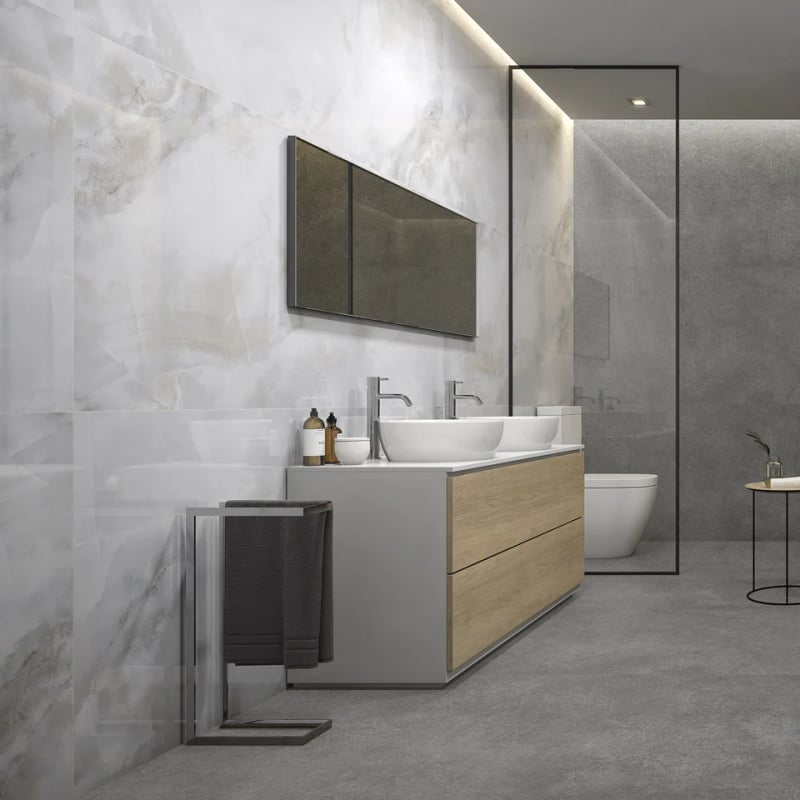
5. Large Format Grid
Straight grid installation using large porcelain tiles (typically 600×600 or 600×1200 mm).
Best For
- Spa-style bathrooms
- Wetrooms
- Minimalist interiors
Waste & Labour
Base labour rate
Top Tip: Align grout joints with architectural features such as niches and mirror edges.
Common Mistake: Using overly contrasting grout, which defeats the calm aesthetic.
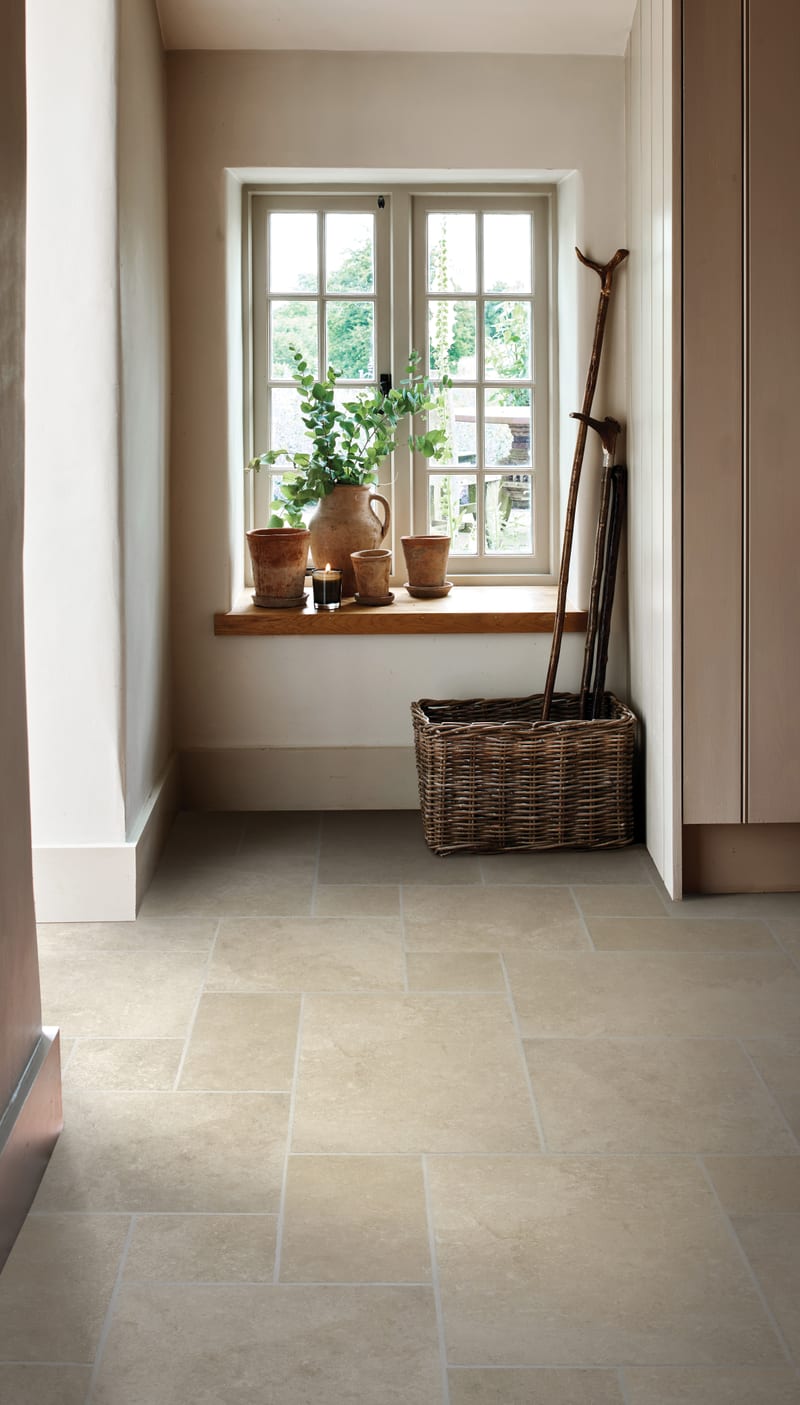
6. Modular Stone Layout
Mixed-size tiles arranged in repeating modular patterns using natural stone or porcelain.
Best For
- Natural stone floors
- Traditional luxury homes
Waste & Labour
Moderate–high complexity
Top Tip: Keep grout tone close to tile colour for cohesion.
Common Mistake: Using small modules in compact bathrooms, increasing visual clutter.
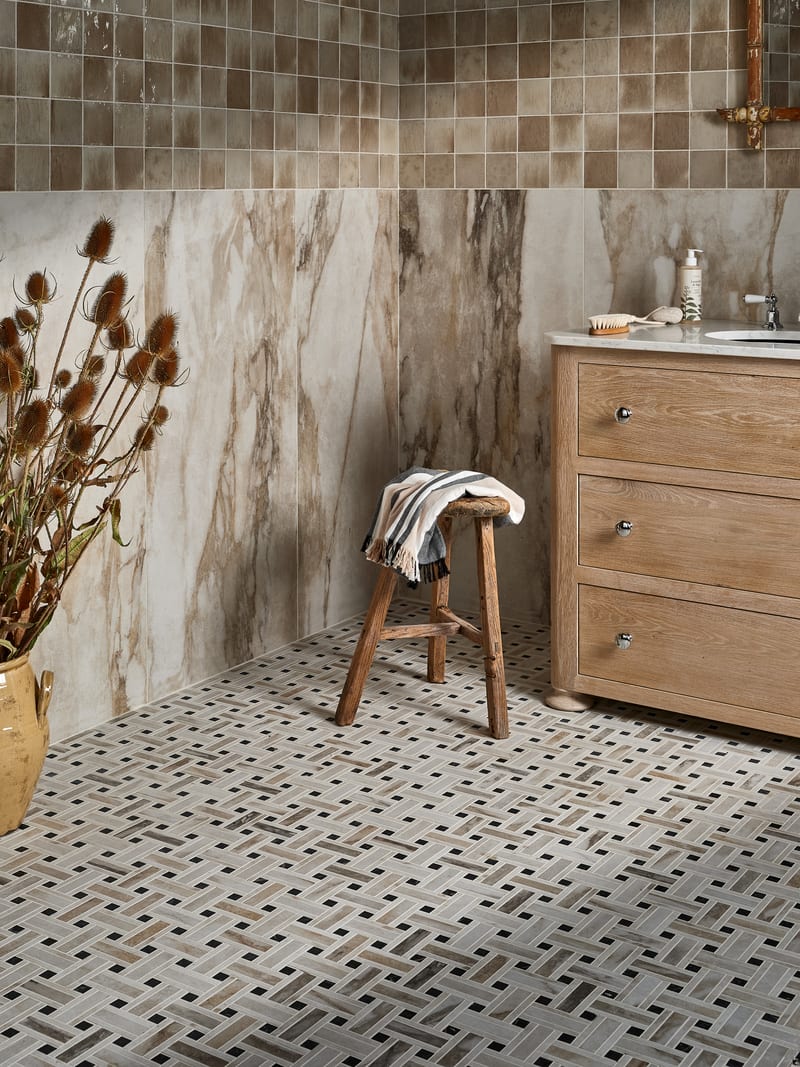
7. Basket Weave Layout
Interlocking rectangular tiles forming woven-style geometry, adding heritage character and texture without heavy movement.
Best For
- Period-inspired bathrooms
- Victorian or Edwardian properties
Waste & Labour
Moderate complexity
Top Tip: Works well in smaller floor areas such as cloakrooms.
Common Mistake: Mixing basket weave with another strong wall pattern.
8. Pinwheel / Hopscotch Layout
A modular format combining large and small tiles in repeating geometric rhythm, creating layered interest while remaining structured.
Best For
- Transitional luxury spaces
- Larger bathroom floors
Waste & Labour
Moderate–high complexity
Top Tip: Best used on floors where scale can breathe.
Common Mistake: Using in narrow bathrooms where repetition becomes overwhelming.

9. Diagonal / Diamond Grid
A classic grid rotated at a 45-degree angle to the walls, creating the illusion of greater width and breaking rigid boxy proportions.
Best For
- Small bathrooms needing visual expansion
- Floor layouts in square rooms
Waste & Labour
Moderate complexity due to perimeter cuts
Top Tip: Works particularly well with square porcelain tiles in compact spaces.
Common Mistake: Forgetting that angled perimeter cuts increase waste percentage.
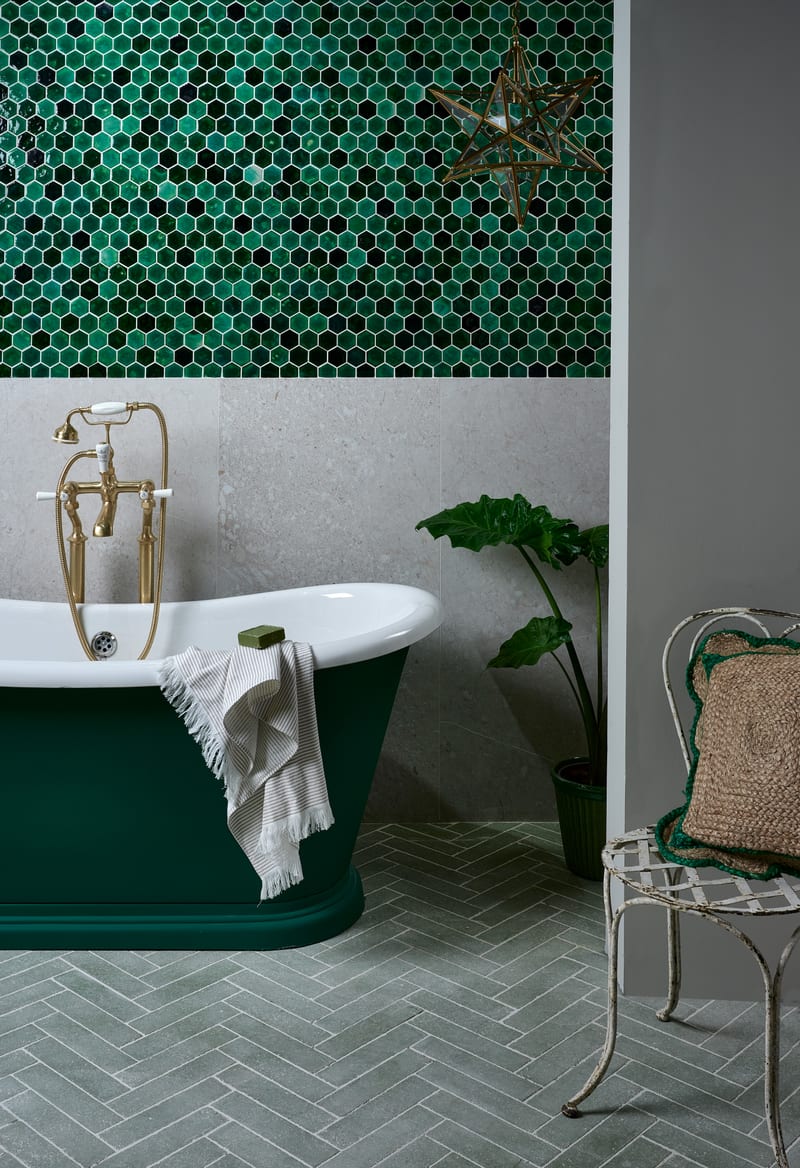
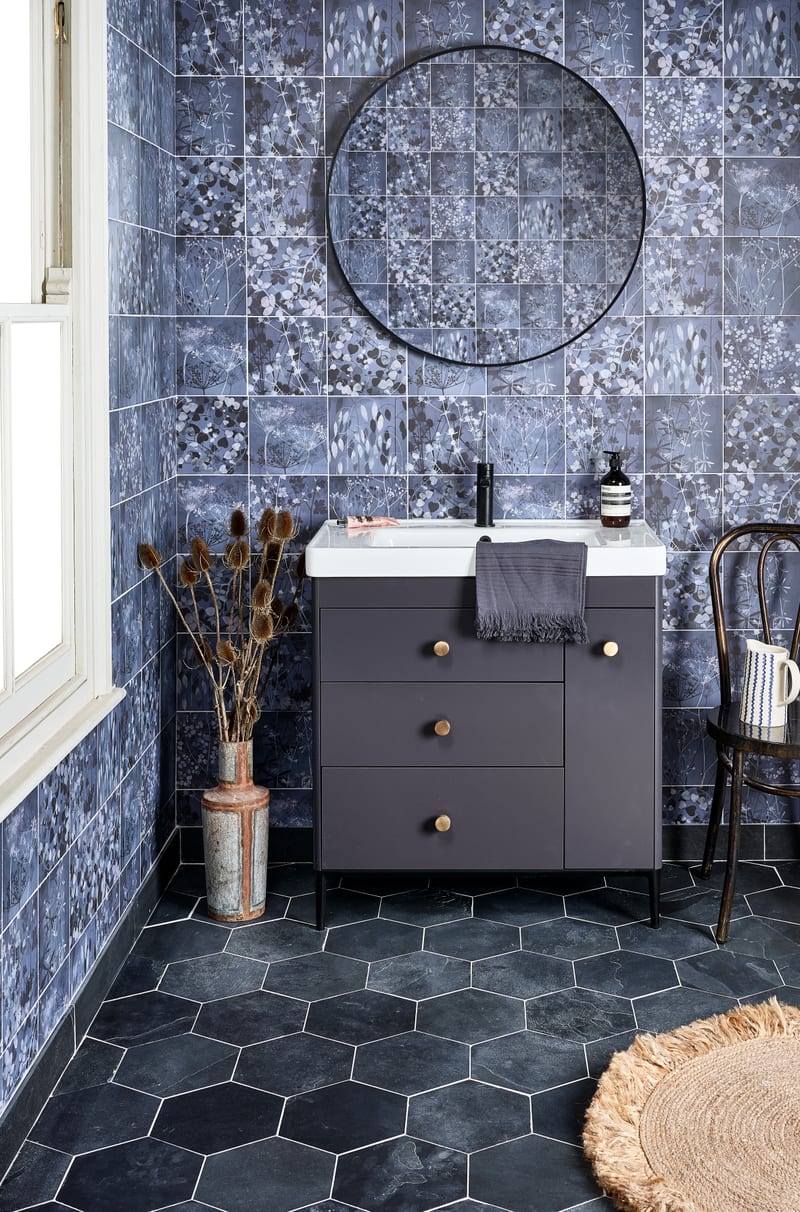
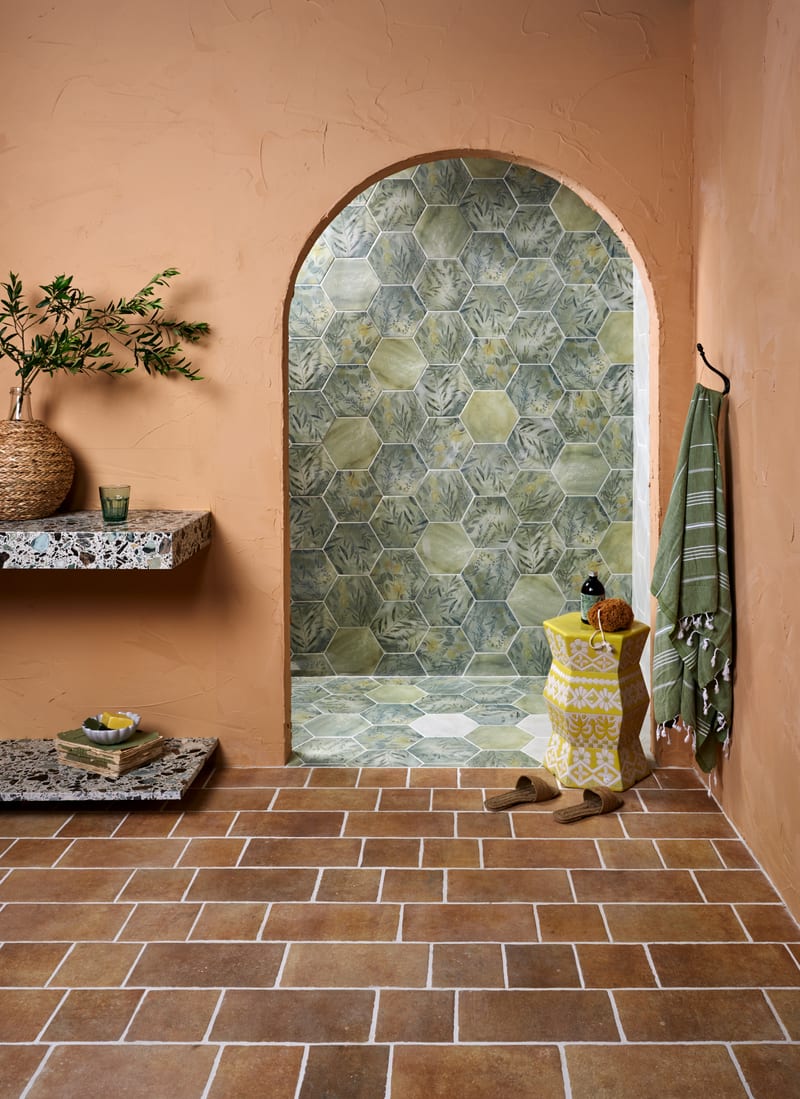
10. Hexagon Layout
Hexagonal tiles arranged in honeycomb formation, adding geometric interest while remaining cohesive.
Best For
- Contemporary bathrooms
- Feature floors or shower zones
Waste & Labour
Moderate alignment precision required
Top Tip: Pair with subtle grout for a more architectural, less busy finish.
Common Mistake: Combining hexagon floors with heavily patterned walls in small bathrooms.
How to Choose the Right Tile Layout
Assess Proportions
- Low ceiling → Vertical stack
- Narrow room → Horizontal emphasis
- Balanced space → Feature layout possible
Identify Primary Sightline
Centre patterns on: vanity wall, bath backdrop or shower focal point.
Control Pattern Intensity
One feature wall is usually sufficient in compact bathrooms.
Budget Awareness
Complex patterns increase labour time, waste percentage and installation precision.
For modelling examples, see the Bathroom Tiling Cost Guide.
Longevity
Timeless layouts: brick bond, herringbone and large-format grid.
Tile Layout by Room Type
Ensuite Bathrooms
Vertical stack or large-format grid to maximise perceived space. Avoid heavy floor patterns in very compact layouts.
Family Bathrooms
Feature herringbone wall with calmer floor grid. Durable porcelain preferred for maintenance ease.
Cloakrooms
Basket weave or diagonal grid can add character in small areas. Pattern scale should remain proportional.
Wetrooms
Large-format grid for floor falls and easier drainage alignment. Minimal grout contrast improves longevity.
Tile Layout by Tile Size
Tile dimensions influence which layouts work best. Choosing layout based on tile size prevents awkward cuts and visual imbalance.
Small Format Tiles (e.g. 100×200 mm)
Ideal for herringbone, brick bond and vertical stack.
Avoid overly complex modular patterns in tight spaces.
Medium Format Tiles (e.g. 300×600 mm)
Suitable for brick bond and staggered offsets.
Diagonal grid works well in square rooms.
Large Format Tiles (e.g. 600×600 / 600×1200 mm)
Best suited to straight grid layouts.
Not typically suitable for herringbone unless plank format.
Tile Layout Psychology: Spatial Impact
Vertical Orientation
Increases perceived height
Horizontal Orientation
Expands perceived width
Pattern Density
Small tiles increase activity; large tiles reduce noise
Grout Tone
Matching softens pattern; contrast emphasises it
Designer Styling Notes
In luxury projects, designers typically follow these refinements to elevate installation from standard tiling to architectural execution:
Centre patterned layouts on vanity symmetry lines
Avoid combining two strong patterns in one compact room
Use feature layouts vertically rather than across entire rooms
Keep floor layouts calmer than wall focal points
Align grout joints with architectural lines (niches, mirrors, bath edges)
These refinements are what separate standard tiling from considered architectural execution. Proportion and restraint define luxury — not complexity.
Installation Complexity & Cost Overview
Layout choice directly impacts installation time and material waste. Use this comparison when budgeting your bathroom project.
For per-m² UK pricing ranges, refer to the Bathroom Tiling Cost Guide. To understand how layout choice affects material ordering, see the Tile Quantities & Waste Guide.
Real Project — Layout in Practice
Coggeshall CO6 Country Cottage Bathroom Case Study
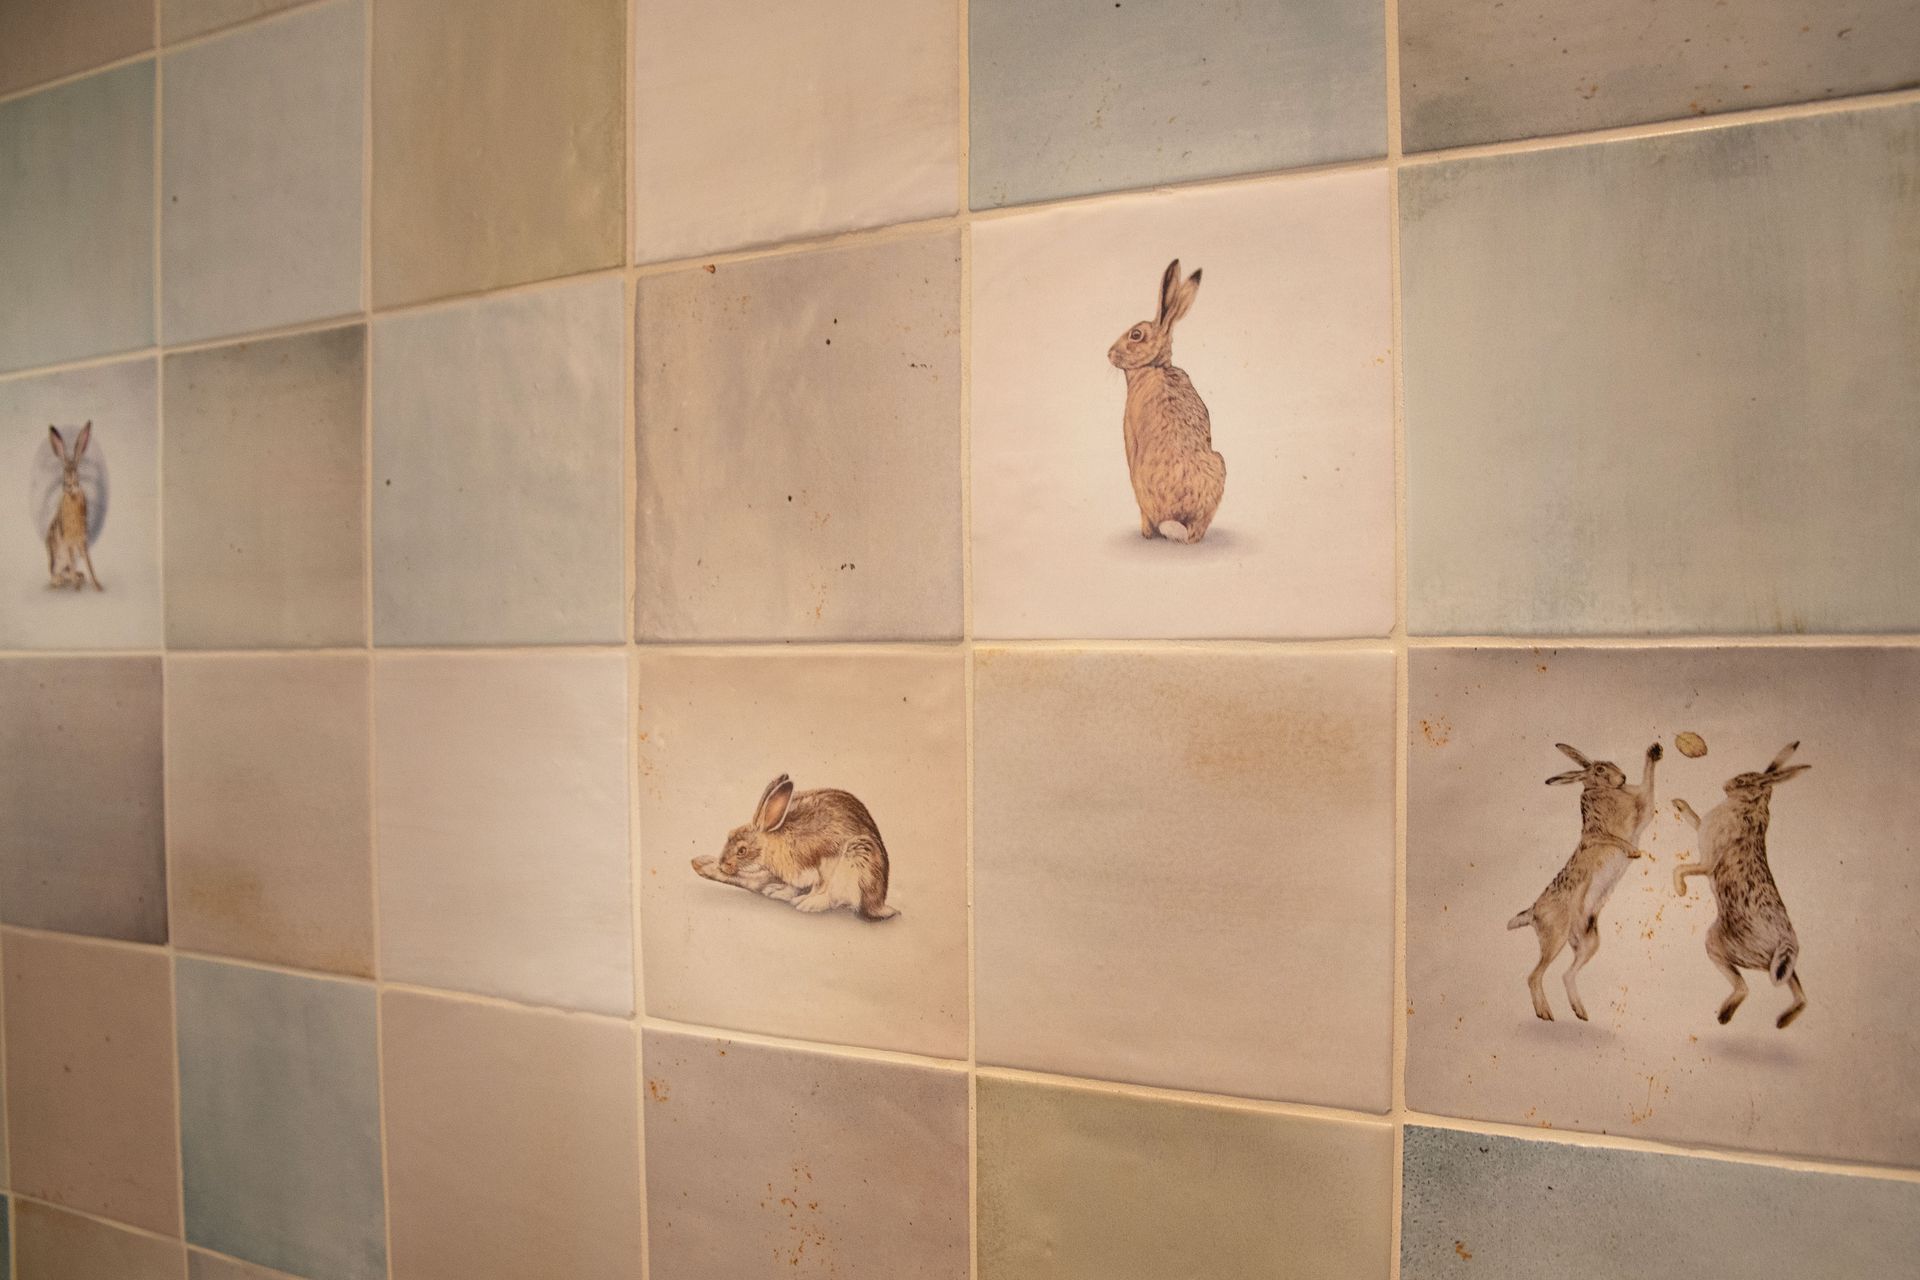
In our Coggeshall CO6 country cottage bathroom project, Ca' Pietra Wiltshire Hares feature tiles were used selectively as a decorative accent within shower niches, while surrounding walls remained calm in neutral tones. This balance added character without overwhelming the period cottage aesthetic.
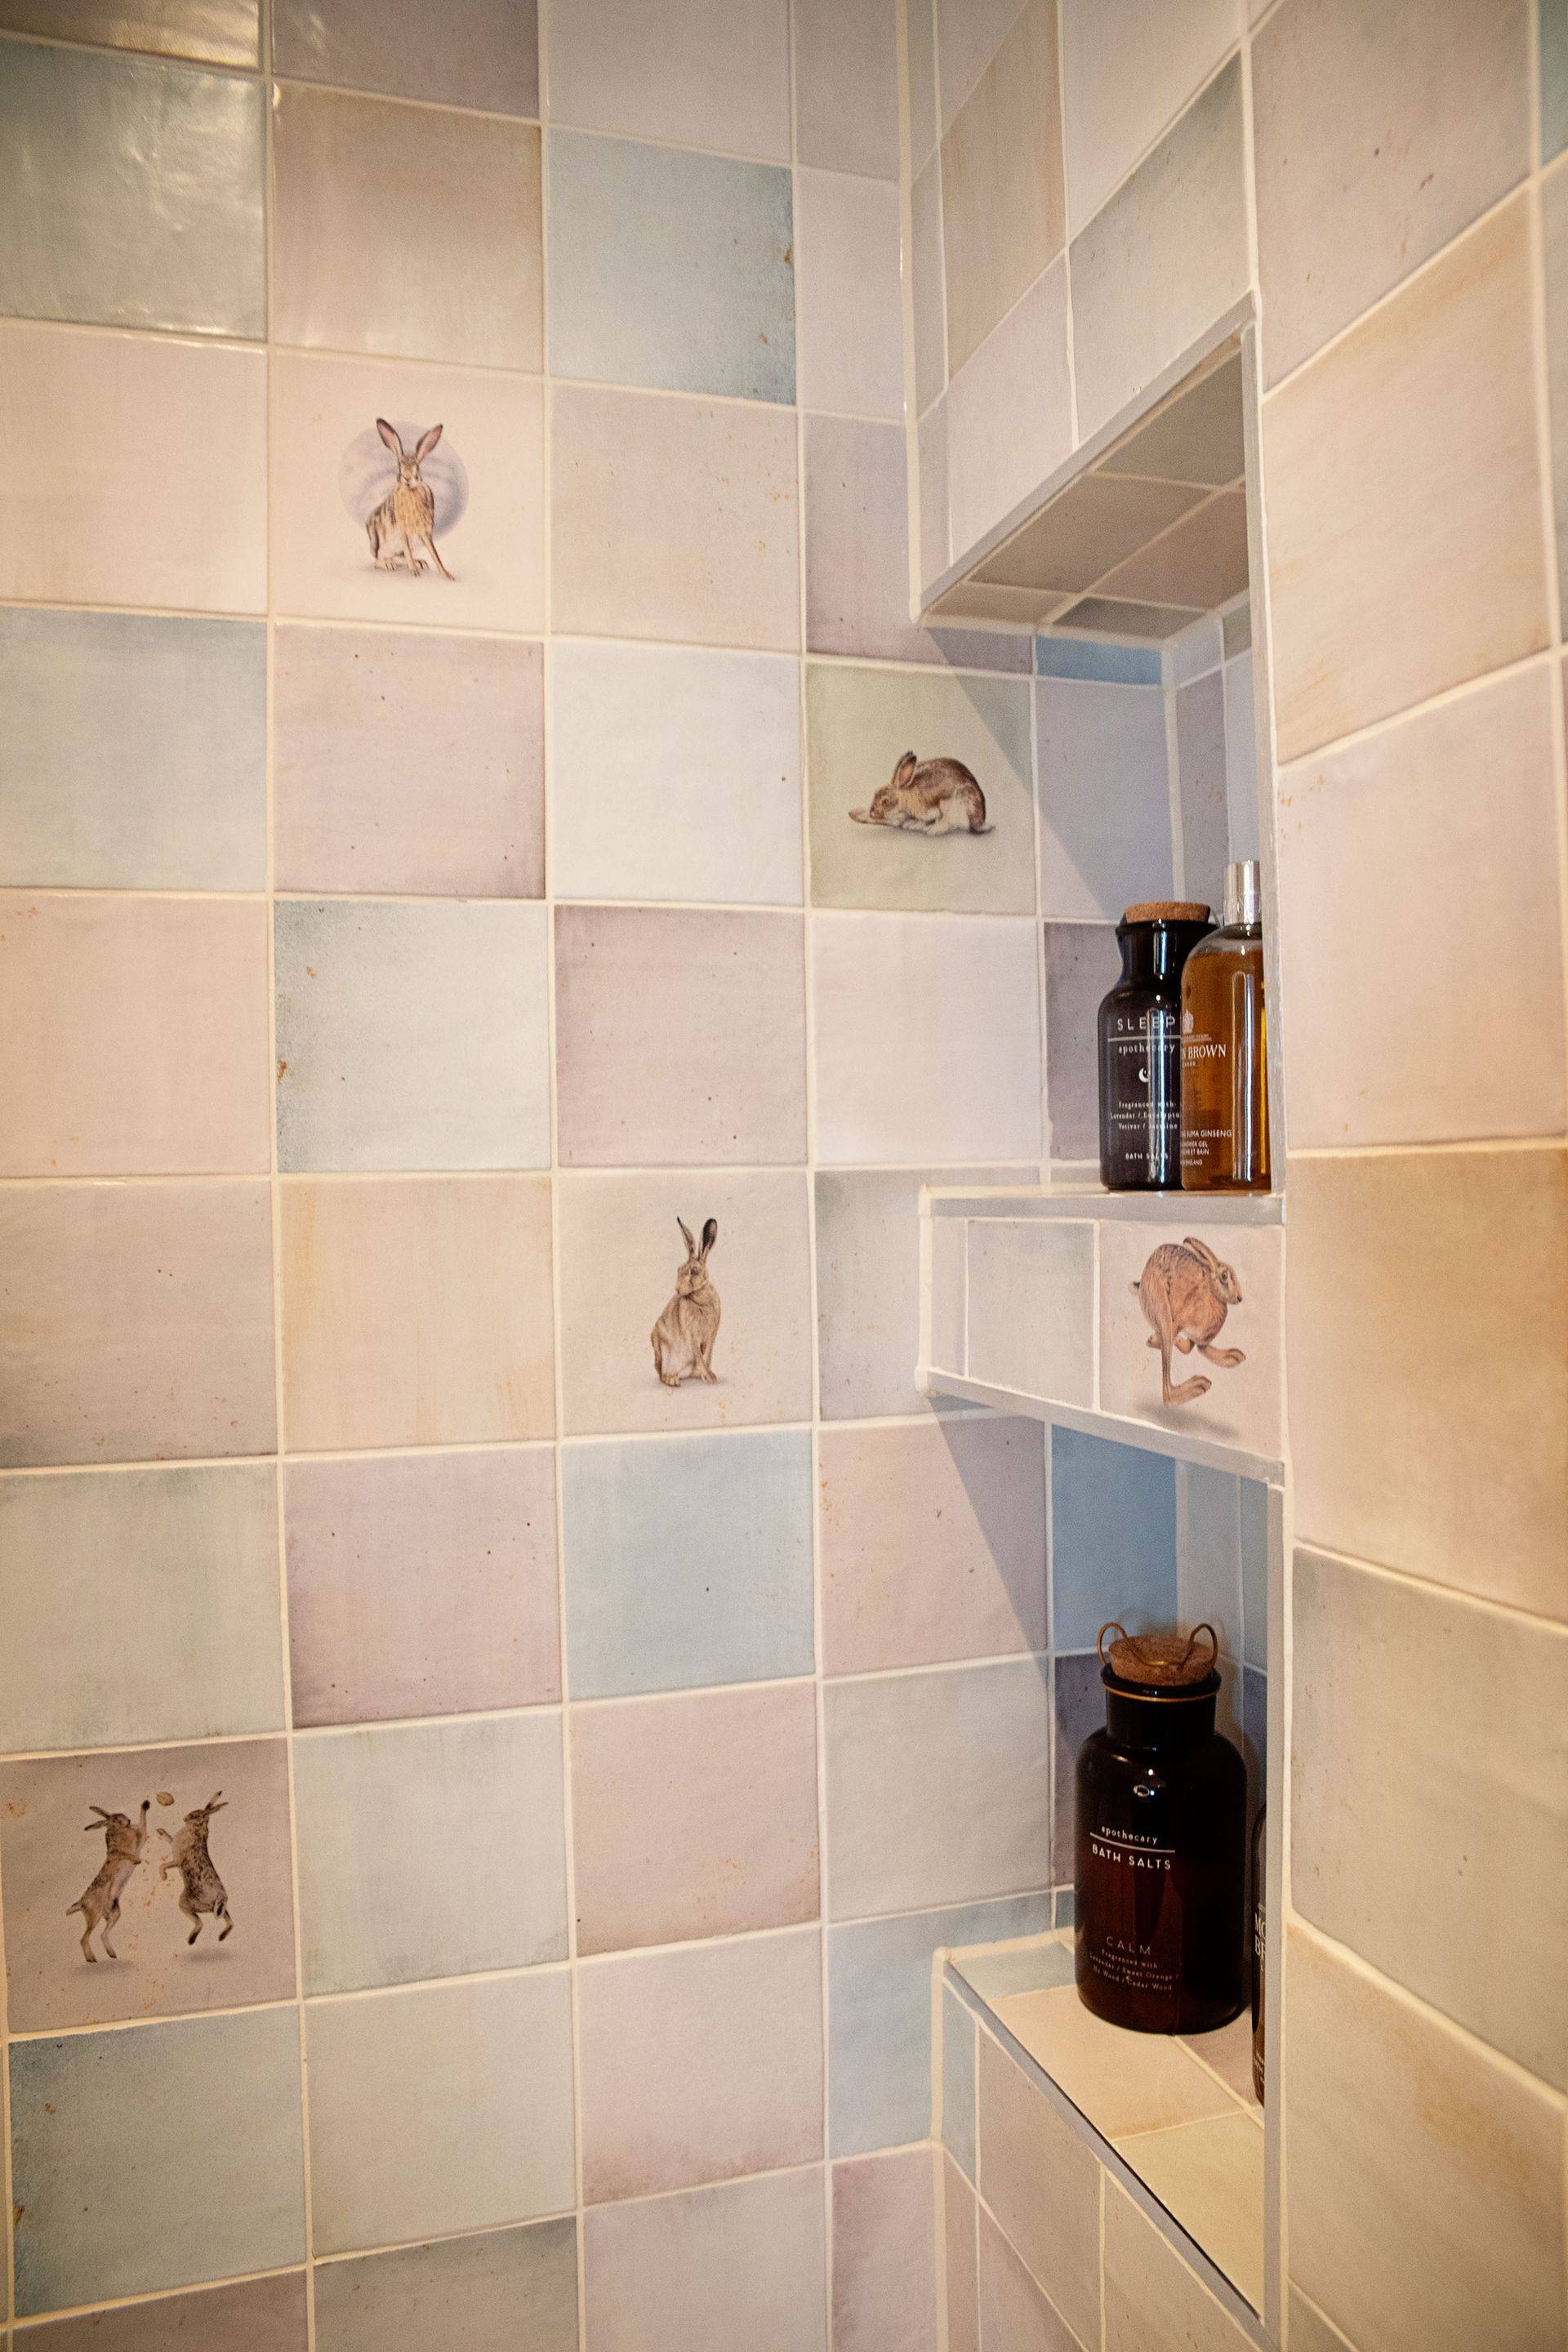
Layout Strategy
- •Feature: Ca' Pietra Wiltshire Hares decorative tiles in shower niches
- •Surround: Neutral toned walls with calm, consistent layout
- •Principle: Selective pattern placement adds character without overwhelming
Design Outcome
By confining decorative tiles to recessed niches and keeping surrounding surfaces neutral, the bathroom achieves a refined balance. Character is concentrated where it draws the eye, while calm surfaces provide visual breathing room.
Layout Principle
This project exemplifies the central thesis of this guide: tile layout is the single most impactful design decision in a bathroom renovation. The Wiltshire Hares feature tiles add personality and texture within the shower niches, while the surrounding neutral surfaces provide calm structure throughout.
Quick Answers
What is the best tile layout for a small bathroom?
Vertical stack or large-format grid layouts generally make small bathrooms feel larger by reducing visual clutter and increasing perceived height.
Which tile layout is most modern?
Vertical stack and large-format grid patterns are currently the most contemporary choices in UK luxury bathrooms.
Does tile layout affect cost?
Yes. Complex patterns such as herringbone and chevron increase labour time and material waste compared to straight grid layouts.
Frequently Asked Questions
Common questions about bathroom tile layouts and pattern choices
Final Thoughts
Tile layout is seldom mentioned in bathroom marketing, yet it is one of the most powerful design levers available. A considered layout can transform a standard bathroom into an architectural space — without changing the tile itself.
Combined with real-world execution — such as our Coggeshall CO6 country cottage bathroom project — these principles prove that luxury bathrooms are defined by proportion and planning, not just material choice.

Related Guides You May Find Useful
Herringbone Tiles Guide
Complete UK guide to herringbone tile design, installation and waste calculations.
Bathroom Tiling Cost Guide
UK pricing breakdown for bathroom tiling by layout type, tile size and labour.
Tile Quantities & Waste Guide
How to calculate exact tile quantities and waste allowances for every layout type.
Coggeshall CO6 Project
See tile layout decisions in action in this completed country cottage bathroom.
Our Design Process
Learn how we plan, design and deliver luxury bathroom installations.
What Is Bathroom Tanking?
Essential waterproofing knowledge for any tiled bathroom or wetroom.
Herringbone vs Chevron
Side-by-side comparison of the two most popular angled tile layouts for bathrooms.
Best Tiles for Small Bathrooms
How to choose tile size, colour and layout to make compact UK bathrooms feel bigger.
Have a question we haven’t covered? Get in touch — we’re happy to help.
Planning a Renovation?
If you are planning a full renovation and want expert guidance on layout direction and cost modelling, our design consultations explore these decisions in detail.
Luxury bathrooms are defined by proportion and planning — not just material choice.